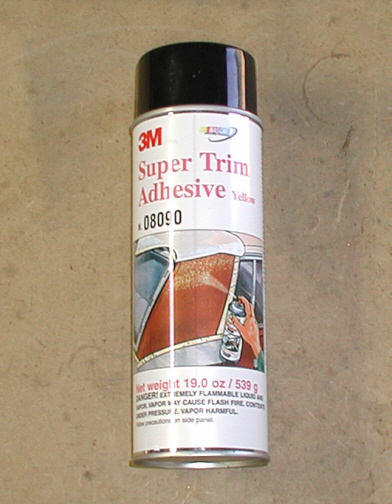
This is the adhesive that I used. All you do is spray each surface with the glue, wait five
minutes and then stick them together. This glue is good to 200
degrees so doing my headliner should work....I hope!
|
|
|
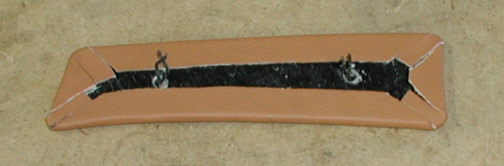
Here is what it looks like after being
glued on the back. I ended up cutting the material to leave a tab at the
corners. This tab was then pulled in-between the folds that make up the
corner.
|
|
|
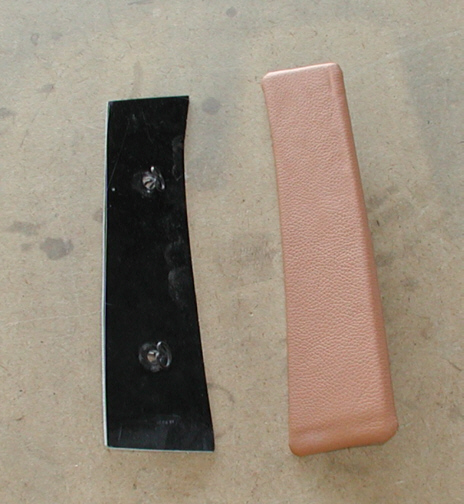
Here we are with a finished panel and
the other one that needs to be done. Notice the line at the bottom that
looks like something went wrong. Well it did the first time around. This
part of the panel goes down between the dash and the A pillar (which is
next to the windshield) and doesn't have very much room. After putting
the material on and trying it for fit, I had a VERY hard time trying to
get it in the slot so off came the material. I removed the last
1/4" of cardboard on the top only to make some much needed
clearance and re-glued the leather back on. This area will be hidden
once it's in place. It didn't come out to bad for my first time doing it
but this has to be one of the easiest pieces to do. So far.....so good!
I did the two pieces that go over the doors which I did the same way as
the A pillar pieces. The door pieces were 2" X 18" and had an
angle on one end of about 30 degrees. This angle was a little tricky but
it came out fine. Stick around and see if I can do a bigger panel with
the use of some foam backing and some creativity.
|
|
|
|
1 2
3 4
5 6
7 8
9 10
11 12
13 14 15
16 17
18 19
20 21 22 23
24 25
26 27
28 |
|
29
30
31 32
33 34
35 36
37 38 39 40
41 42
43 44
45 46
47 48
49 50
51 52 53 |
|
54
55
56 57
58 59
60 61
62 63
64 65
66 67
68 |