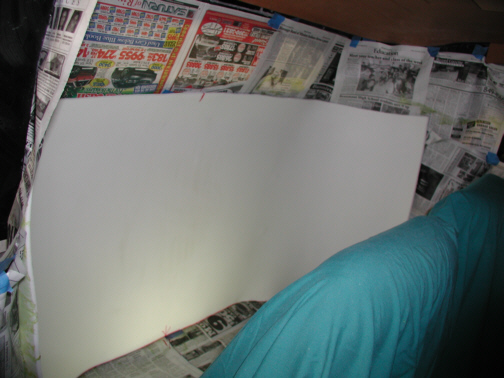
While I was in the glue booth, I did
the bottom panel the same way as the top one. Now this panel is basically
the same shape but twice as tall. I also used the same method of lining
up the foam with marks on the top and bottom to keep it centered. Once
you touch the glued surfaces together, it's stuck and the only way to
get them apart is to pull a layer of foam off and then scrape away the
bad stuff and start over again. Putting lines on the foam was just a little insurance so the
ends lined up when I was through.
|
|
|
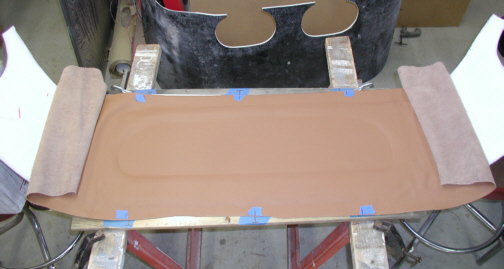
Going back to the smaller panel, I
covered it in three stages. I did the center section first because for
the most part, it's straight. Notice the blue tape placed in six
different locations. This was to make sure I lined things up right the
first time so the ends would line up later. If you get things just a
little bit wrong from the start, the ends won't have have enough to over-lap the edges or even worse, will be to short and you would have to
start over. I didn't have very much material
to work with on the ends so by doing it this way, it helped me hit the
right spot because you can't see the panels edges under the material when your getting
ready to stick the material on. By putting a line on the tape that
matches another line on another piece of tape stuck to the sawhorse
3/4" apart, all
I needed to do was see if I had the same gap between the edge of the
material and tape line while my wife and I put the leather on. This
worked out great and now I have to do the ends but they will be done
while the panel is in the car so the contour ends up right and I don't
end up with any wrinkles.
|
|
|
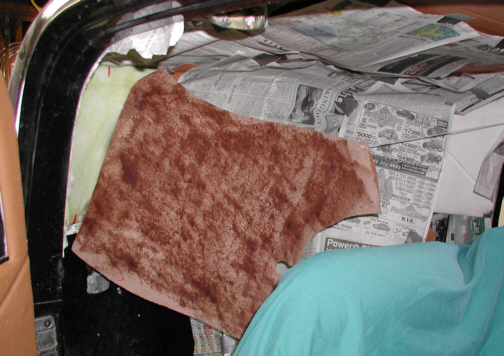
Once I had the panel back in the car, I
needed to mask off everything again because I was going to be spraying
glue again. Now when you spray this glue, you have to wait at least five
minutes before you stick the two piece together so I came up with a way
to hold the leather while I was waiting. I cut a small hole in the end
of the material once I was sure it wouldn't show and ran a small piece
of rope through it. I tied a knot in the end of the rope so it didn't
pull through and placed a weight on the other end which was on top of
the car so it would hold it. Why didn't I just hold it for five minutes?
Well if you don't like sniffing glue, then you don't want to be inside
an enclosed area without much ventilation. I might have stayed in here
if I had the garage door open but the wind was blowing very hard that
day and I had to have it closed which made it hard to breath inside the
spray booth. I guess if I was into getting a cheap high, then this would
be the place to be. After the glue was ready I worked the material from the center out and went
from top-to-bottom slowly because this is a compound curve and if you
didn't do it this way, you would end up with a gap between the material
and foam.
|
|
|
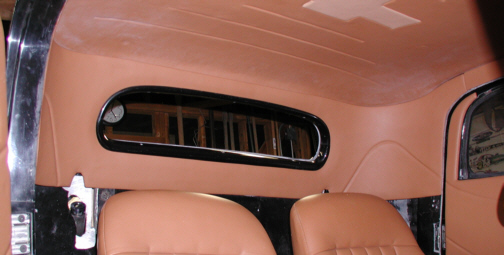
This worked out pretty well and I'm
happy with it. Notice the door panel and the line that continues into
the rear panel. I'm going to do the same thing with the bottom panel as
well. After looking at this picture, I'll have to clean the headliner as
it's gotten dirty with fiberglass and who knows what else on it while
I've been working. One more panel to go!!
|
|
|
|
1 2
3 4
5 6
7 8
9 10
11 12
13 14 15
16 17
18 19
20 21 22 23
24 25
26 27
28 |
|
29
30
31 32
33 34
35 36
37 38 39 40
41 42
43 44
45 46
47 48
49 50
51 52 53 |
|
54
55
56 57
58 59
60 61
62 63
64 65
66 67
68 |