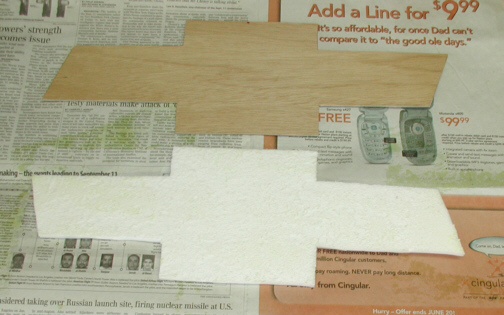
With the piece of wood cutout, I'm now
ready to glue it to the foam. Using newspaper behind whatever I'm
gluing helps to keep the cleanup to a minimum. At this point, the foam
and wood piece were oversize which meant all the outside surfaces (12) had to be just a
little smaller. The reason is because there will be four layers of material
occupying
the space of a razor blade cut, so I had to make some much needed clearance
or things wouldn't fit.
|
|
|
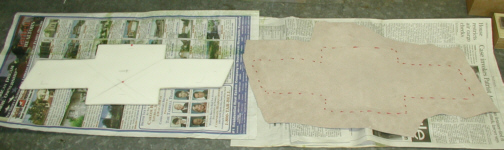
I glued the primary color to the
headliner first so I could find out how much clearance I needed. Now that the emblem has the proper
clearance, it was time to glue some material too it. I made sure I had
plenty of extra overhang in case I didn't get the two lined up and so
far, it's worked out good. Before I put the material on, I placed the
wood and foam piece in the headliner and drilled nine 1/8" holes
through it so I could fasten it down. I'll show you how I'm going to do that
soon.
|
|
|
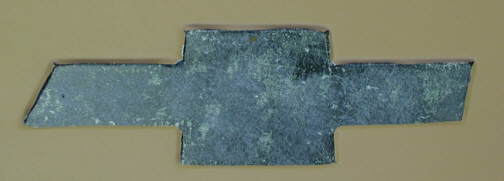
Here is how the opening looks where
the bowtie will be going. I cut the material away from the middle and
then trimmed it right up to the sides. I didn't want any material to be
on the bottom because this would add to the overall thickness. I already had
1/8" to much because of the use of the wood behind the foam so by
not adding anything else would cut down on the
overall height. It's hard to see here but if you look close, you can see
the nine holes that go through the fiberglass.
|
|
|
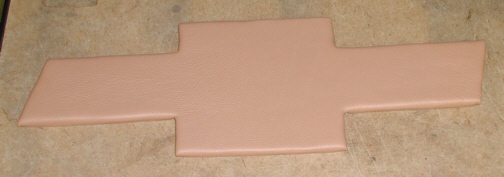
The bowtie is finished and came out good for my first
time doing something like this. It took about an hour to trim all those
edges and at this point, it's ready to be installed into the headliner.
But let me show how the back looks first.
|
|
|
|
1 2
3 4
5 6
7 8
9 10
11 12
13 14 15
16 17
18 19
20 21 22 23
24 25
26 27
28 |
|
29
30
31 32
33 34
35 36
37 38 39 40
41 42
43 44
45 46
47 48
49 50
51 52 53 |
|
54
55
56 57
58 59
60 61
62 63
64 65
66 67
68 |