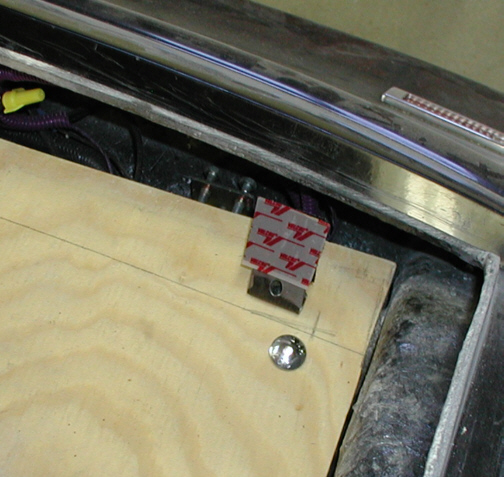
Here you can see the bracket screwed
to the floor of the trunk with the hook-and-loop stuck to it. What you
see is the protective backing on this side that I need to remove and
will be attached to the panel later.
|
|
|
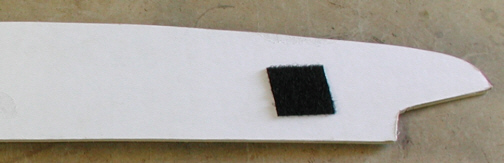
This is the what it looks like
attached to the panel. I can't believe how good this stuff holds once
it's in place. I was afraid that it was going to pull the sticky backing
off but it held. I need to cover this panel with material but before
that happens, I need to cut some holes in it first and also fit the
previous panels to make sure everything fits right so I'm gong to wait
and cover this later.
|
|
|
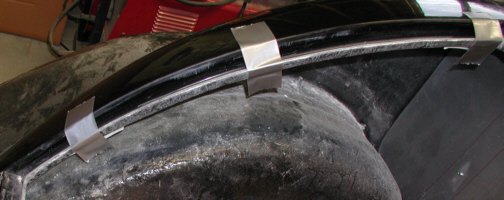
For the other panels, I made some
metal brackets and then bonded them to the underside of the trunk. To
hold them in place while they were being bonded, I came up with this
high-tech clamping system.....duct-tape. It worked great!
|
|
|
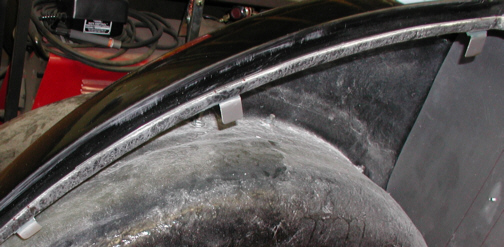
This is how it looks and now you can
see where I'm going to put the hook-and-loop at. The brackets are thin
sheet metal which is .032" thick. I'm able to bend them a small
amount to get just the right placement. I'll be working on the rest of
the trunk area installing speakers, insulation and final fitting panels
so keep on the lookout for that next.
|
|
|
|
1 2
3 4
5 6
7 8
9 10
11 12
13 14 15
16 17
18 19
20 21 22 23
24 25
26 27
28 |
|
29
30
31 32
33 34
35 36
37 38 39 40
41 42
43 44
45 46
47 48
49 50
51 52 53 |
|
54
55
56 57
58 59
60 61
62 63
64 65
66 67
68 |