|
Mounting The Hardware
I started thinking about how I wanted everything mounted
because of the small footprint of the door. A few different ideas
came to mind but I had to settle on one. I don't know if it's the right
decision but here goes.
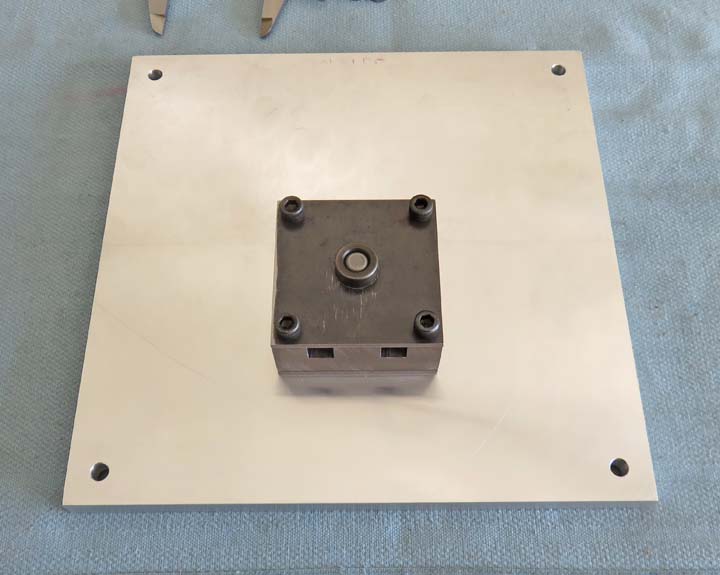
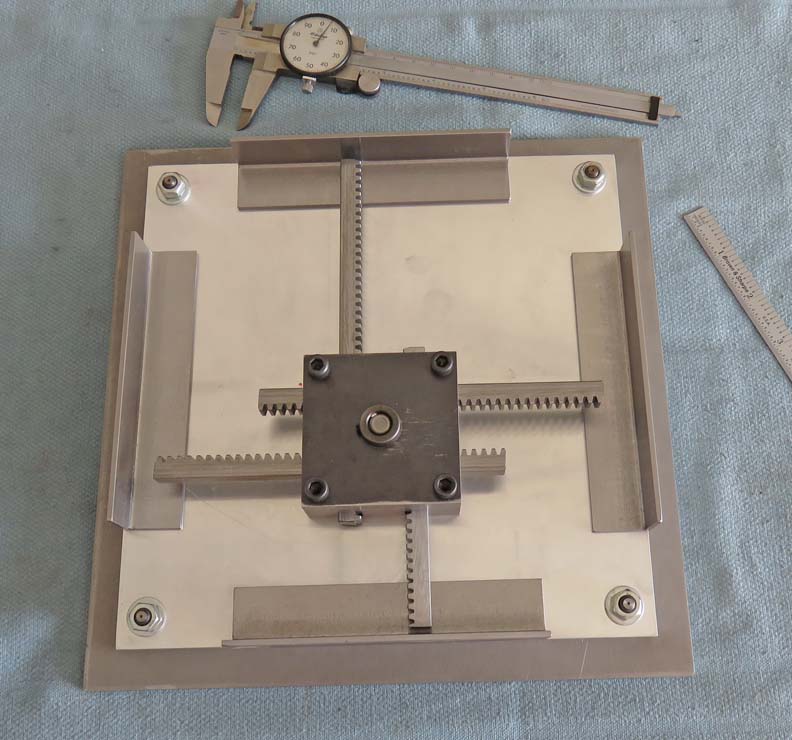
Notice the block is mounted off center top-to-bottom.
However, it is centered left-to-right. This was a something I almost had
to do because of the lock that I'll be using on the outside,
but more on that later. It really doesn't matter which way I mounted the
block (regarding the racks) so the ones going from side-to-side are in
the lower position. As long as the racks move the lock bolts then it's
all good. I used 1/4-20 socket head cap screws to hold the block in
place.
|
|
 |
|
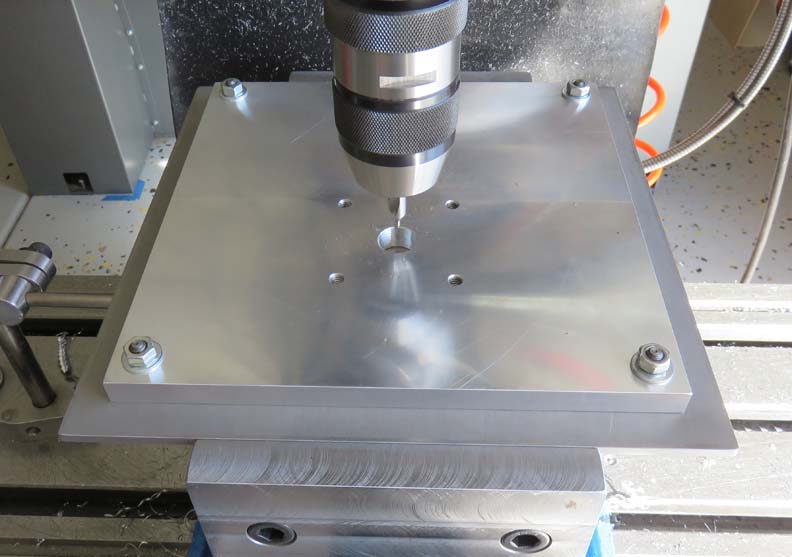
I fastened the sub plate to the door, found the center
of the clearance hole of the rack-and-pinion block and then drilled and
reamed a
3/8" diameter hole through the door. The rack-and-pinion block will have
a 3/8" diameter shaft going through it, which will have a handle on the
outside to open the door with.
|
|
 |
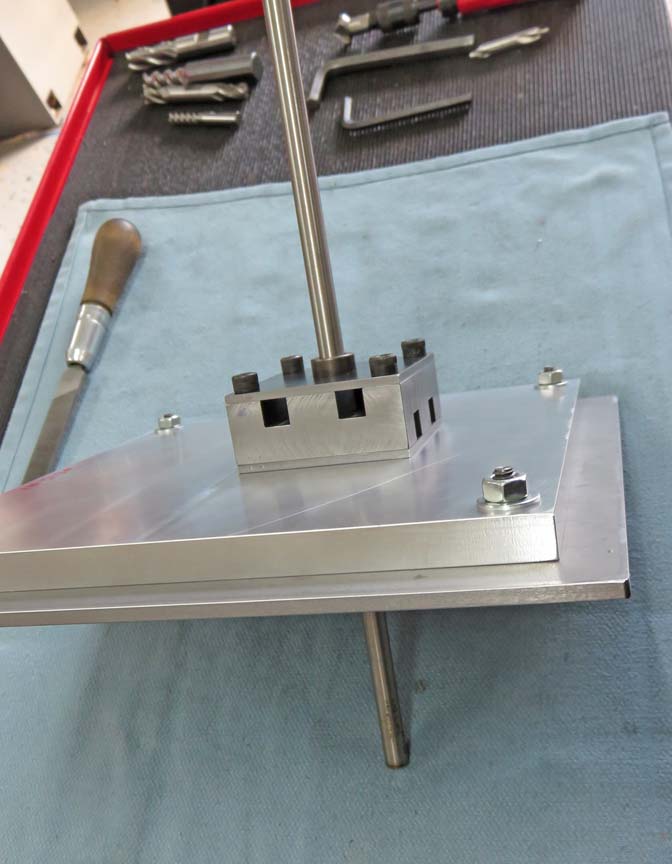
Here you can see the 3/8" shaft going through the door. No it won't be
that long, I'll have to cut it to length later.
|
|
 |
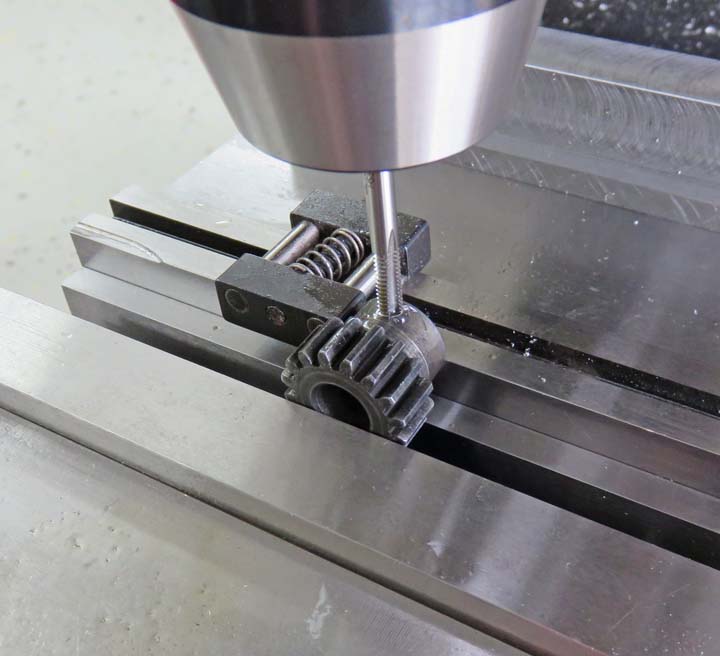
I bought the pinion gears without a setscrew so I'm adding one here.
They sold them with one already installed but they cost more. I drilled
and tapped them both with 8-32 threads.
|
|
 |
|
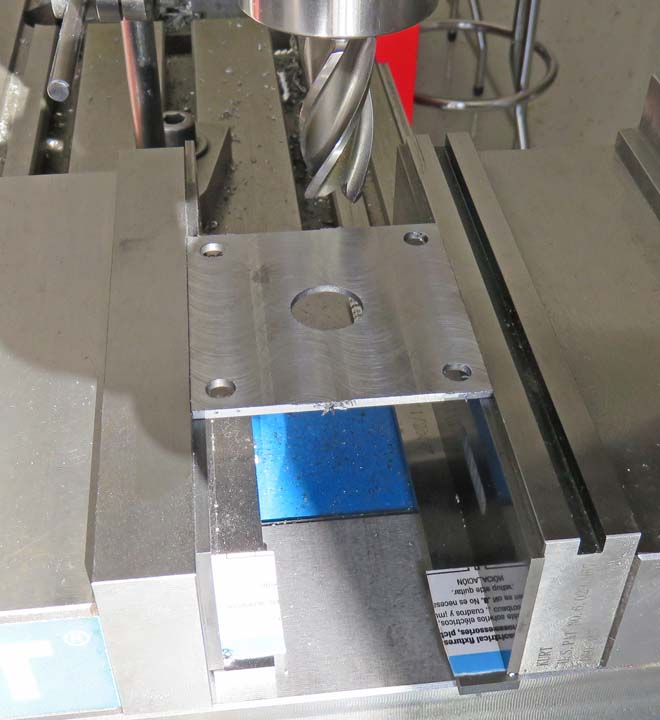
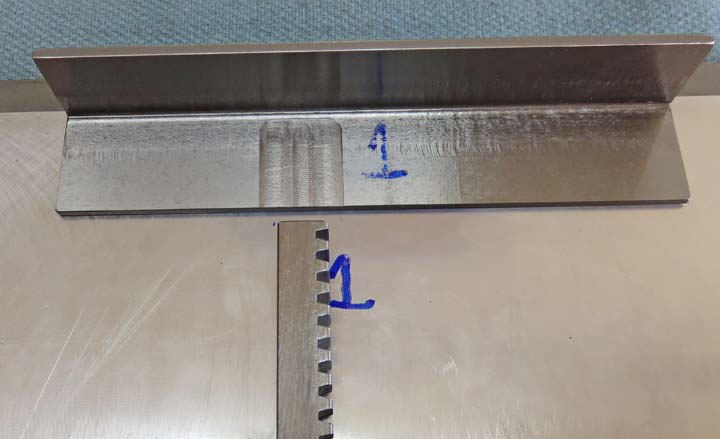
The rack-and-pinion block that has the two plates were
1/8" thick each. However, if you remember I machined the angle iron
pieces that will be used for the lock bolts earlier. That means I need
the plate that sits on the sub plate to be the same thickness. I'm
taking about .008" off of one side here to match the angle iron.
|
|
 |
|
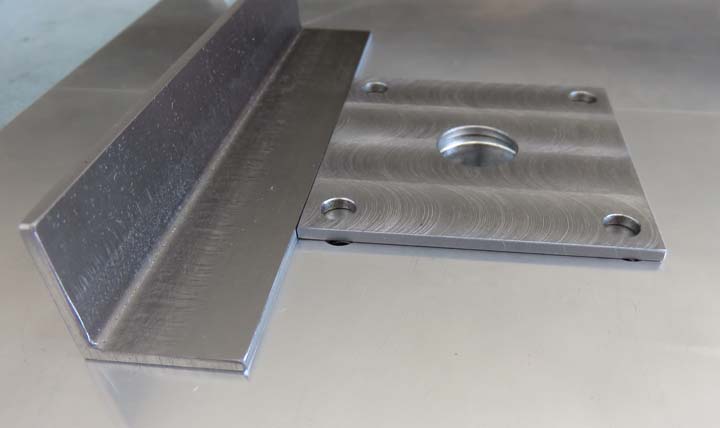
The reason they need to be the same thickness is because
the racks that are on the bottom of the block will ride on this
plate. And if both surfaces are the same height then everything moves
much easier.
|
|
 |
Things are starting to come together. Now it's time to attach the racks
to the angle iron.
|
|
 |
|
Each piece of angle iron will be centered within the sub
plate. However, no two racks will be in the same position when fastened
to each piece angle iron. And come to find out, the angle iron that I
machined is not parallel. They're off by a couple of thousandths, which
is my fault and I'll need to fix it. I'm laying out where each rack sits
so I can make a small cut to fix my problem.
|
|
It was an easy fix but the same isn't true about my pride.
|
|
|
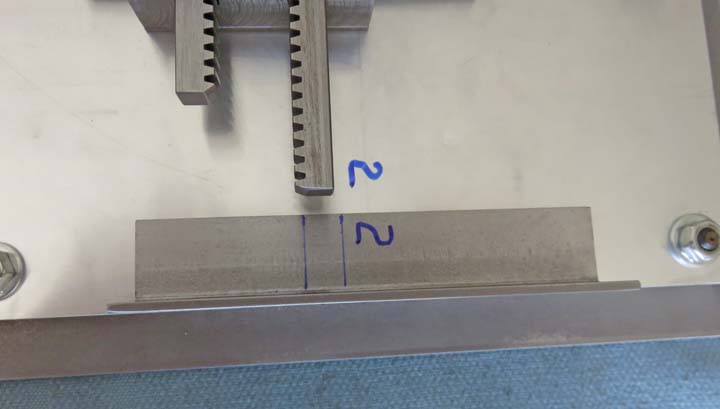
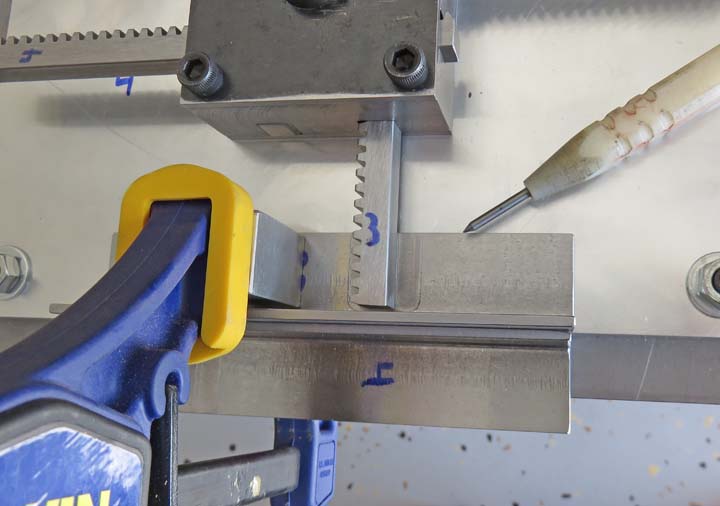
I'm scribing a line on each piece of angle iron in
preparation for some screws. I'm using a second piece of angle against
the edge of the sub plate (#4 in this case) to make sure the one I'm
laying out (#3) is flush with the edge.
|
 |
|
1
2
3
4
5
6
7
8
9
10
11
12
13
14
15
16
17
18
19
20
21
22
23
24 |