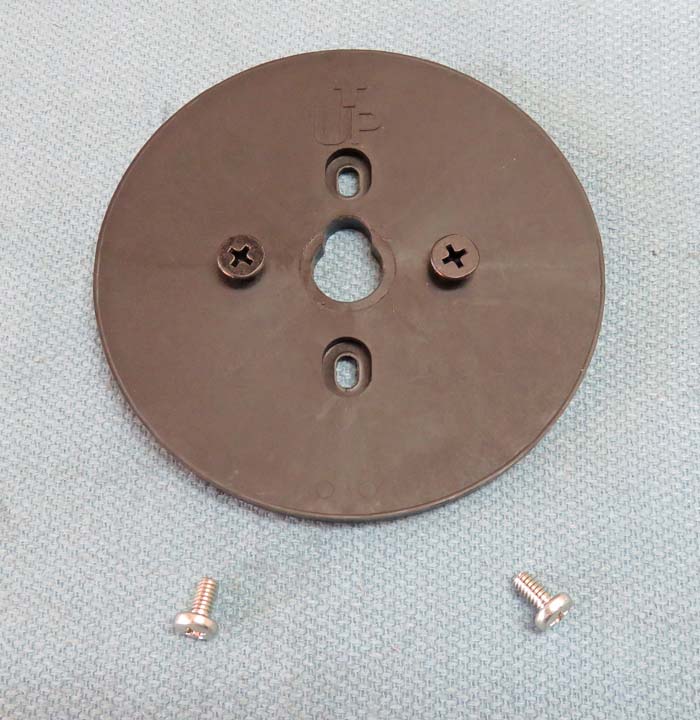
Here is the adapter plate and it's made out of plastic. As you can see,
the two special screws are installed and now I need to attach the
adapter plate to the door.
|
|
 |
|
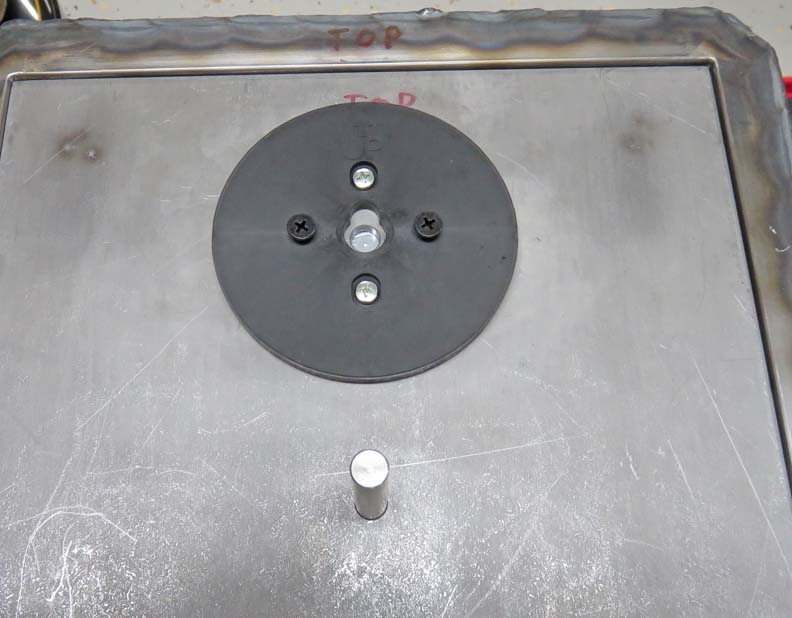
The two screws that hold the adapter plate to the door
are 10-32's. I made sure it was in the center (left to right) and 3 1/2"
from the top. This places the hole that the wire pass's through in the
area where the longer rack is.
|
|
 |
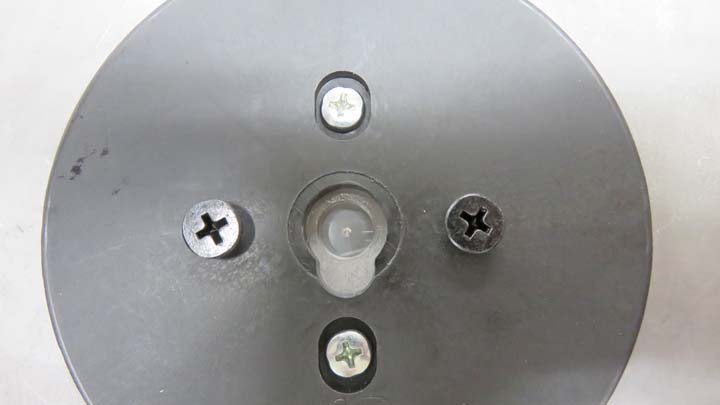
I used my transfer punch to find center. It's funny, I've never used my
transfer punches this many times on any other project before. Go figure!
|
|
 |
|
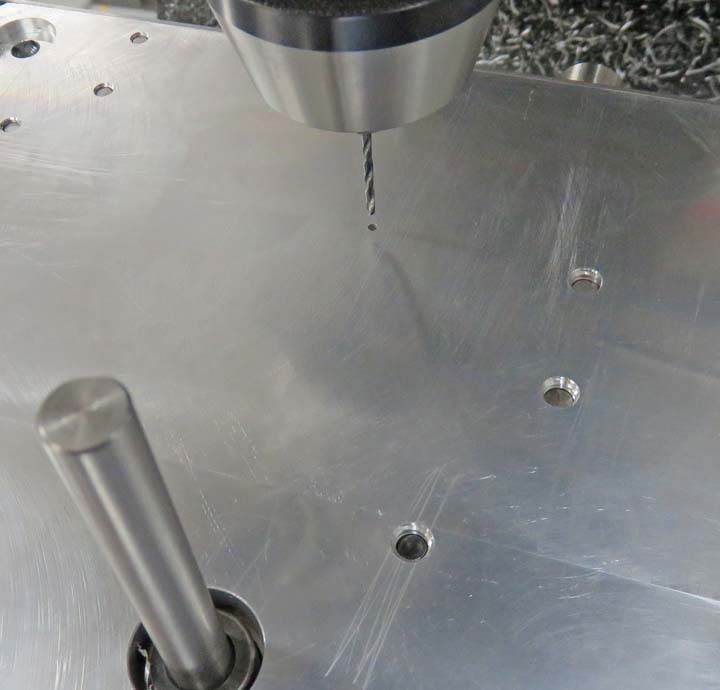
I like to use a small diameter drill to pickup a center
punch, like a 3/32" size. They are perfect because they will flex if
you're not right in the center of your center punch. How is this a good
thing, having your drill flex? That tells you if you're on center or
not, even by the smallest amount. This give you the opportunity to move
your work piece until the drill doesn't flex any longer, which means
you're in the center. Now you can drill through with that small drill
and know it's on location. Then you can use progressively larger ones to
your final size, knowing that each one will follow that existing hole
pretty close.
Within reason of course. My final hole size was 3/8", because that's
what it took to clear the connector on the wire.
|
|
 |
|
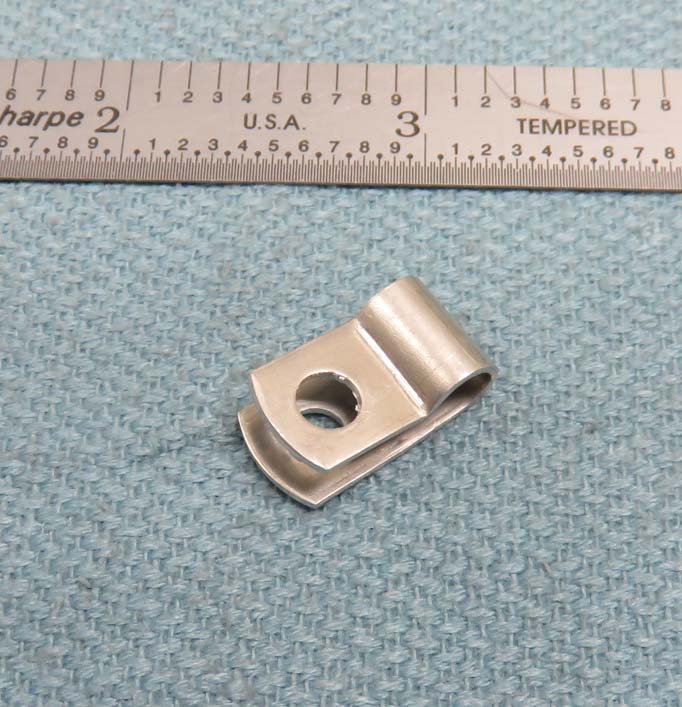
Speaking of wires, I needed a way to keep the keypad wire
from getting tangled with any moving parts so I used this wire clamp to
make that happen. However, I had to open the hole in the clamp from
3/16" to 1/4" because of where I was mounting it. This clamp is made out
of aluminum and drills easy, but it also bends easy too.
|
|
 |
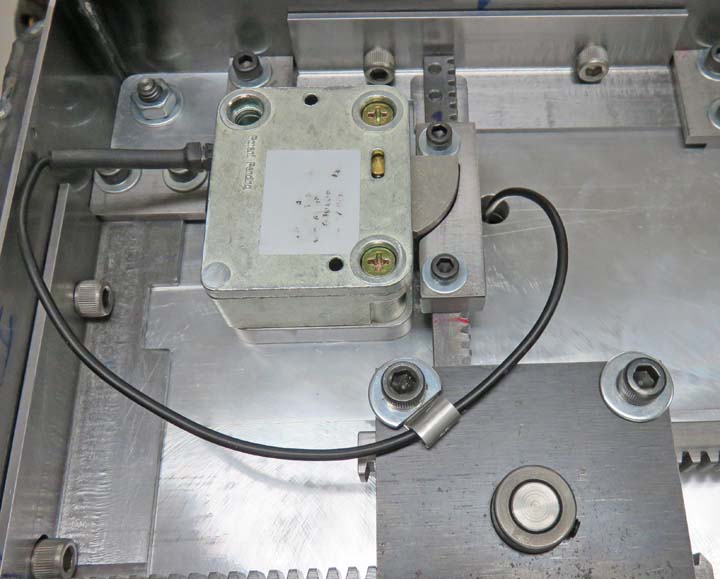
I put a flat on one washer to clear the wire clamp and clamped it to my
rack & pinion block. This should keep the wire out of harms way.
|
|
 |
|
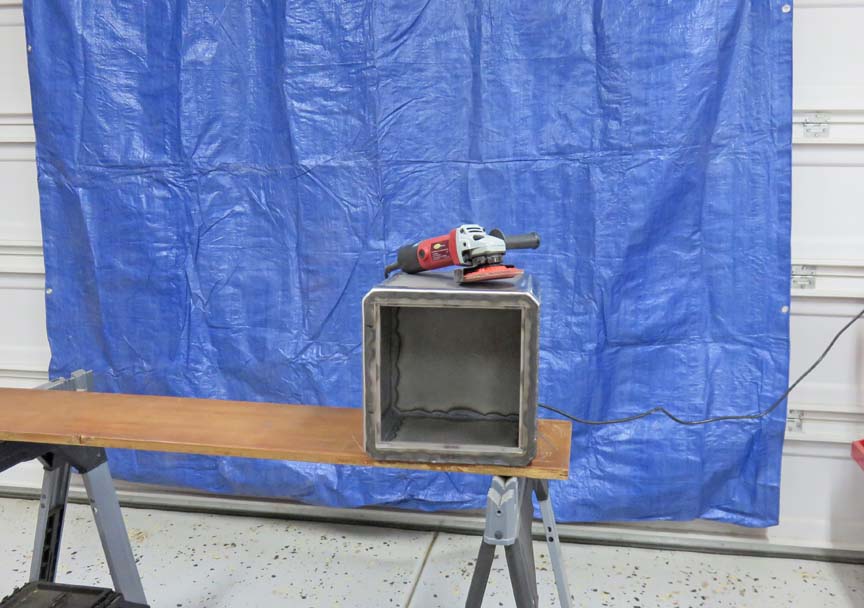
Grinding Some Welds
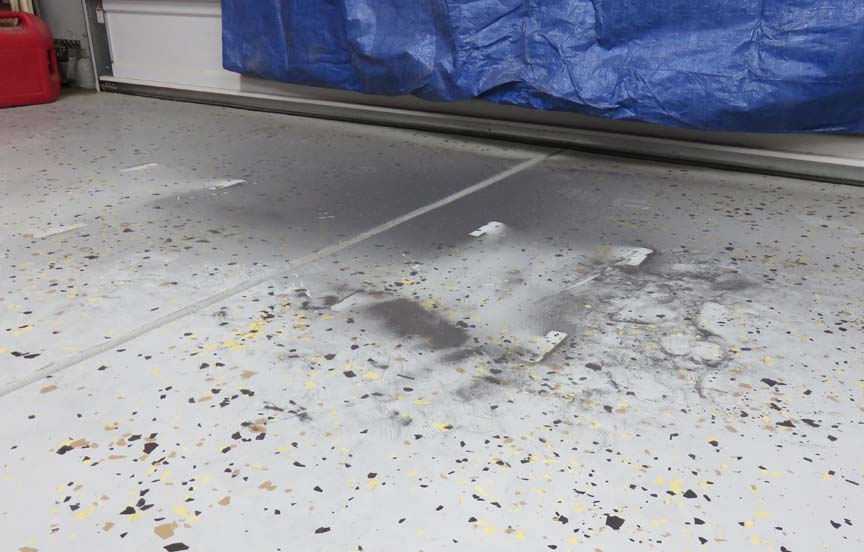
Now it's time to start grinding on the box. I've been
wondering how this would treat me so I got prepared. I hung a tarp
against my garage door to help direct most of the grinding grit to the floor. And with the use of some sawhorses and a piece of
wood, I'm ready to go.
|
|
 |
|
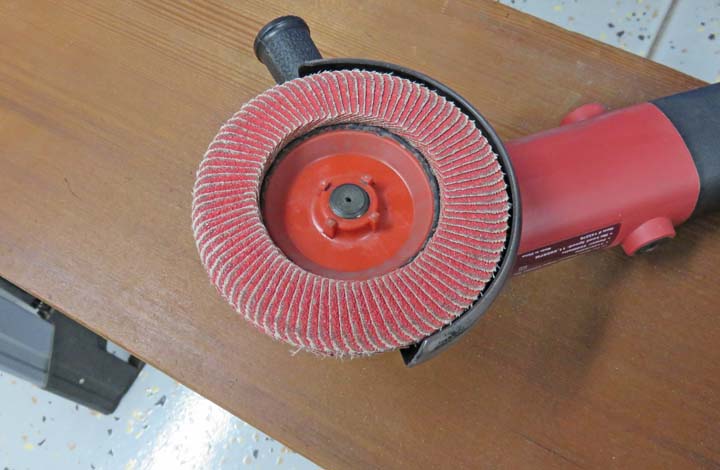
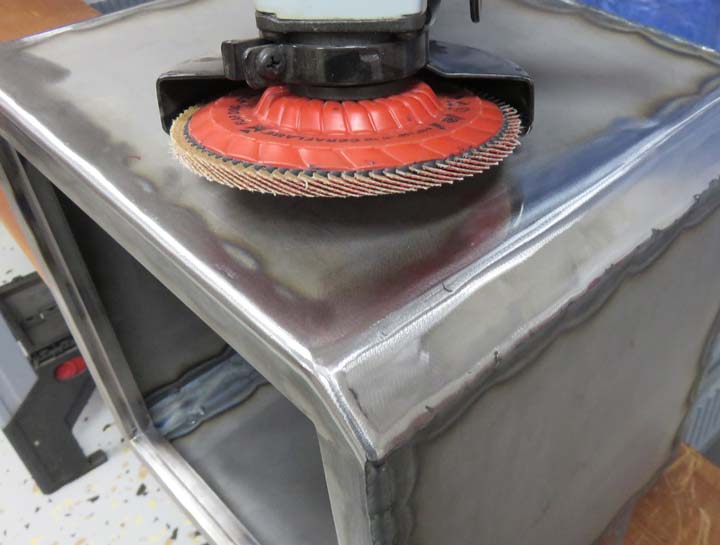
While I was getting my bottle of argon gas refilled at
the welding shop, I told the guy what I was doing and asked his
recommendation for a grinding wheel. He told me that he liked this type
of flap-wheel for roughing and another type for finishing. To be honest,
I've seen these wheels in stores for many years but have never used one.
And I've always wondered how they worked so I gave it a try.
At first glance, they don't look like they would be
rigid enough for grinding welds because of their construction. What I
mean is, they are a 'flap wheel', with many pieces of... what looks like
sandpaper overlapping each other. How could this last for knocking down
a bunch of welds?
Well let me tell you, they work really really good. I
couldn't believe how well this worked and with little effort too. Let me
put it this way, if I didn't let the grinder do the work, I could easily
get into trouble and remove too much material. Yes they work that good!!
|
|
 |
|
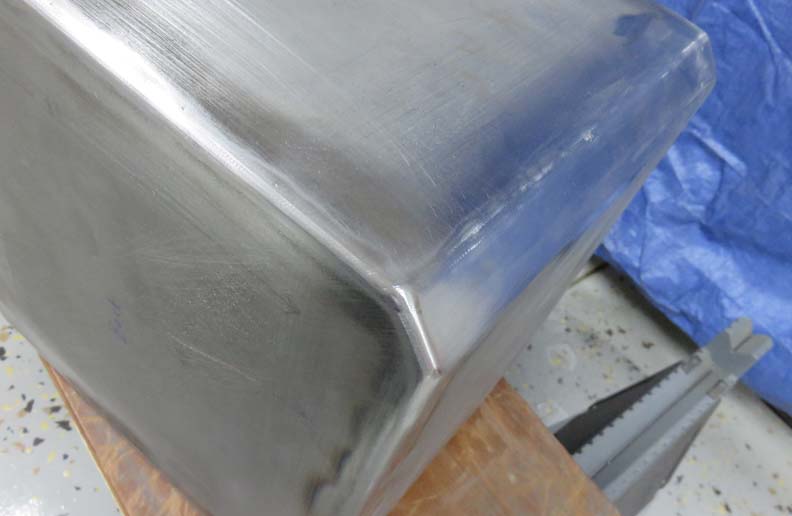
This is what I did after about 10 minutes of work. No
kidding!! It's amazing how well this wheel works. And yes I did where a
mask, ear and eye protection while working. Oh, one more thing, this
type of wheel is not forgiving when you touch your skin. I bumped the
tip of my left index finger while the wheel was coasting down as I was
checking my progress. Somehow while letting go of the grinder and moving
my hand I just touched it. Let me put it this way, I'm typing this two
weeks later and it still hurts. Remember, grinding wheels don't cut,
they remove material, and not just metal.
|
|
 |
The welds cleaned up nicely, the grinding wheel worked great and my plan
for welding all worked out pretty well.
|
|
 |
Wow...what a mess, but that tarp did it's job.
|
|
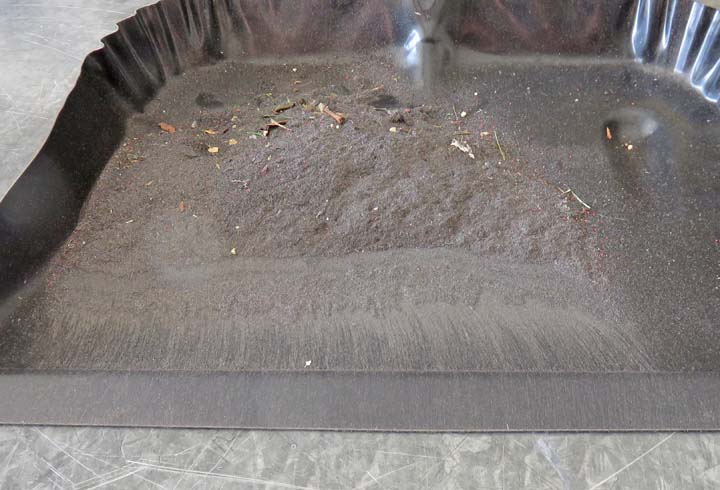
Here's what it looked like after sweeping the floor.
|
 |
|
1
2
3
4
5
6
7
8
9
10
11
12
13
14
15
16
17
18
19
20
21
22
23
24 |