|
More Welding
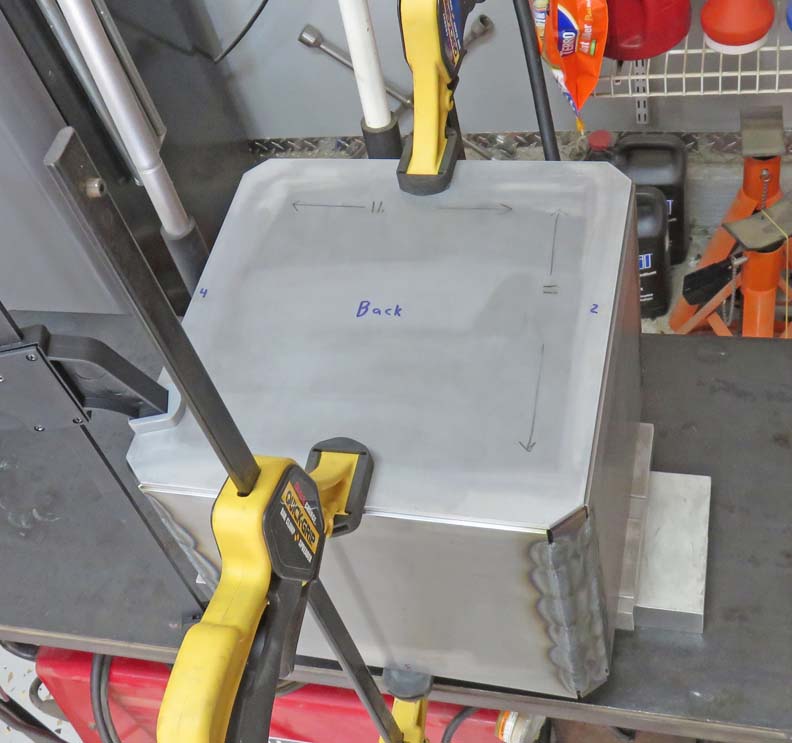
Now it's time to weld the back piece to the box. With the use of some bar
clamps, I was ready to tack weld things together. Notice I had to raise
the box before welding so the clamps would clear my welding table.
|
|
 |
|
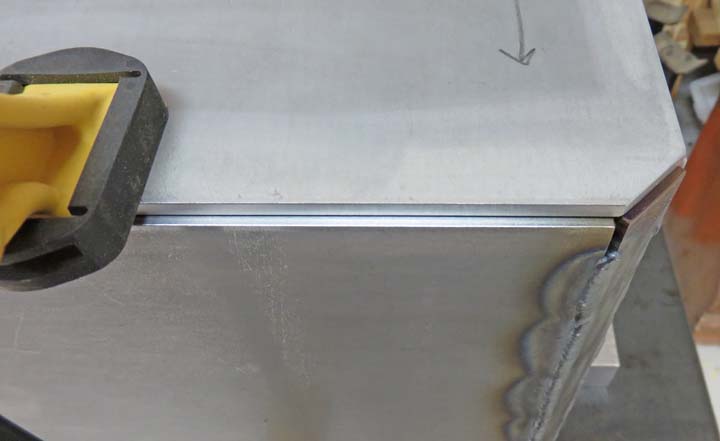
That gap that you see between the back piece and sides
are all part of the plan. Once I fill that area with weld, I should have
a strong joint when I'm done. The amount of the gap is half the thickness
of the material (about .093").
|
|
 |
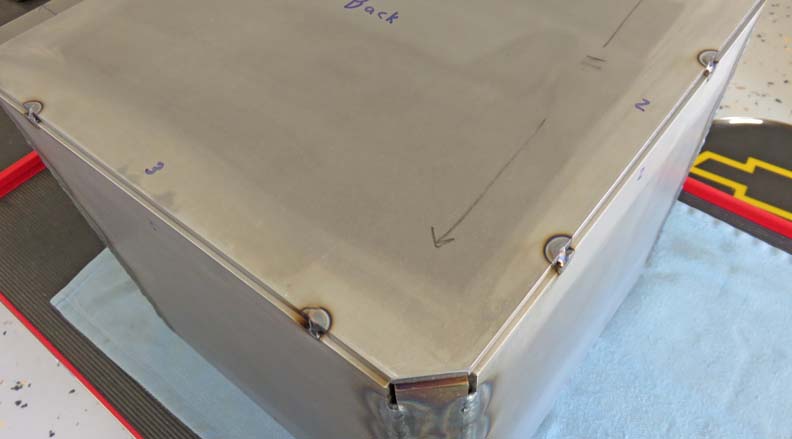
After a few tack welds, I'm ready to nail it together.
|
|
 |
|
Door Frame Step
Have you ever noticed how the door frame of a safe is
made? They have at least one 'step' to them, so the door can rest against
it when it's closed. This is what I'll be doing next, making that step
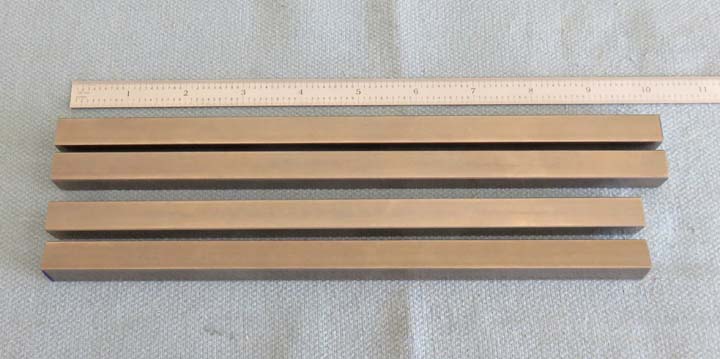
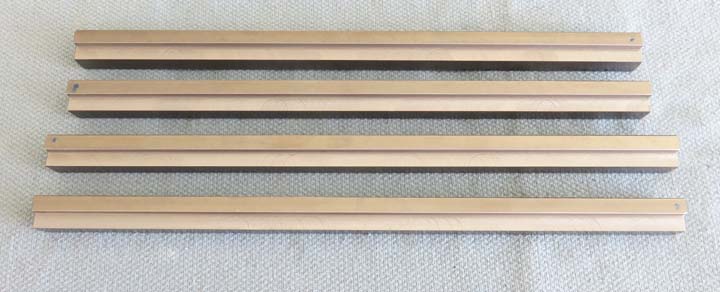
for the door. If you remember I bought some 1/2" X 1/2" steel that I
showed you on page 1. This material will be used to make that step out
of. I cut the material in two lengths: 2 at 11" and 2 at 10" long. Once
they're machined, they will make a step that will be welded to the back
of the door frame.
|
|
 |
I'm machining the pieces to length here, with the one below at 10" long.
Then I'll make an adjustment so that two will be at 11" long.
|
|
 |
|
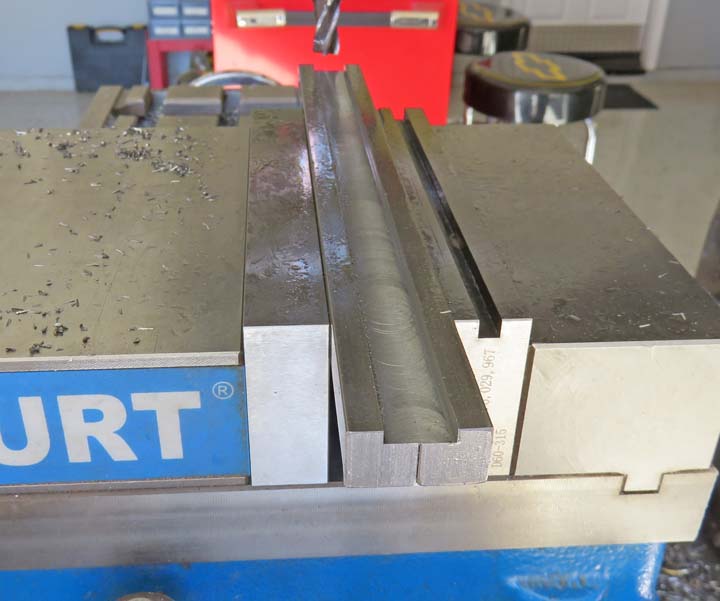
I'm machining a step in the 1/2" X 1/2" material because
I want the safe door to sit below the surface when it's closed. This is
something I didn't have to do because a lot of safe doors sit flush with
the outside. However, it's harder to pry open a door if it's recessed so
that's what I'll be doing. Plus I thinks it looks better that way.
I'm machining two pieces at the same time here and the
amount of recess is .125 (1/8"), which is the depth that you see below.
The width that you see below is 1/2", but each piece will have 1/4"
step, which the door will rest on. It's easier to machine two pieces like
this than one because again, it's more ridged. And when you have something
overhang the jaws of your vice like I'm doing, you take every advantage
you can get.
|
|
 |
This should give you a better idea of what I was doing. Now I'm ready to
test fit these pieces.
|
|
 |
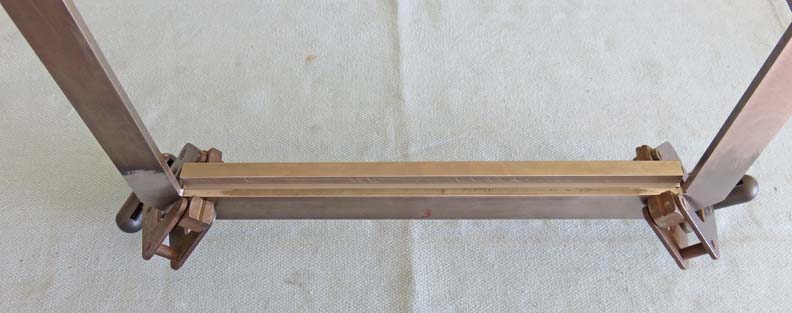
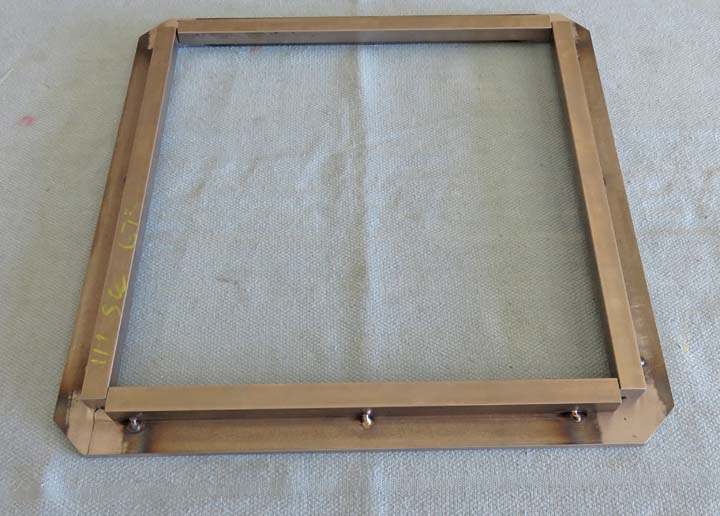
The step in my 1/2" X 1/2" material is clamped flush with door frame.
|
|
 |
|
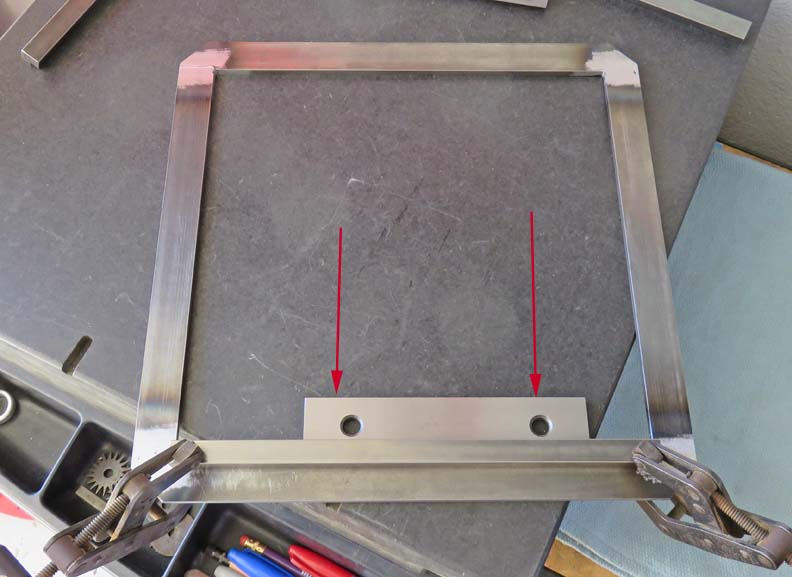
To make sure the step is flush with the frame, I used my
surface place and the use of a parallel (arrows) to make that happen. By
placing the parallel against the door frame, I then placed the step
against the parallel and clamped it down. This makes sure the step is in
the right place. Each piece was done this way and then tack welded in
place.
|
|
 |
Here is what it looks like tack welded. Just making sure everything is
right before welding.
|
|
 |
|
1
2
3
4
5
6
7
8
9
10
11
12
13
14
15
16
17
18
19
20
21
22
23
24 |