|
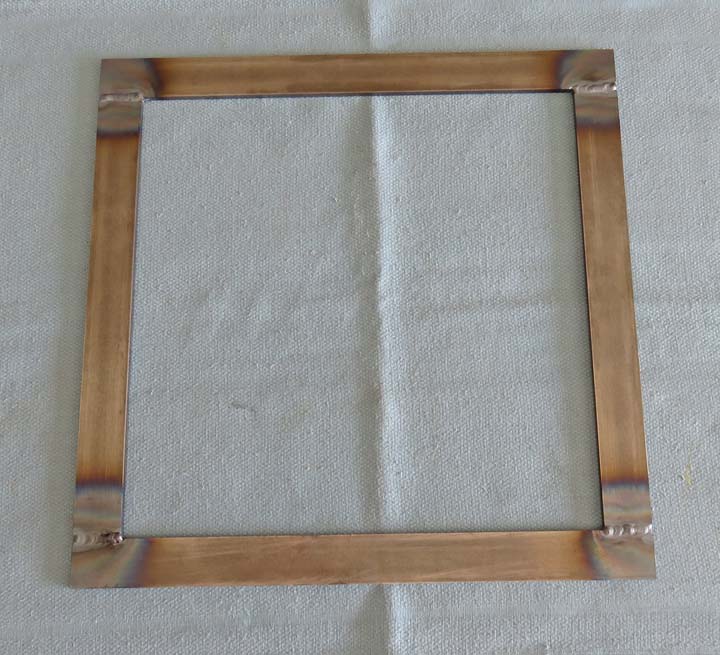
I tack-welded each corner before I fully welded everything
(both sides).
This helps keep the warping down to a minimum. Once the tack welds were
in place, I put the heat to them all.
|
|
 |
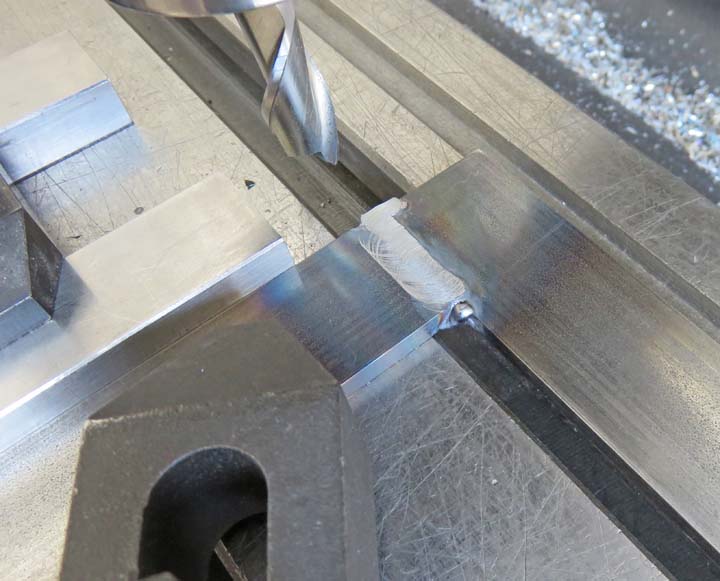
| Machining The Welds
Here I'm machining the welds flush with
the frame. This doesn't have to be perfect because I'll be doing a lot
of grinding and bodywork later.
|
|
 |
After machining, it looks like the welds came out pretty good.
|
|
 |
|
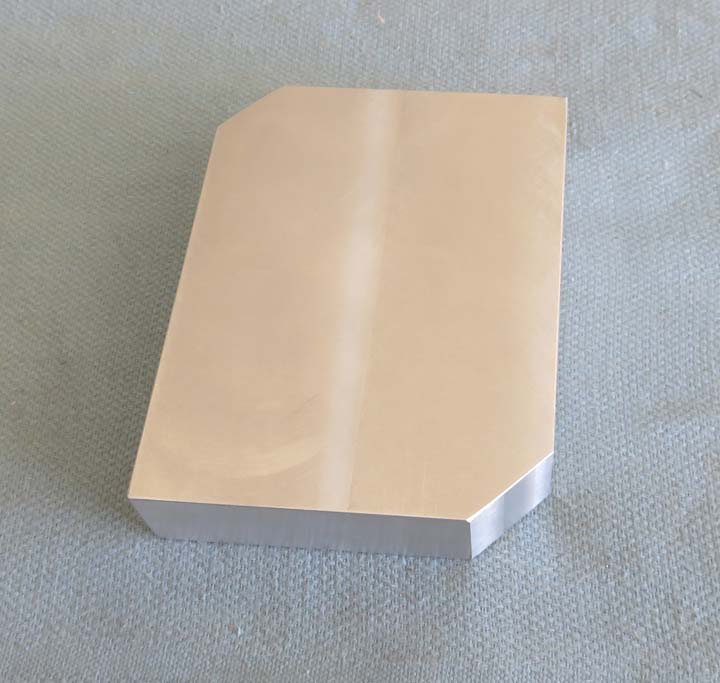
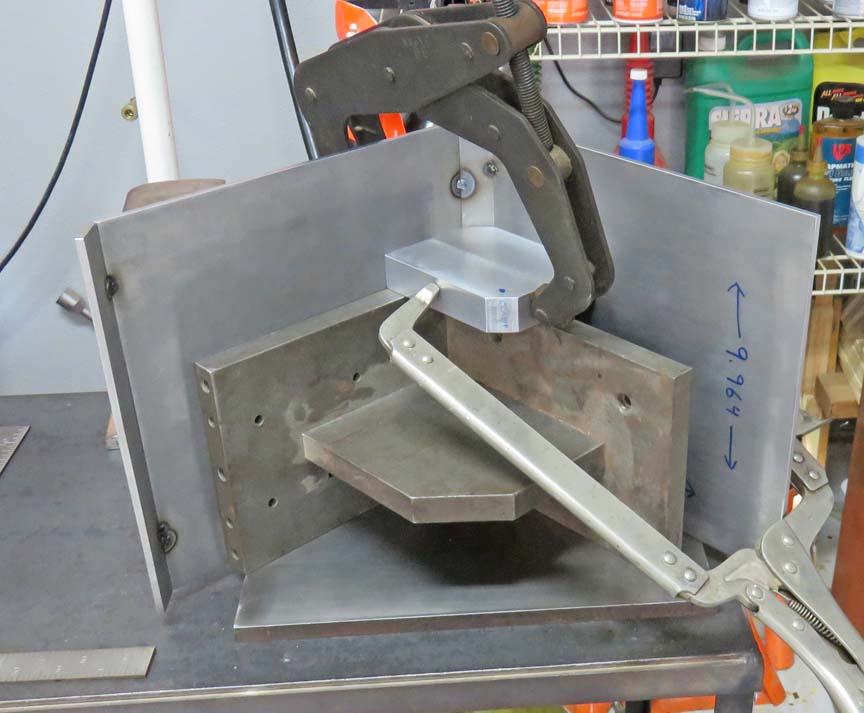
Making Tooling I'm getting ready to weld the sides together and to help
with that I'm making some tooling. I squared this block of aluminum first and now I'm
making that 45 degree angle the same length as the smaller corner
pieces.
|
|
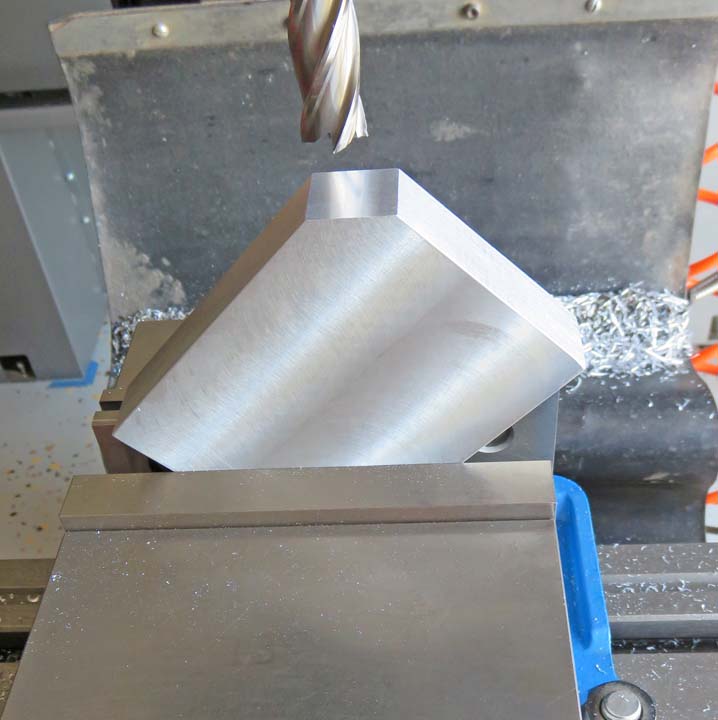 |
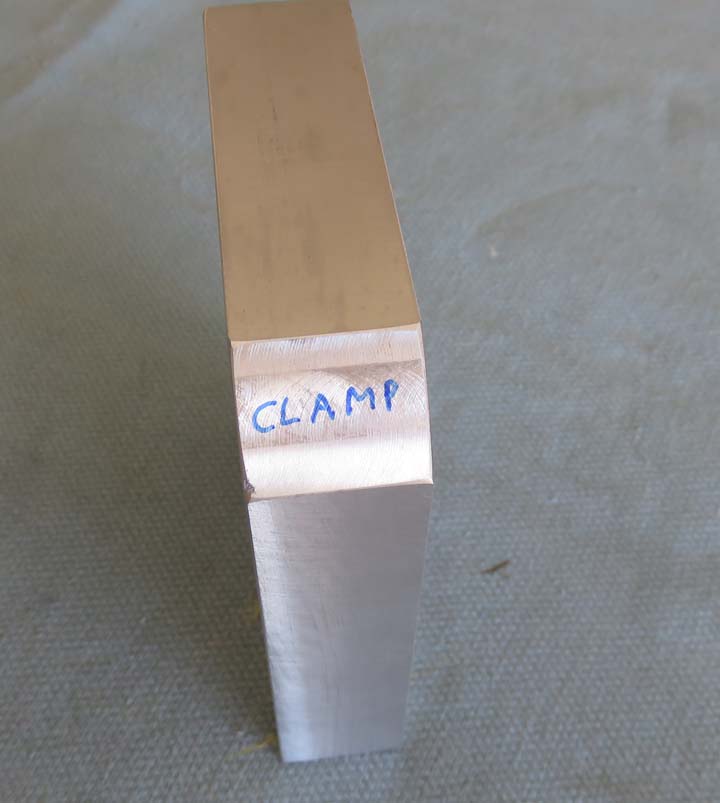
This block is going to be a welding fixture to help keep one large side and
one angled piece in the right position. The second 45 on the other end is
for clamping on.
|
|
 |
So I don't get confused.
|
|
 |
|
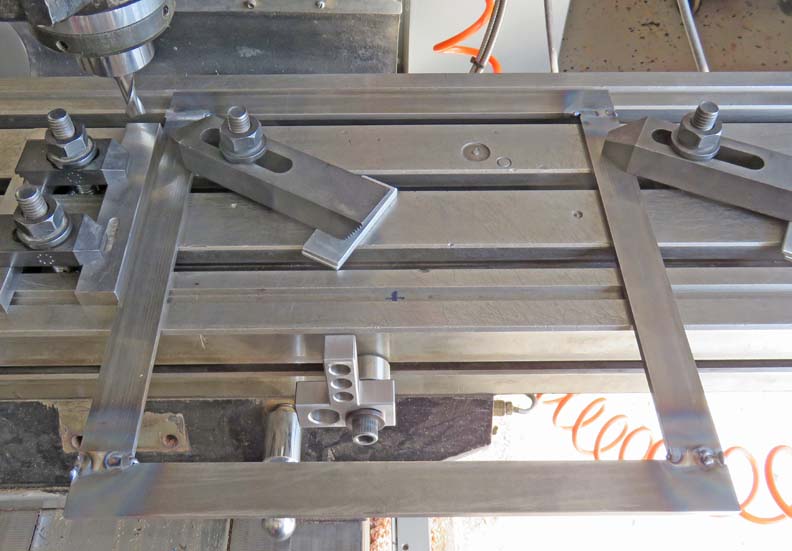
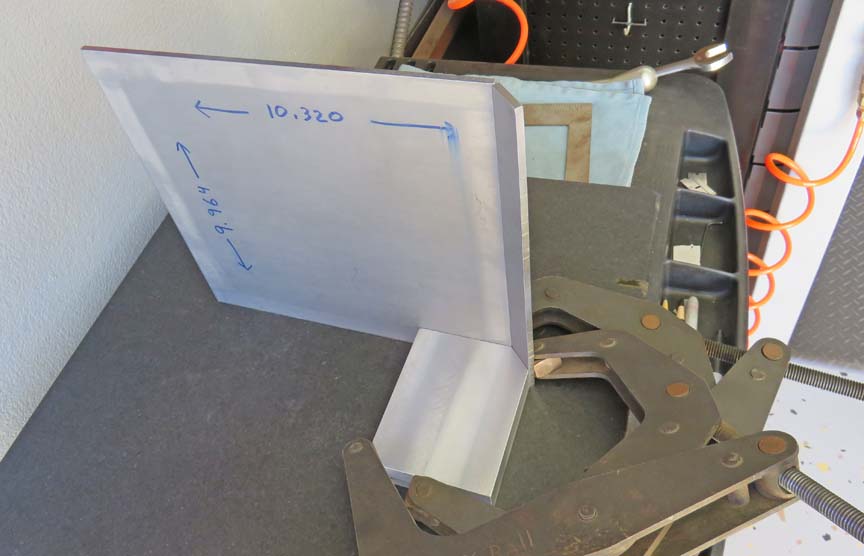
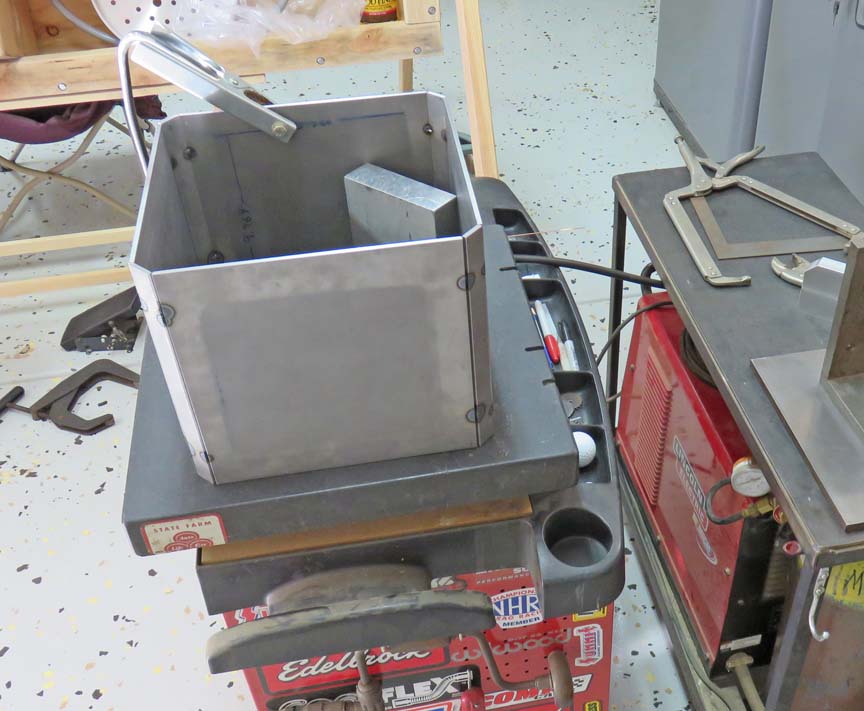
Tack Welding The Sides Together
I'm using my surface plate to setup on because it's very flat. And with
all the pieces getting welded that are already square, this makes sure I get the
two pieces in the right place.
|
|
 |
|
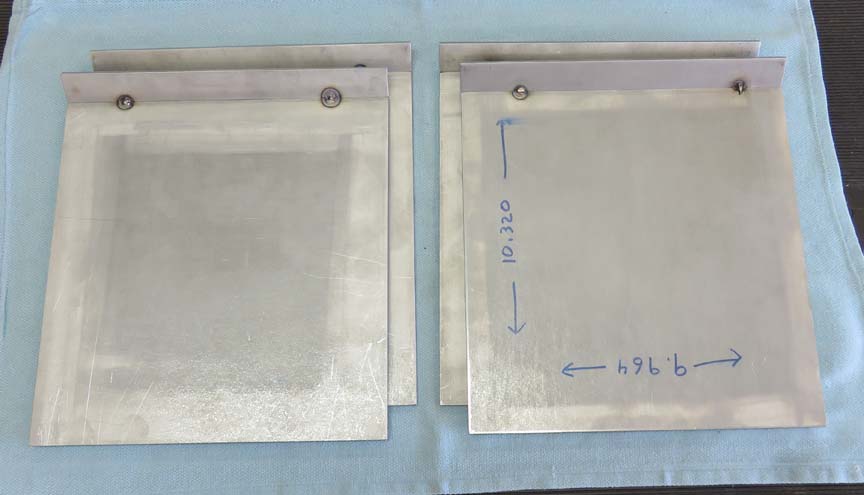
That fixture worked pretty good and now I have all the
sides tack welded. This was the easy part, fully welding them is much
harder because I'll have to deal with heat related issues.
|
|
 |
|
Here I'm welding the sides together. Now this turned out
to be a challenge, much more than I thought. To keep everything square,
I'm using a nice flat steel plate to rest my pieces on. However, that
flat piece isn't very big.
|
|
 |
|
I ran out of real estate on that smaller steel plate so I had
to use my surface plate. This worked great but I had some trouble
getting the last piece nice and square. But to be honest, I never really
did get every piece perfectly square, but I got pretty close.
|
|
 |
|
1
2
3
4
5
6
7
8
9
10
11
12
13
14
15
16
17
18
19
20
21
22
23
24 |