|
Aidan's
Safe 22
12-2018
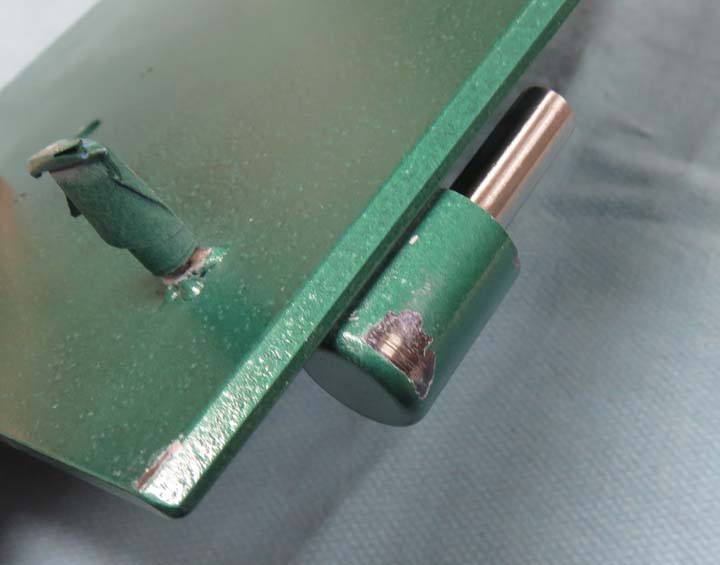
Speaking of shims, I didn't use enough under the hinges either.
|
|
 |
See what I mean. Time to fix this too....
but that's not all of it.
|
|
 |
|
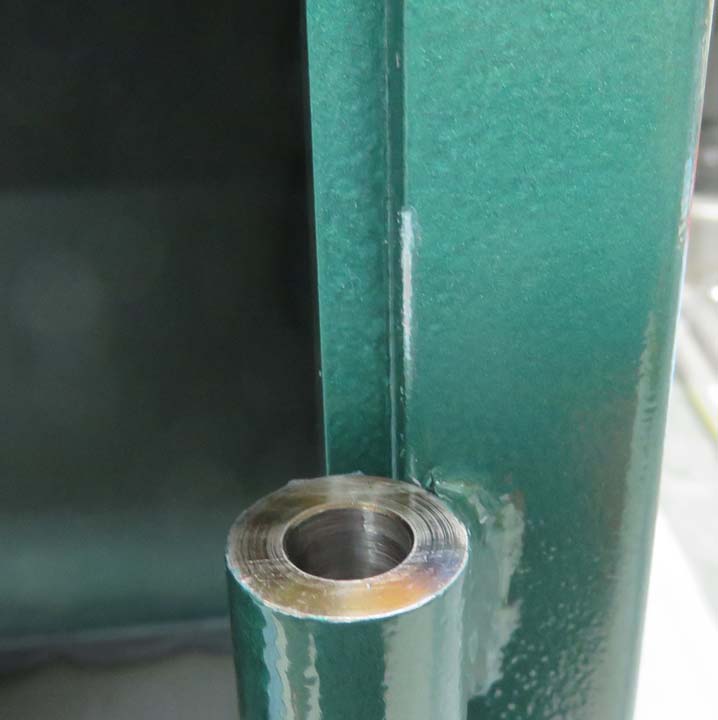
I had to do something and this is what I came up with to
make some much needed clearance. By using my Dremel and a sanding drum,
I removed some paint and some steel too. I figured that I could always
use a brush and do some touch-up.
After trying the door like you see below, I didn't
have enough clearance because the door was still having a hard time
shutting all the way. That meant I kept using my Dremel until I had the
door working like I wanted. However, I didn't take a picture of it
because I got into high gear and just wanted to finish it. I ended up
sanding along the top and bottom of the door (about half way down) and I
made it wider along the back which did the
trick.
|
|

|
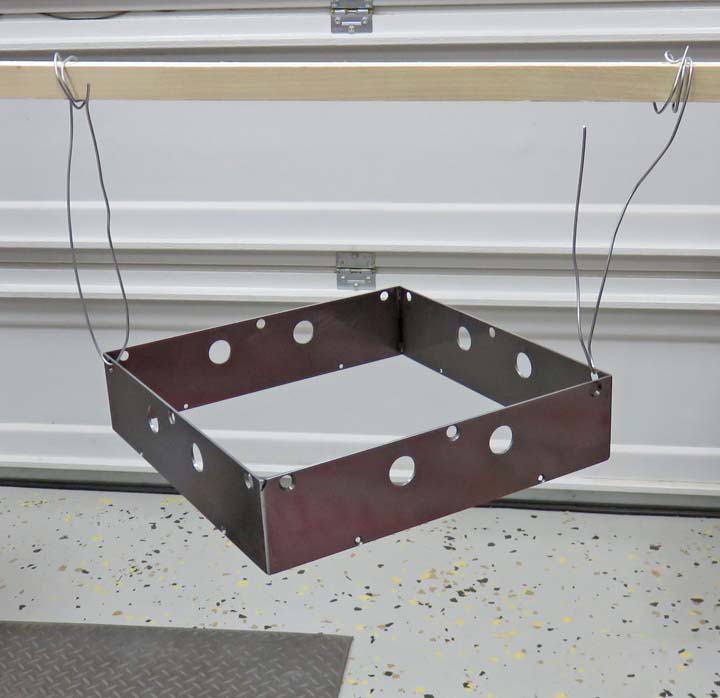
While I was in the paint booth, I sprayed clear on this piece so it
wouldn't rust. Remember, this box is made out of mild steel and it would
corrode after awhile.
|
|
 |
|
Interior
The interior of a safe can be anything you want,
depending on what you're going to keep inside. Well that's the question,
I'm not sure what my grandson is going to put in it. With this in mind,
I'll just lined all six surfaces inside and if he wants something else in
the future, I'll change it or add to it.
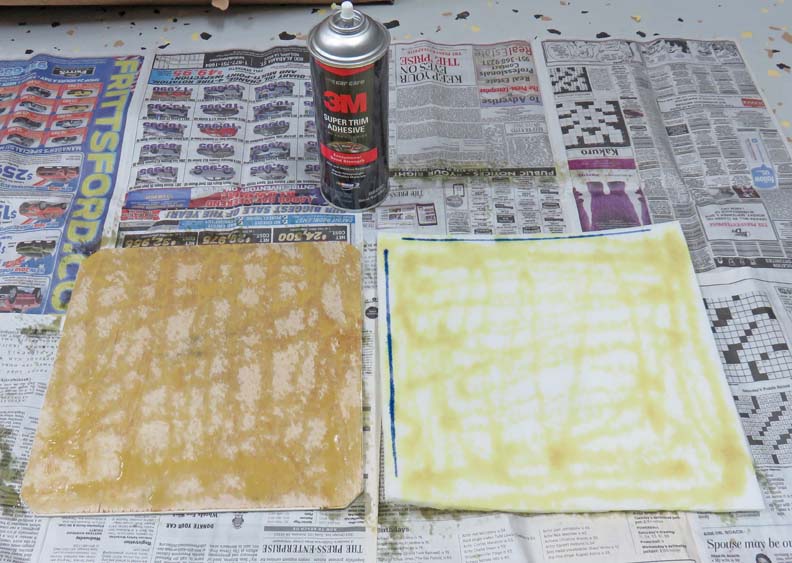
Doing this kind of interior isn't difficult but it does
take time. I decided to use some wood paneling for the structure (less
than 1/4" thick), cover that with 1/4" foam and then cover the foam with
material. I did something similar while working on my
33 Ford awhile back.
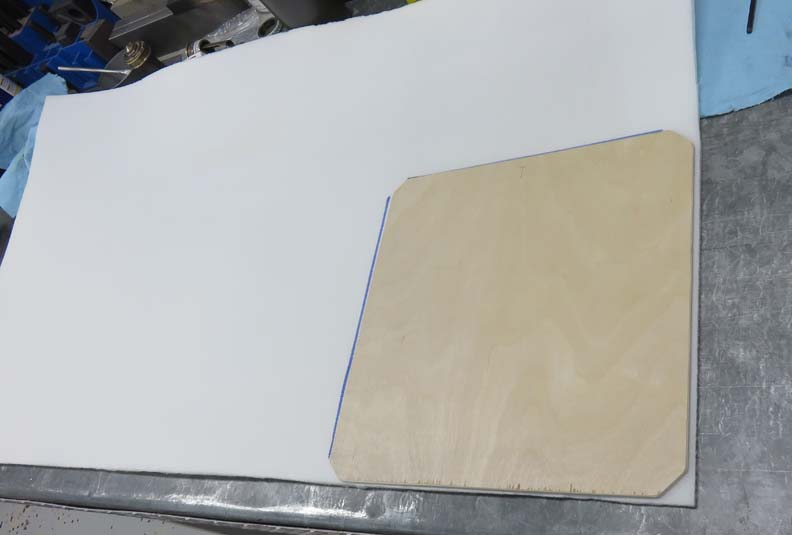
First I made a cardboard template of the size I wanted, then transferred
that to the wood and then cut that out. After sanding the wood, I cut
out some foam slightly larger than my wood piece.
|
|
 |
|
I'm using some spray glue, which is the same stuff I
used on my car. What you do is spray both surfaces, wait 5 to 20 minutes
and then stick them together. I make sure to rub every square inch and
use downward pressure while doing this to make sure it
sticks well.
|
|
 |
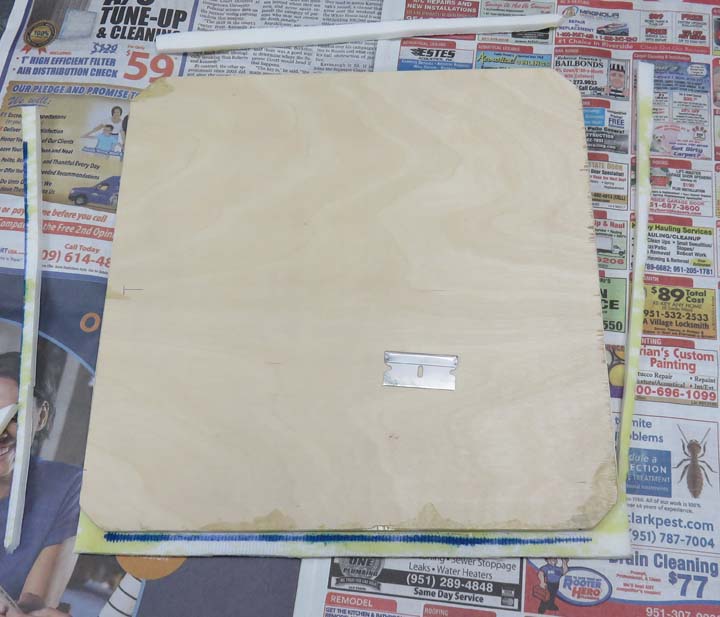
Then once it dries for a few minutes, you come back and trim off the
excess material with a razor blade. I use the edge of the wood as my
guide which goes nice and quick.
|
|
 |
|
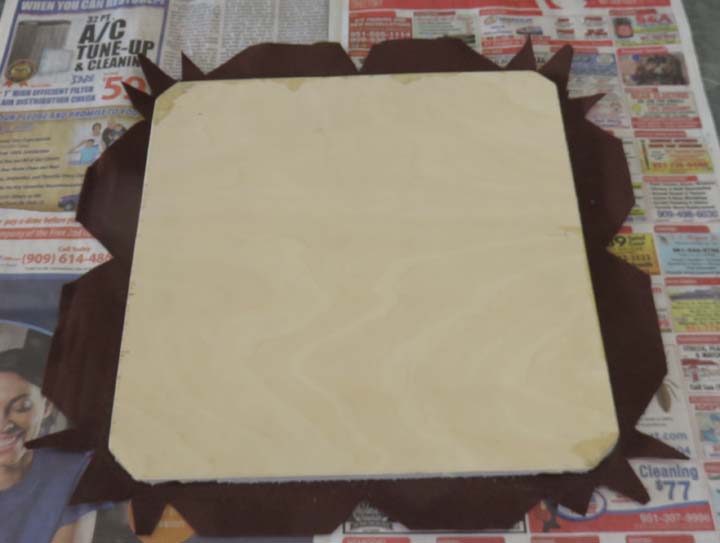
Now it's time to cover the foam with some material. And
for that I'm using some thick felt. They make all different thickness' of
felt and I wanted something that would last for him. If you're wondering
why all odd shaped cuts, that's what it takes to make it look right for
this piece.
At this point I've glued on the material, but have not
applied any glue to the edges yet. This is where you do a series of cuts
to fit everything before gluing. Note: if you cut to far on the notches,
say to close to the wood, you'll see it on the finished side when your
done, so you have to be careful with your scissors. Now that all the
cutting has been done, it's time to spray some glue on the material and
wood surfaces, wait a few minutes and then fold all the pieces onto the
back.
|
|
 |
|
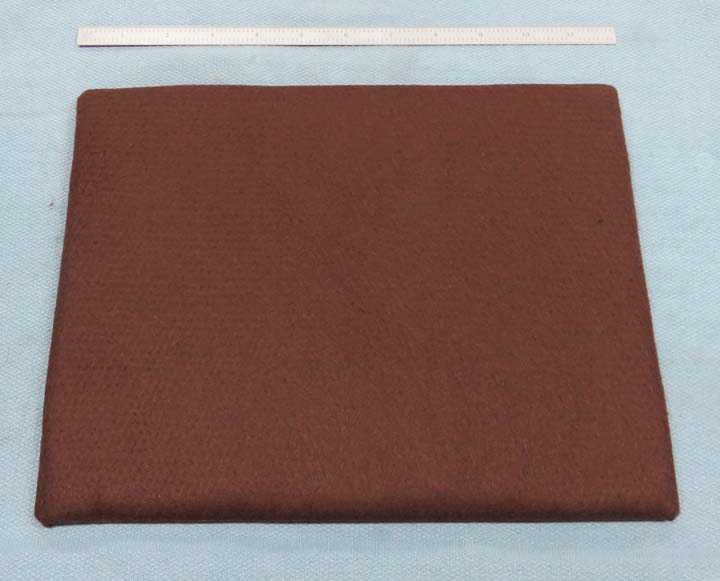
I know this is a different piece below, but if
everything goes according to plan, you should end up with a nice looking
piece when you're done. The piece below will be for the top or bottom,
because they're both the same size. And if you're wondering why I didn't
show you the other piece from above, it's because that piece is really
hard to get into the box. You have to wiggle, slide, push, move a little
more, this way and then that way so it will fit. Once I had it in, I left
it.
|
|
 |
|
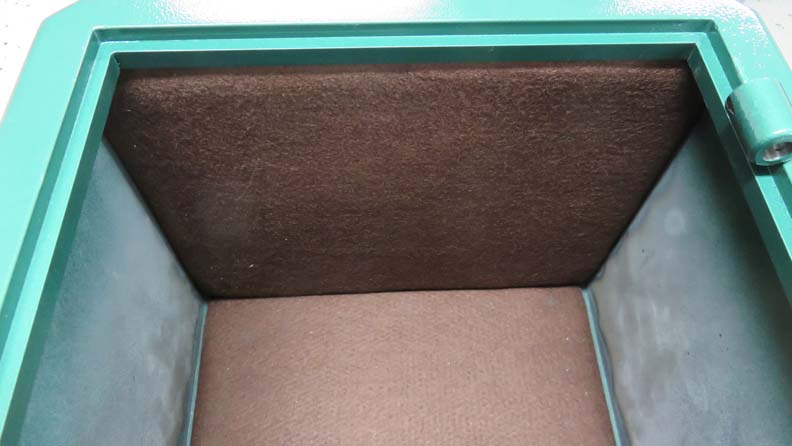
I know the lighting is bad but this should give you an
idea what it's going to look like. I could have given Aidan an empty
safe without an interior at all and saved myself a lot of work, but
that's not how I do projects. Even if I dig myself a hole, I'm willing
to give anything a try and go from there. I mean, what's the worst that
can happen?
|
|
 |
|
1
2
3
4
5
6
7
8
9
10
11
12
13
14
15
16
17
18
19
20
21
22
23
24 |
|