|
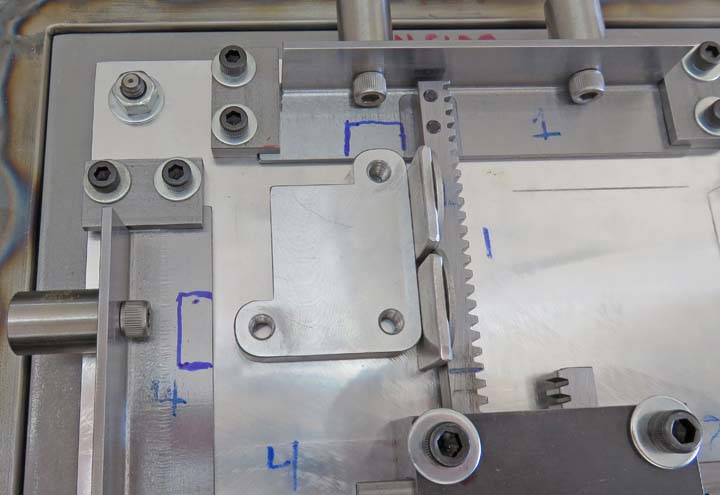
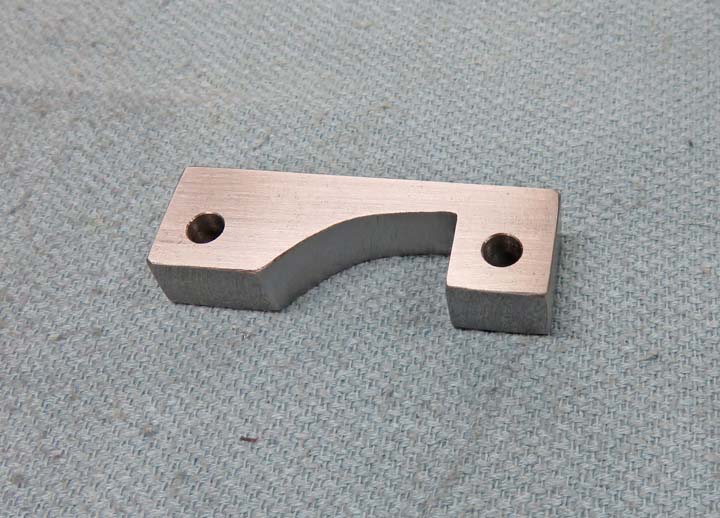
What I plan on doing is using the lock to stop the
motion of the rack system. However, with the limited amount of space I'm
working with, I'll need to get creative. Notice I've removed some
material from my spacer block and rounded two corners. The reason for
this is because I plan on notching two areas in the angle iron so it
clears the spacer block. No big deal but I'll need to take things back
apart again.
|
|
 |
|
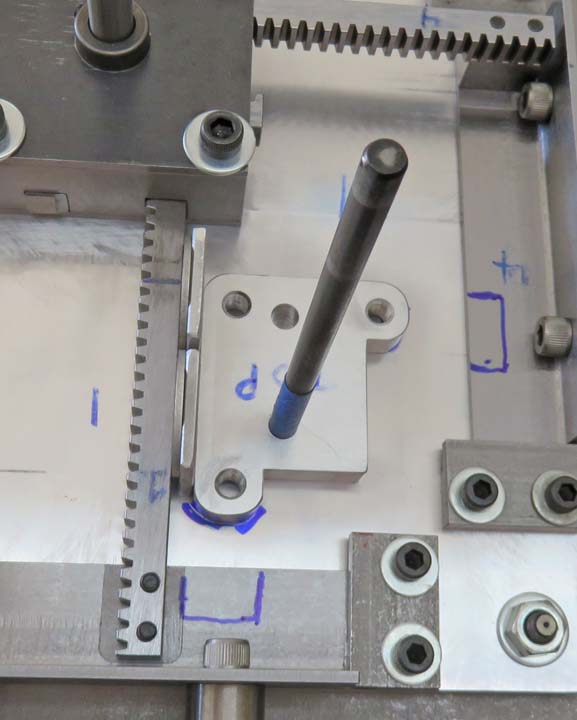
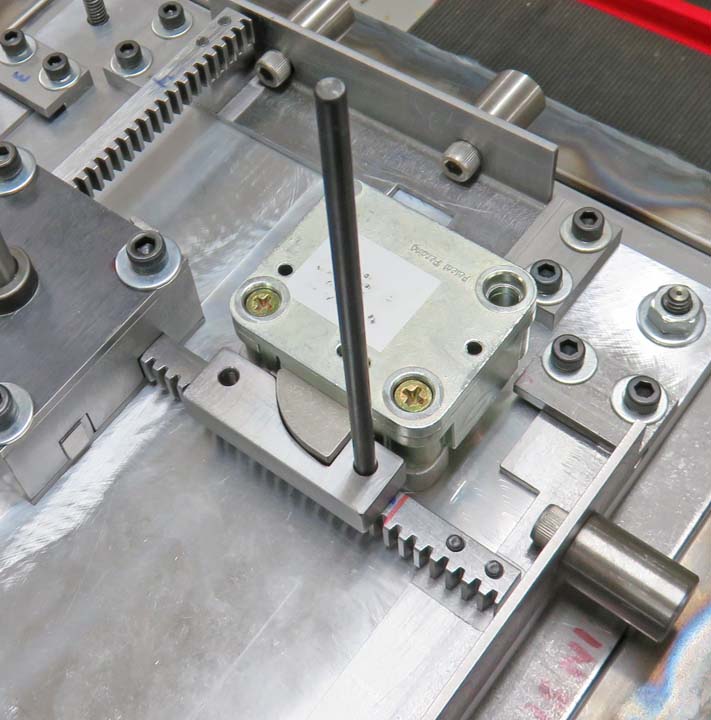
I'll be using two flat head screws to hold down the
spacer block. What I'm doing here is figuring out exactly where I want
the spacer block mounted. With the aid of some shims that equal 3/16",
I've spaced the block away from the rack and I'm transferring one hole
location to the sub plate. Once I pickup that one spot I can drill the
other the same distance that I made the spacer block.
|
|
 |
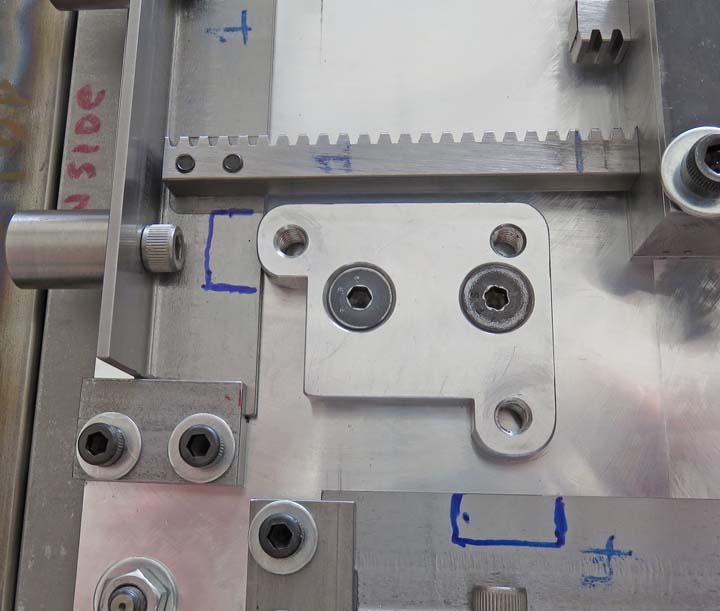
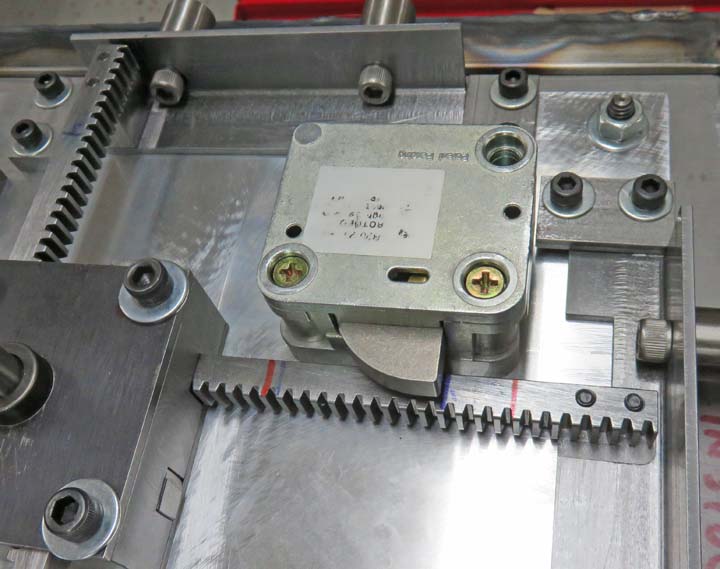
Here is the spacer block bolted down and ready to go. Now it's time to
do some notching.
|
|
 |
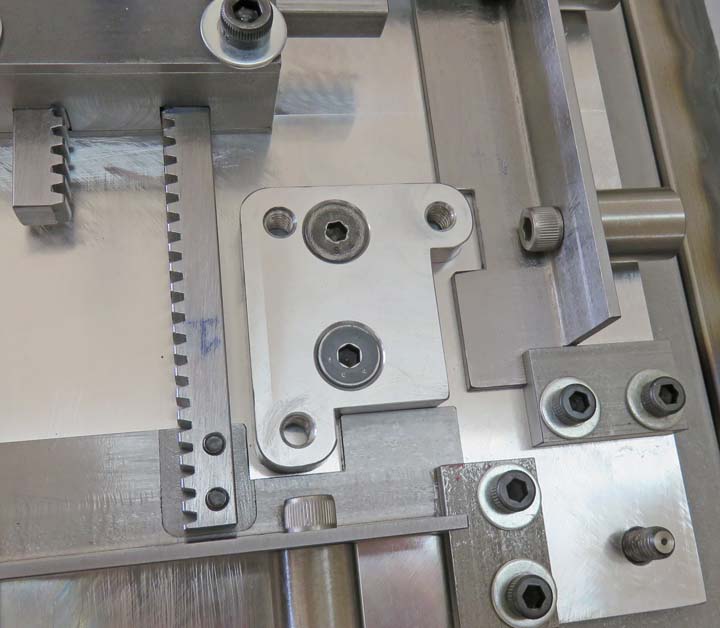
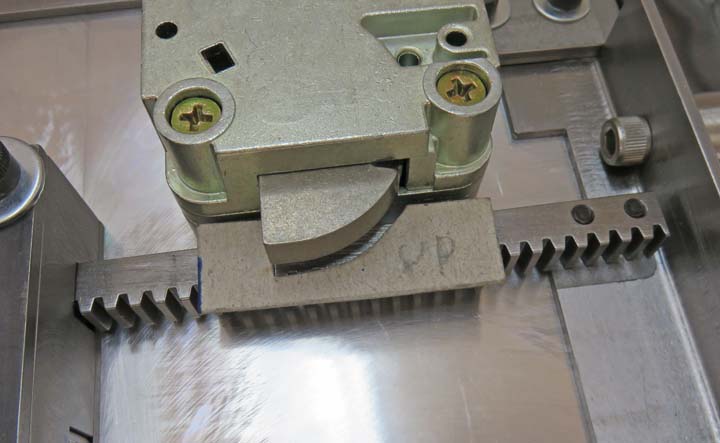
Here you can see the notches to clear the spacer block. This went quick
and was easy, but it's time consuming taking things apart and putting
them back together again.
|
|
 |
Here is the electronic lock bolted in place and you can see it sits just above the rack.
Now I'll need to make a block that will be the same shape as the
half-moon piece in the electronic lock.
|
|
 |
I like to use cardboard to make my patterns, which is quick and easy to
do, just to make sure everything looks right. This also helps me
visualize the piece I'll be making as well.
|
|
 |
|
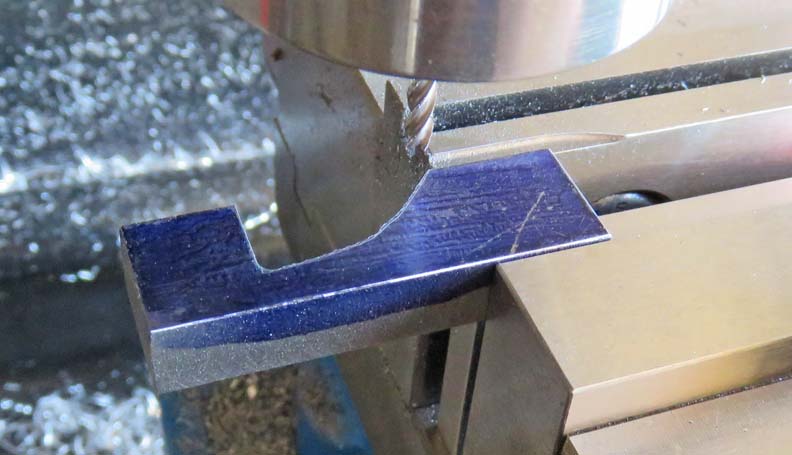
This block is 3/8" thick and I used my cardboard pattern
to scribe a line on my work piece. I'm using a 1/8" end mill here and
working right up to the line, but not past it.
|
|
 |
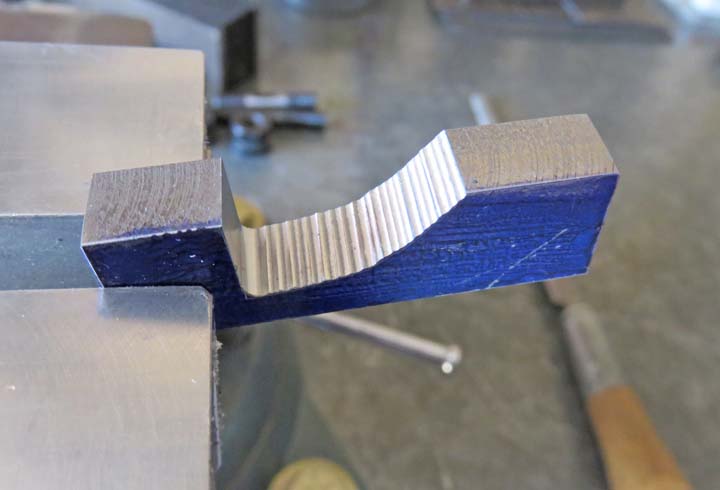
Here is what it looked like right out of the milling machine. Now it's
time to file down the high spots. This went fast and it was easy.
|
|
 |
I also put two clearance holes for some # 8 screws in my lock block.
This should work out pretty good.
|
|
 |
I'm transferring one of the two holes onto the rack below. I also made
my clearance holes a little oversize so I have some adjustment just in case.
|
|
 |
|
1
2
3
4
5
6
7
8
9
10
11
12
13
14
15
16
17
18
19
20
21
22
23
24 |