|
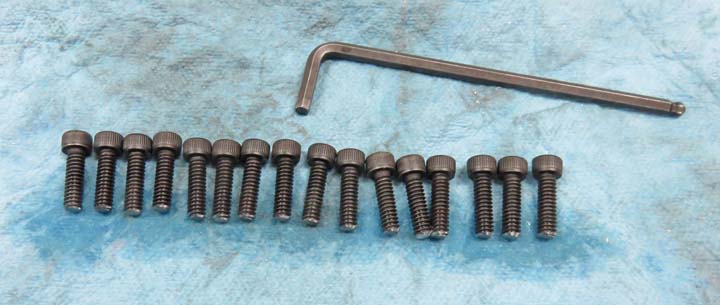
I had to shorten each screw a small amount but when I
did that, now the ends don't have plating any longer. I didn't want the
ends to rust so I put some oil on each one.
|
|
 |
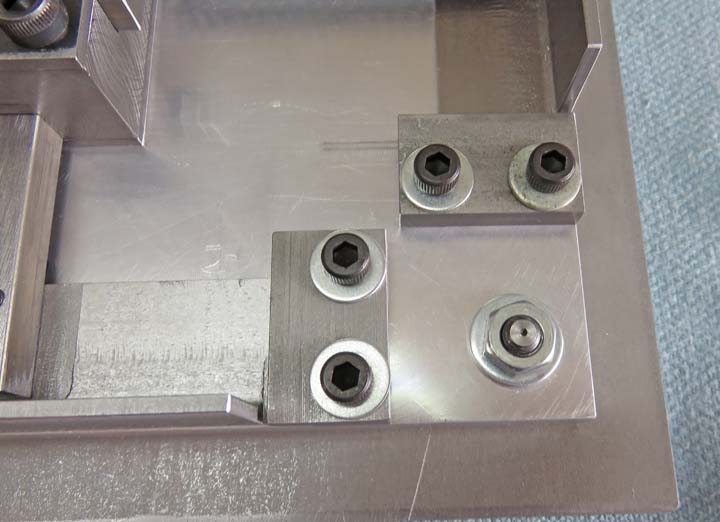
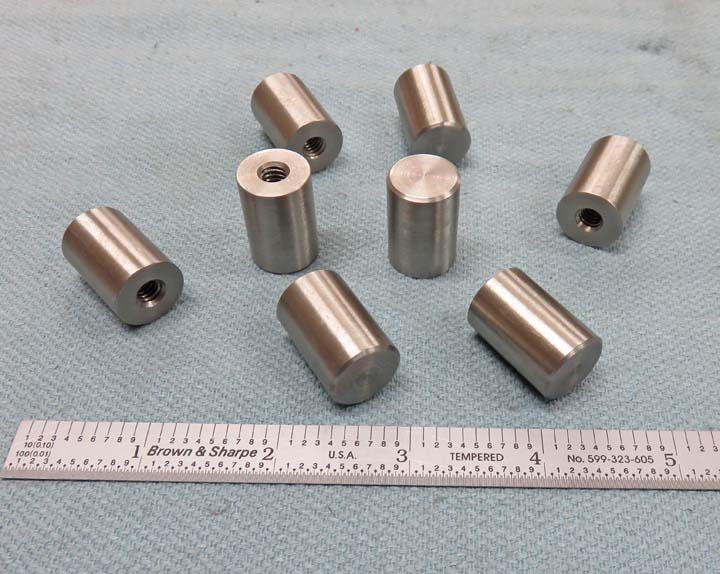
A close-up of the pieces that I made.
Simple design but it should work good.
|
|
 |
|
Lock Bolts
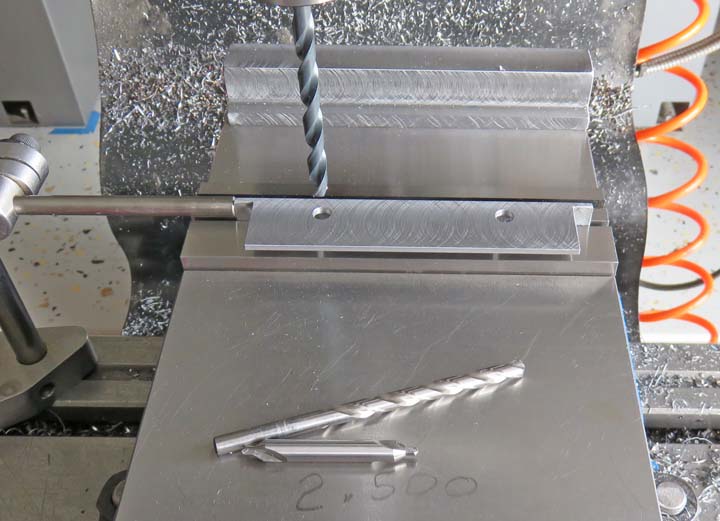
I took everything apart so I could drill some clearance holes in the
angle iron, which will be used for the lock bolts. I'll be using two
lock bolts per angle iron.
|
|
 |
Here I'm drilling and tapping some 1/4-20 threads in the lock bolts.
|
|
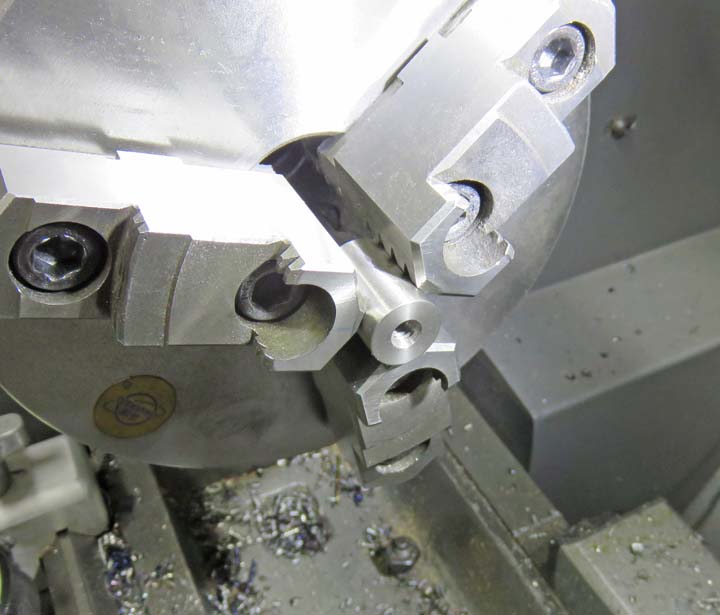 |
These lock bolts are 5/8" in diameter X 1.000" long and made out of
stainless steel.
|
|
 |
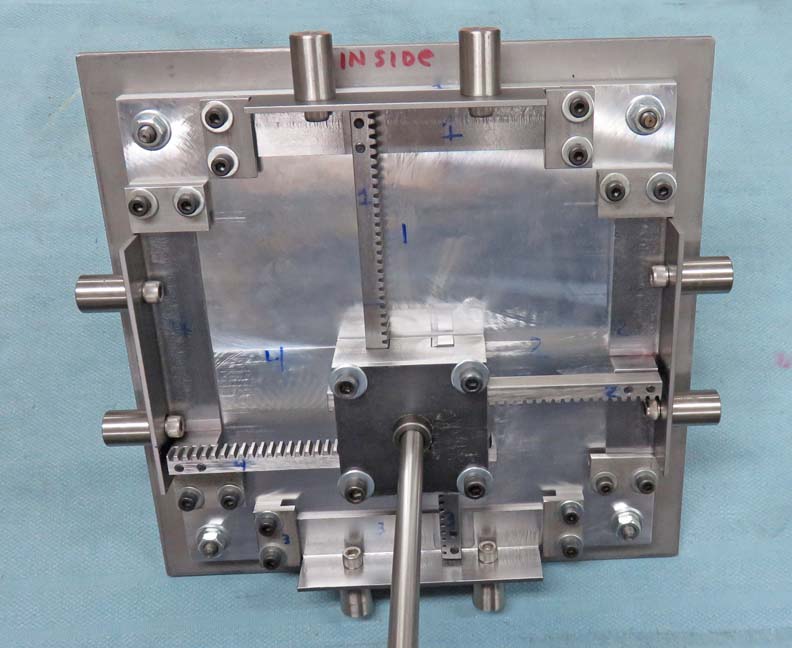
Finally this is starting to look like a safe door. And so far it works
great! But what am I going to do about a lock?
|
|
 |
|
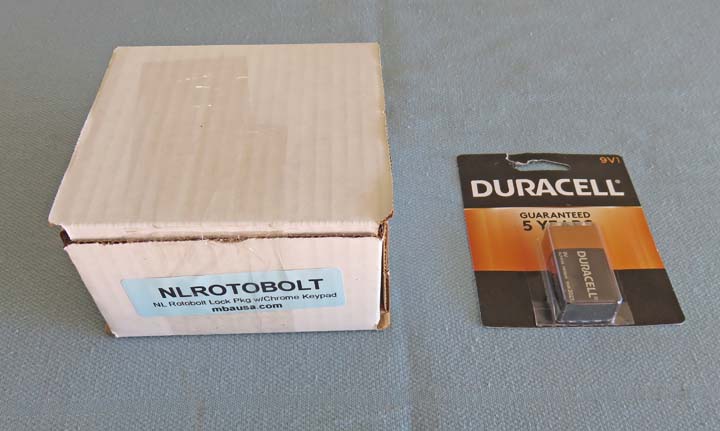
The Lock I've been thinking about this lock problem for a few days now and what I
came up with is an electronic keypad. I thought about going with a dial
combination lock but I think my grandson would like something electronic
much better.
|
|
 |
|
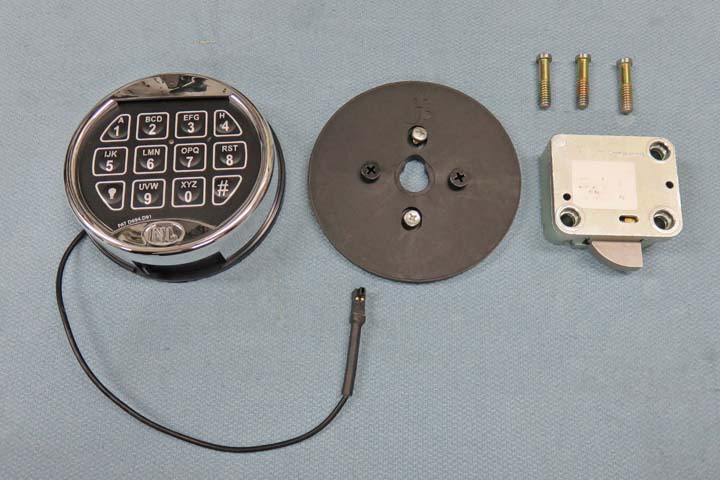
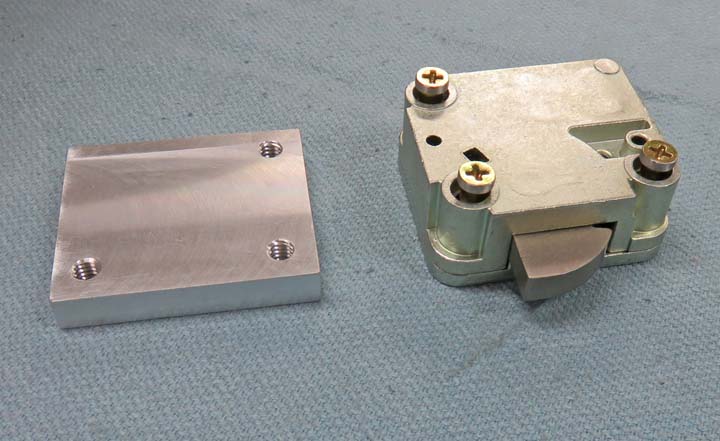
The unit uses a six digit code, has a built in light and
the battery goes into a door at the bottom. The piece in the center is
an adapter plate, which the key pad attaches to. But for now I'll be
concentrating on the piece to the right, which is the actual lock that
came with it's own screws. Oh, the lock can be mounted from either side,
in any position, giving you a few options.
|
|
 |
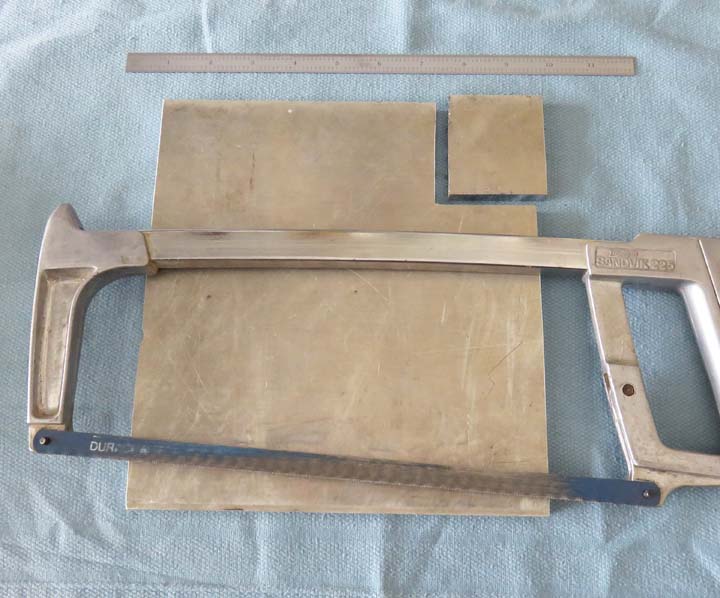
The lock will need to be raised about 3/8" for what I have in mind so
I'm cutting a piece of aluminum for this. I sure could use a bandsaw.
|
|
 |
I squared my spacer block on all six sides and drilled and tapped for
1/4-20 threads. The screws that came with this unit are custom and will
only work with this lock set.
|
|
|
|
1
2
3
4
5
6
7
8
9
10
11
12
13
14
15
16
17
18
19
20
21
22
23
24 |