|
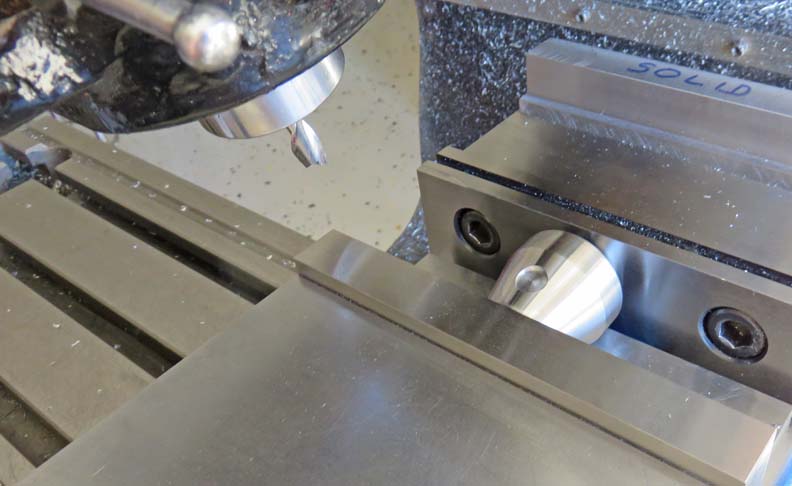
I'm cutting a pocket on the 15 degree angle for the
handle here. I'll also be drilling and tapping some 1/4-20 threads as
well. In order to do this I had to tip the head of my milling machine to
the same angle as my work piece.
|
|
 |
|
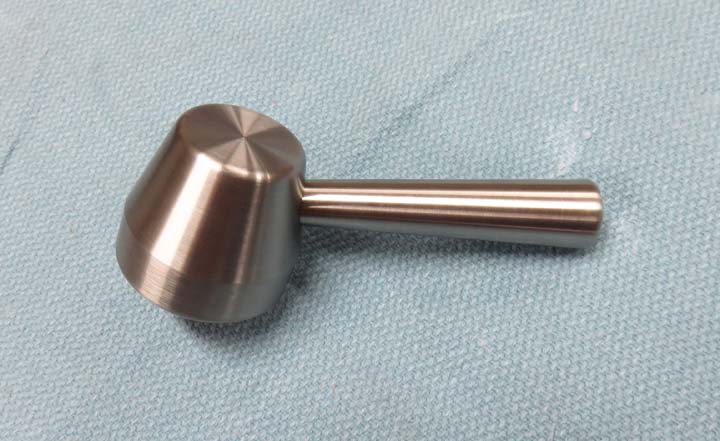
Here is the handle, which I'm not happy with. At least
not yet. As I was machining the center part for the handle, I
wasn't liking the area the setscrew was in so I decided to change it.
|
|
 |
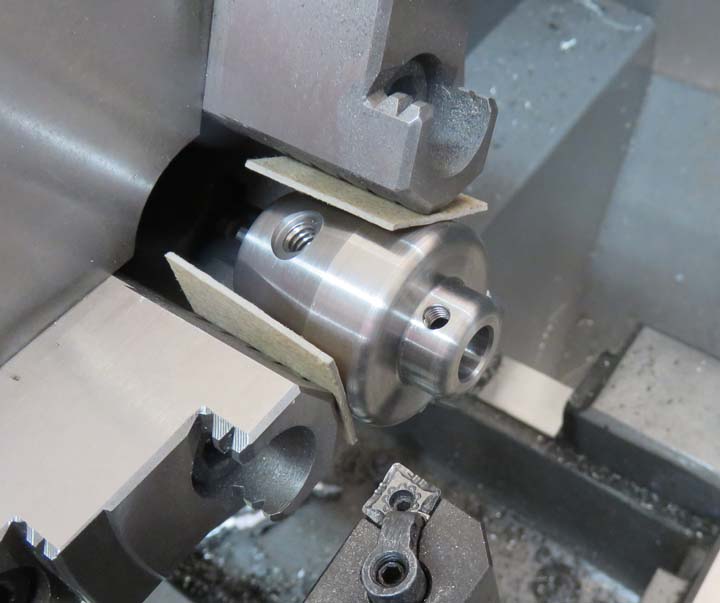
What I'm getting ready to do is remove that smaller diameter altogether.
Then I'll go back to the mill and put another hole for the setscrew.
So...now you see it...
|
|
 |
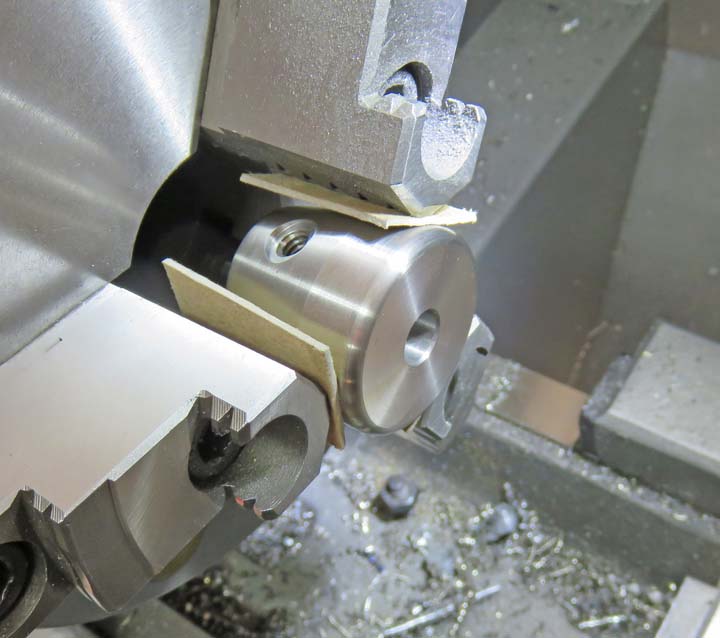
And now you don't. This will be a cleaner look and will sit against the
safe door a little better.
|
|
 |
|
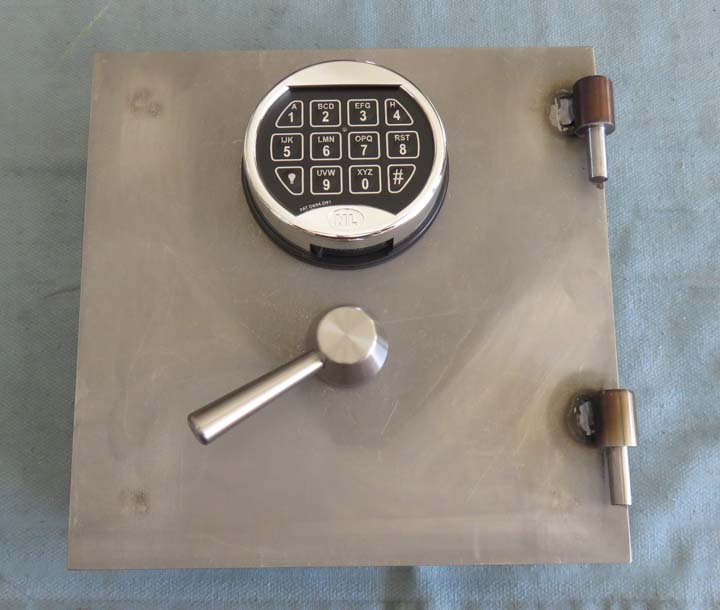
Now you can see why I went with one spoke for the
handle. I just didn't have the room to have three or more spokes as they would
be in the way of the key pad. And yes I thought about using three spokes
and having the two facing upward in this way - 'Y' - (with one leg
facing downward) but it was going to be to
crowded in my opinion. Anyways, this will be the look and I hope he
likes it.
|
|
 |
|
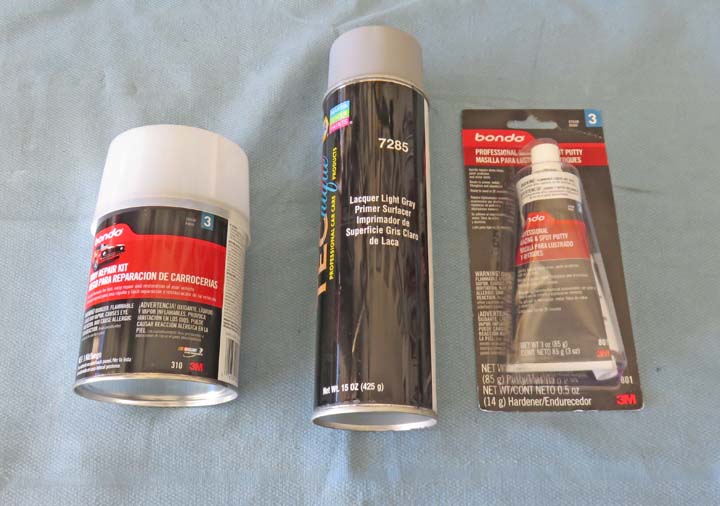
Paint & Body Work
I haven't done any paint and body work in a long time
so this will bring back some memories of working on my 1971 Camaro from
yesteryear. What I have below is (left to right) body filler or Bondo,
primer and for the pin holes, glaze. The body filler and glaze are a two
part mix and once I opened the can of Bondo, the smell brought me back
to those good old days.
|
|
 |
|
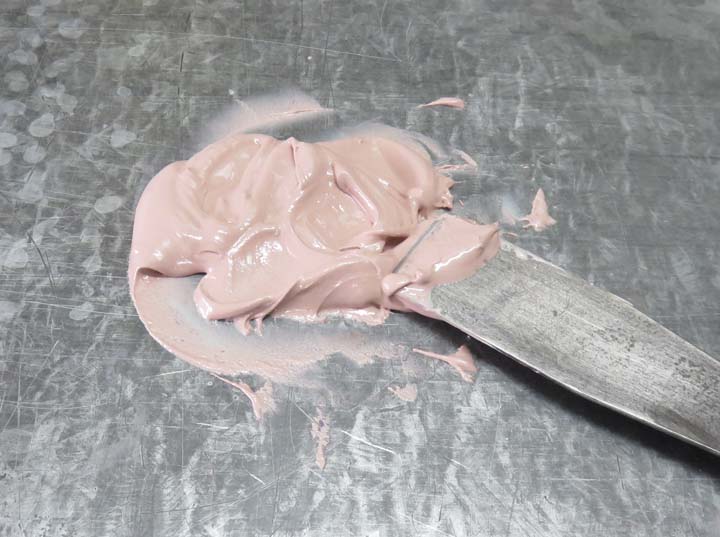
I mixed both products right on my work bench because it's
covered with a thick piece of sheet metal. This works great for this
kind of thing because it makes easy clean up with some lacquer thinner.
I used my putty knife to mix with but used a plastic paddle to apply it.
|
|
 |
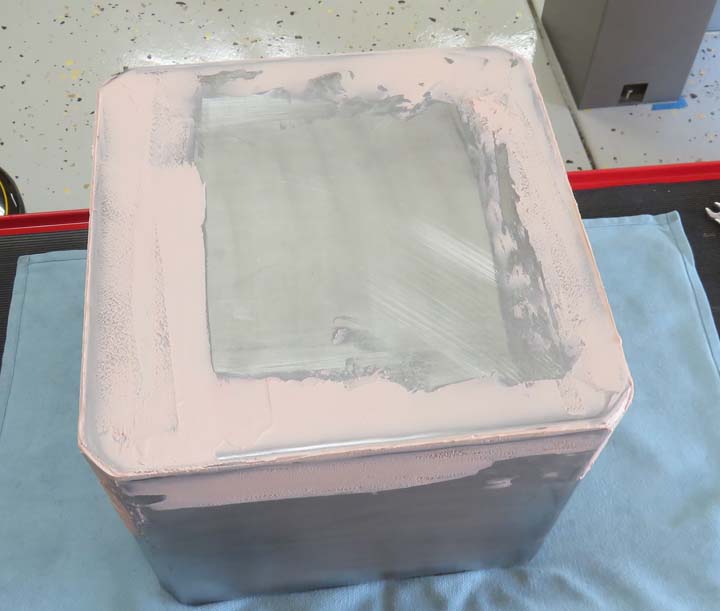
I didn't need very much because there wasn't and large dents, just a few
low spots here and there.
|
|
 |
|
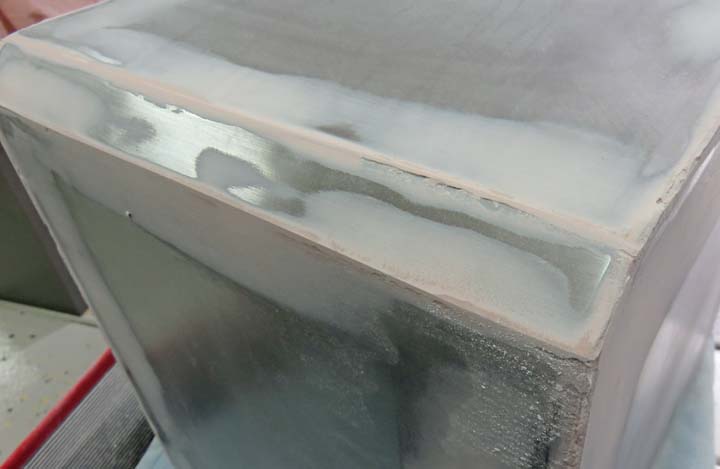
What I really wanted to do is make all the weld joints
even so I made sure to bring all of them to a sharp edge. Once they were
all at this stage, I went back and rounded them all the same size.
|
|
 |
|
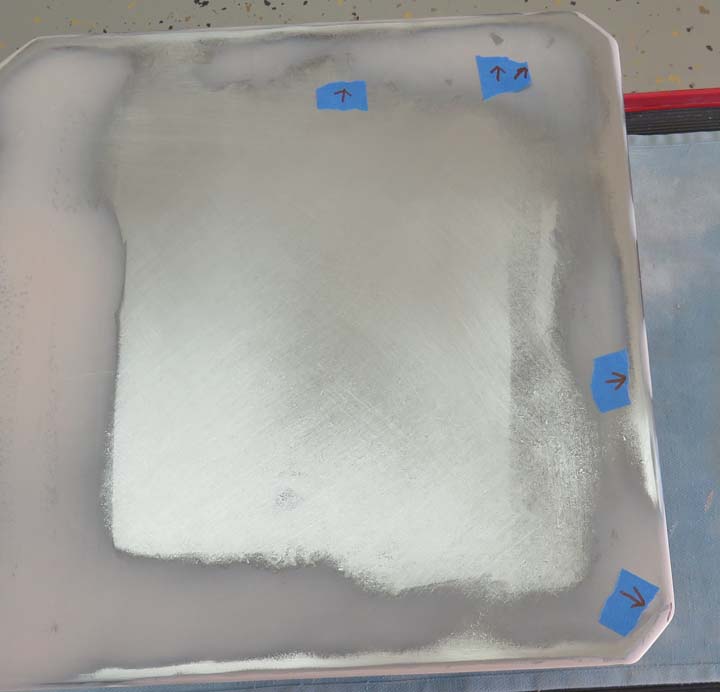
Once I had most of the rough work done, I needed to fill
some smaller areas. This is where the glaze comes in, it works great for
this kind of thing. I put tape next to the areas that needed attention
so I didn't forget (more on other sides).
|
|
 |
|
1
2
3
4
5
6
7
8
9
10
11
12
13
14
15
16
17
18
19
20
21
22
23
24 |