|
Oops!!
Speaking of digging myself a hole, that's exactly what
I've done here. As you remember from the last picture, that piece was
for the top or bottom. Well, after looking at it for a minute it hit
me....the edge of the material is right near the edge of the door frame.
Why is that a problem? Because the lock bolts need some kind of
clearance in that same area. So now what?
What I came up with isn't the best fix in the world but
it will work. I'm going to make some clearance for the lock bolts by
making a cut-out in the top and bottom interior pieces. I placed this
piece on my milling machine, clamped it down and then cut the two slots
that you see below. After sanding away all the rough edges and foam, I'm
ready for round two with my material.
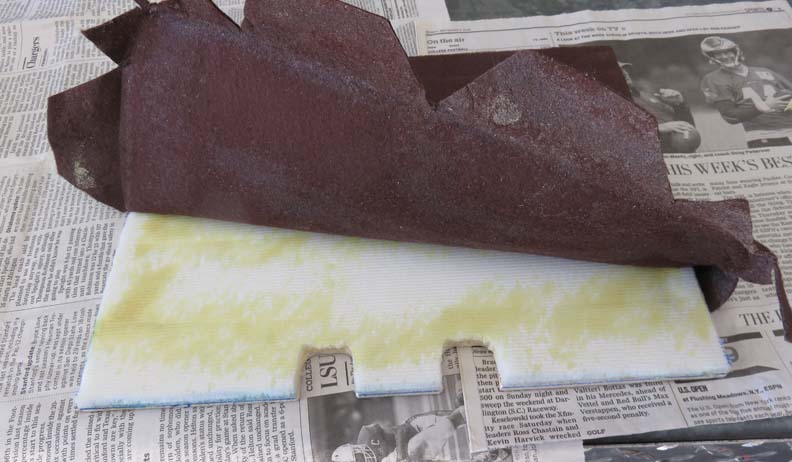
I cut the material around the slots very carefully,
sprayed some more glue, and then stuck it all back down one more time. I
got into high gear again and didn't take a picture of what it looked
like but I can give you a visual. Picture if you will the two cut-outs,
they are about one inch wide by one inch deep. And the lock bolts work
great now that we have plenty of clearance for them. So far so good.
But.....now you can see the metal of the safe box under the interior
pieces because of the open slots. Well that's not good but I can fix
that too.
Is it just me or do I seem to be "Mr. Fixit" lately?
|
|
 |
|
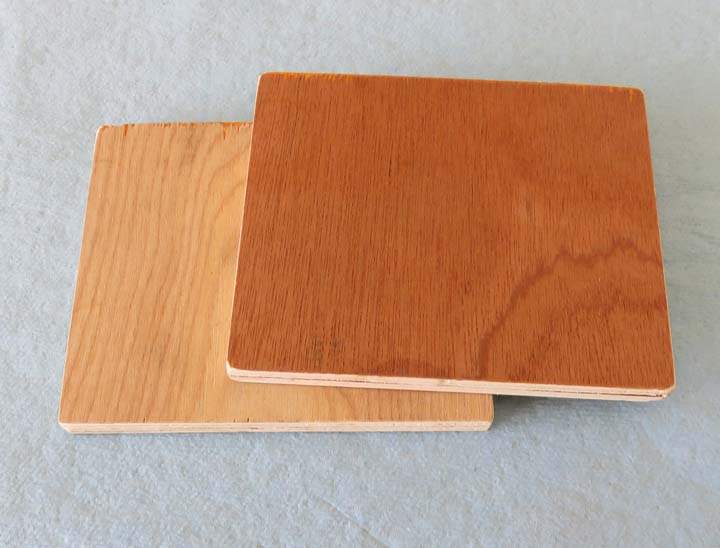
For this fix I'm using more wood, two pieces each to be
exact. I glued two pieces together (you can see the line between them if you
look close) machined all four edges on my milling machine, sanded them
both, and now I'm ready to cover them with material.
|
|
 |
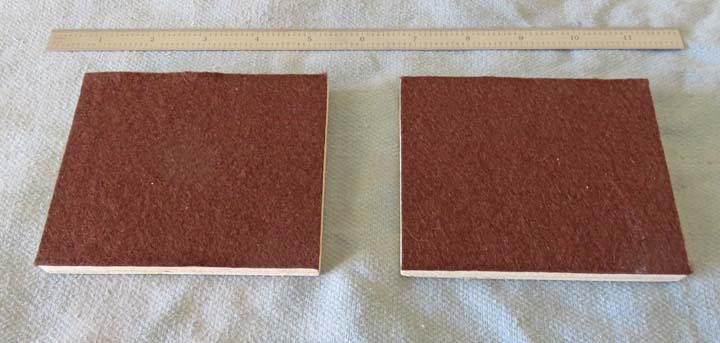
Here is what they look like at this point. These will go under the top
and bottom pieces and will be snug against them.
|
|
 |
|
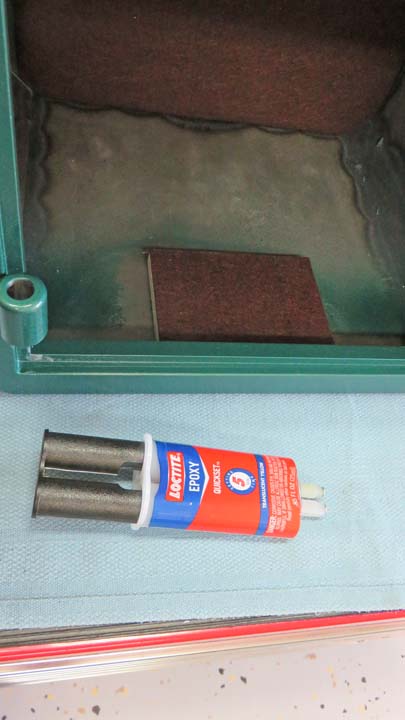
I mixed some epoxy, smeared it on the back of the wood,
cleaned the area with lacquer thinner and then stuck it on the box. This
epoxy sets up quick, about five minutes working time, which was perfect.
Once I had one in place, I waited about 10 minutes, turned the box over
and repeated the process.
|
|
 |
|
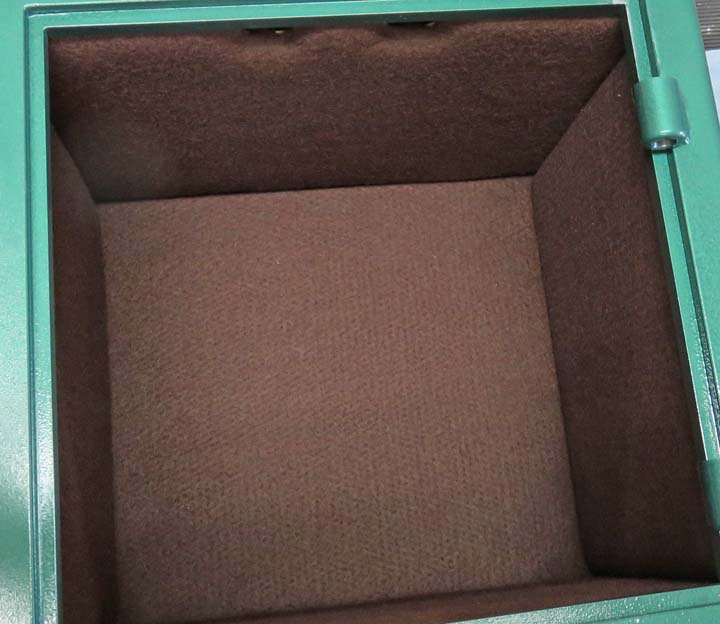
For the sides I used Velcro in two spots each to keep
them in place. As for the other pieces, they will stay in place because
the others are trapping them so they can't move. At this point, the
interior is finished but I'm not happy with it because of the lock bolt
problem. Plus it's getting very close to Christmas (December 21) so I had to work
quickly. With that being said along with all the problems I'd been
having, I'm starting to "get over this project", which doesn't happen to
me very often.
|
|
 |
|
It's Finished
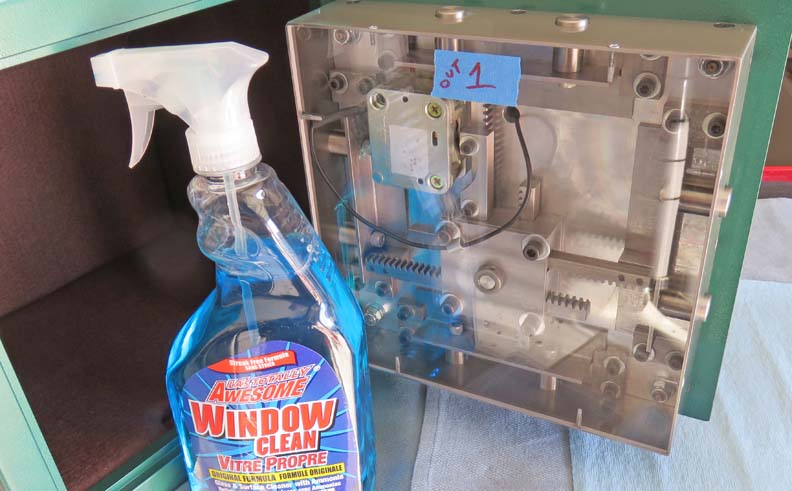
One of the last pieces to go on was this piece of
plexiglass. I had it in a safe place (no pun intended) so it didn't get
scratched. You see that blue tape with the info on it? The 'number one'
goes upward and the 'out' faces outward. The reason for the 'out' is
because the threaded holes are not in the center of the plastic. The
flathead screw heads are right at the edge of the box once I was done
chamfering for them. That made the centerline of the screws off-center
in the plastic by a small amount. I took all this in consideration when
I was working on it awhile ago.
|
|
 |
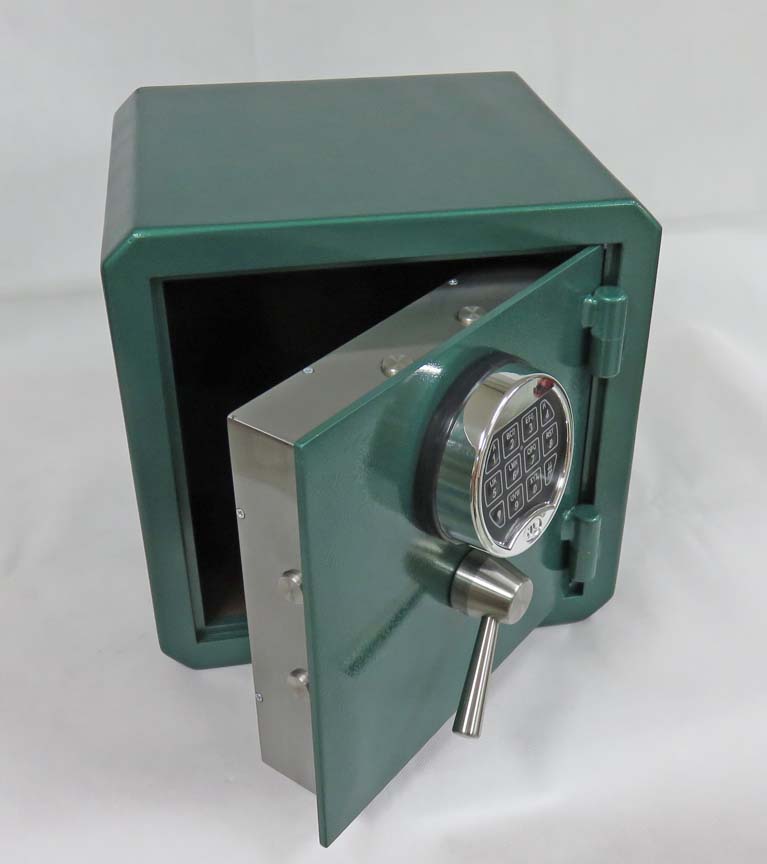
Well here it is all finished. Notice I placed the handle to the right
while it's closed. Aidan is right handed so I thought this would be more
comfortable for him.
|
|
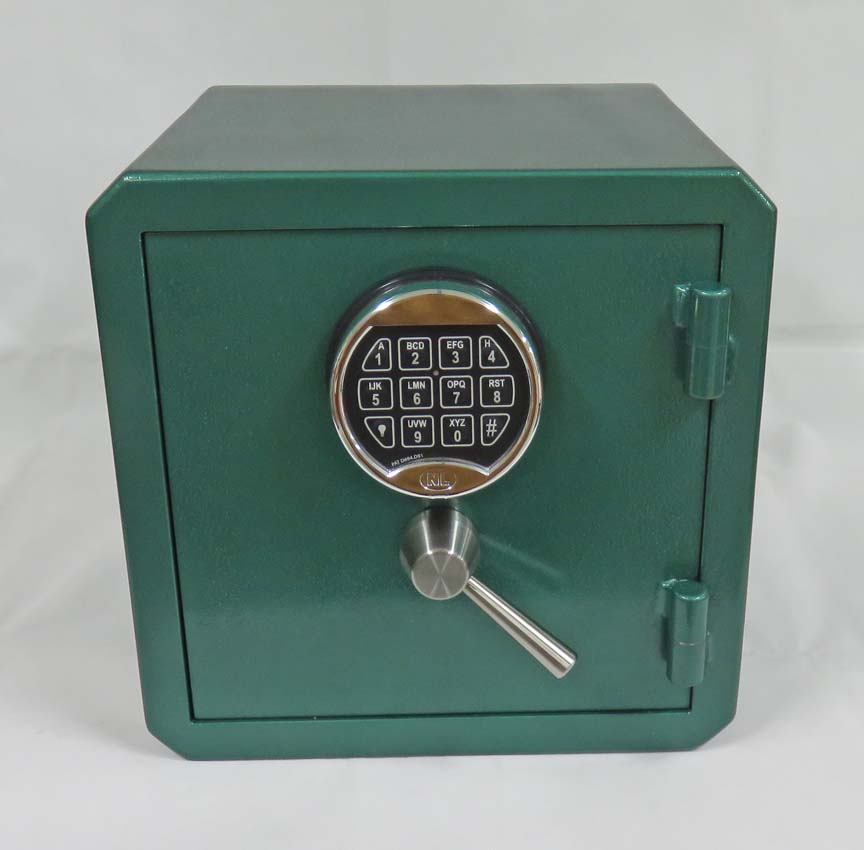 |
I like the corners with the large angles instead of just sharp edges.
|
|
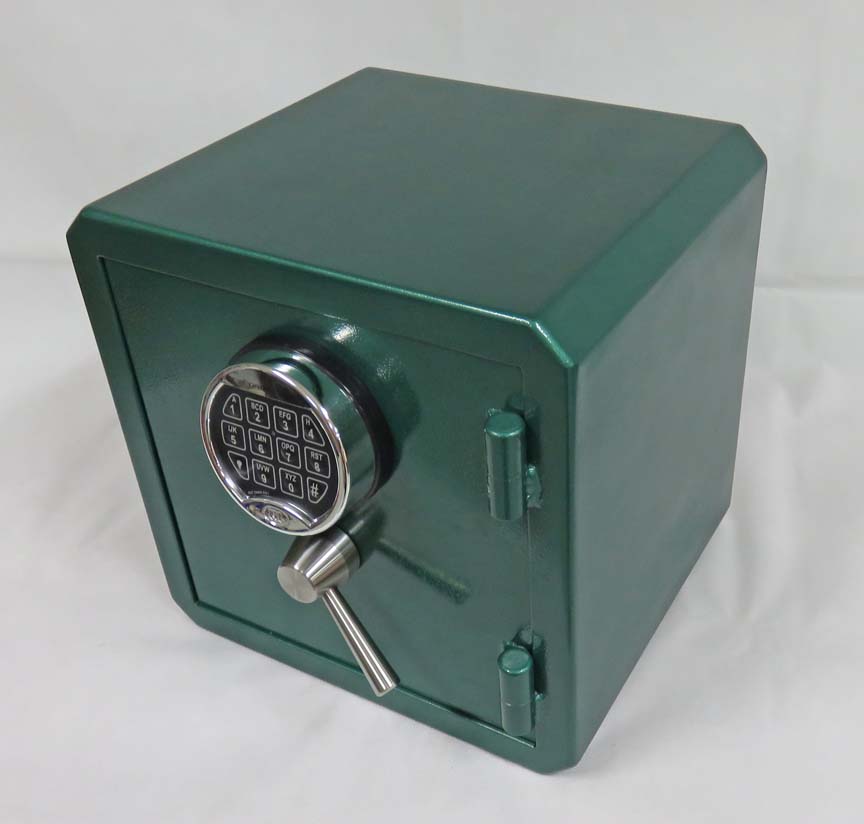 |
The door glides on those hinges and opens 180 degrees.
|
|
 |
|
1
2
3
4
5
6
7
8
9
10
11
12
13
14
15
16
17
18
19
20
21
22
23
24 |