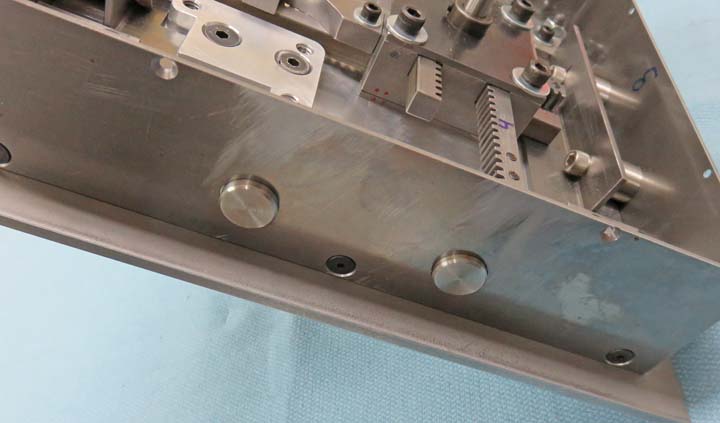
Here is a better view of the lock bolts in the retracted position. This
will be what people will see when the safe door is open.
|
|
 |
|
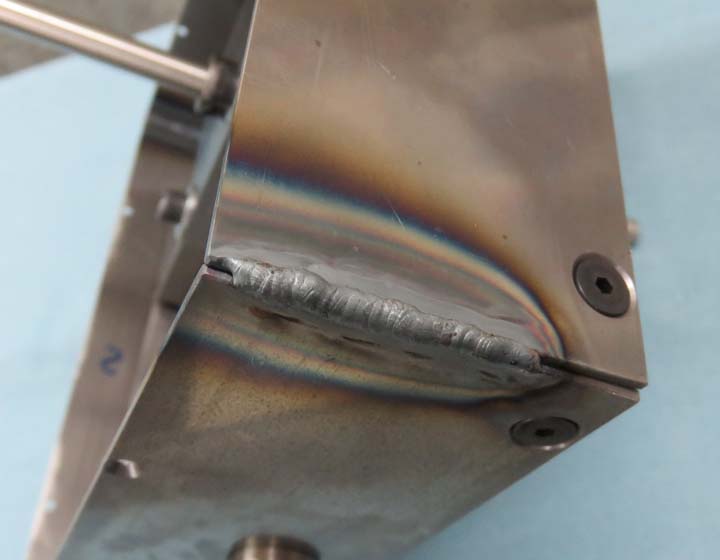
Now that I have all the holes in the box, I went ahead
and welded some of it. A sharp eye will notice that it's still attached
to the sub plate. This is why I didn't weld it all the way to the
bottom. I stopped short, removed the box and then welded the remainder.
This worked out pretty well because the sub plate turned out to be a
welding fixture in this case.
|
|
 |
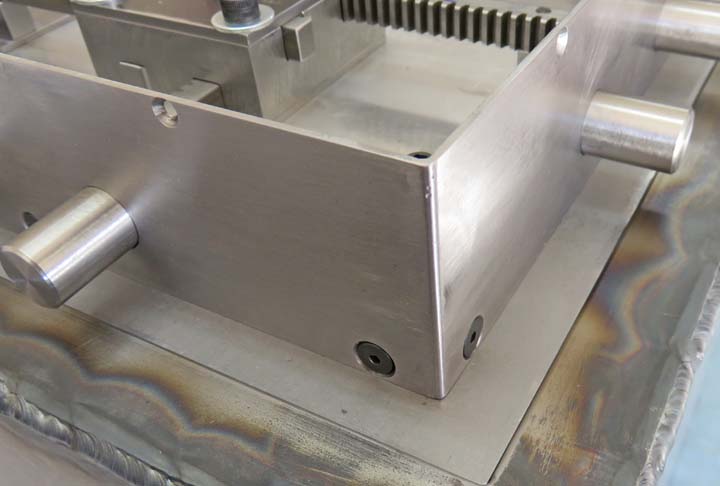
Here is what it looks like once I did some sanding. So far I'm pretty
happy with the box and the heat didn't move it very much at all.
|
|
 |
|
Let's See What's In The Box
Remember I showed you those extra holes I put in the box
awhile ago? Two holes per side? The reason for those is what I'm working
on now. As I was building the box I was thinking that Aidan might like
to see all those moving parts in the door. What I came up with
was some clear plastic to see through. Something tells me that he would
appreciate watching everything move as he works the handle on the outside.
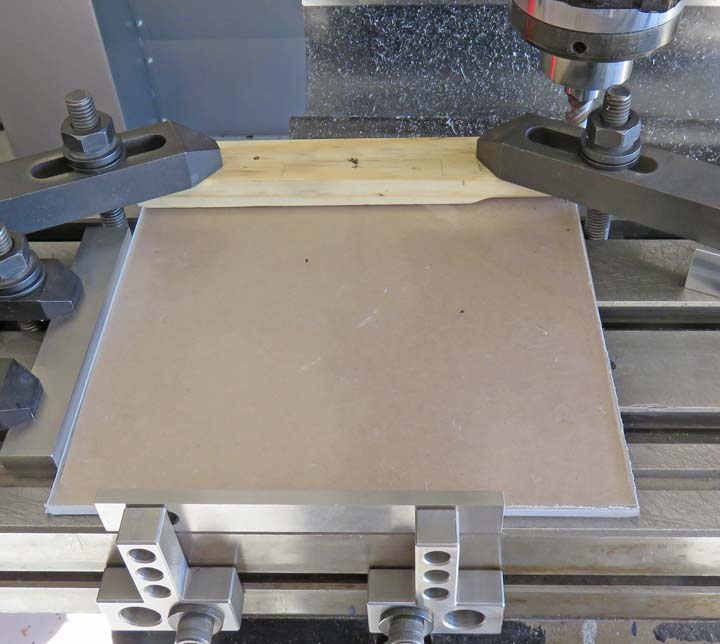
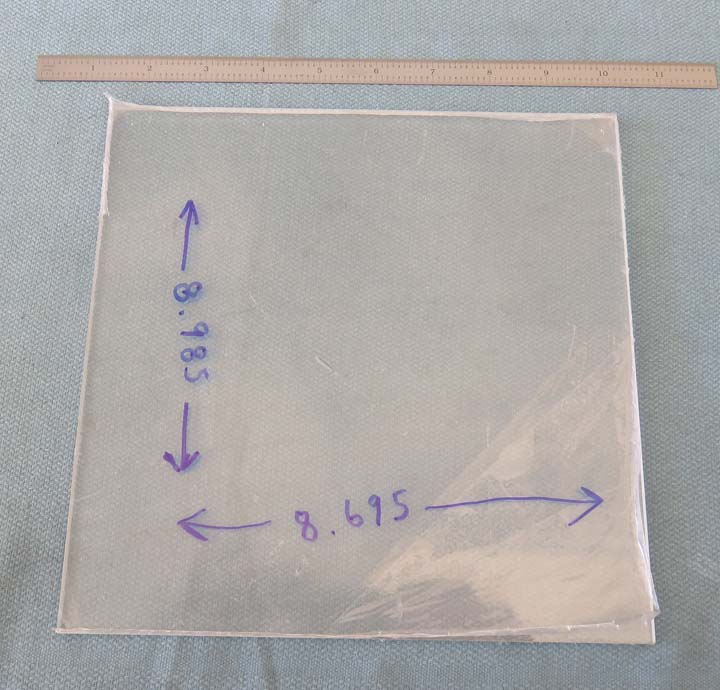
I'm squaring a piece of plexiglass here, just like I did
for the larger pieces of the safe. I'm also using a piece of wood to
hold it down with so I don't damage or scratch the plastic.
|
|
 |
|
The plexiglass has a thin film of plastic to protect it
which I'll remove later. Side note: I just noticed that I have a typo on
my dimensions. The bottom number should be 8.995, not 8.695 (as I shake
my head from side-to-side).
|
|
 |
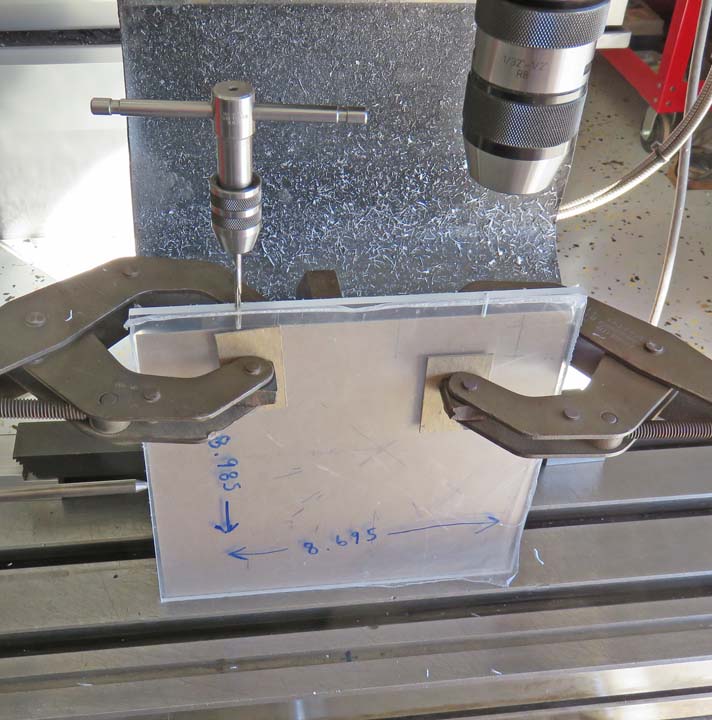
I'm drilling and tapping some 4-40 threads to hold the plastic in place.
|
|
 |
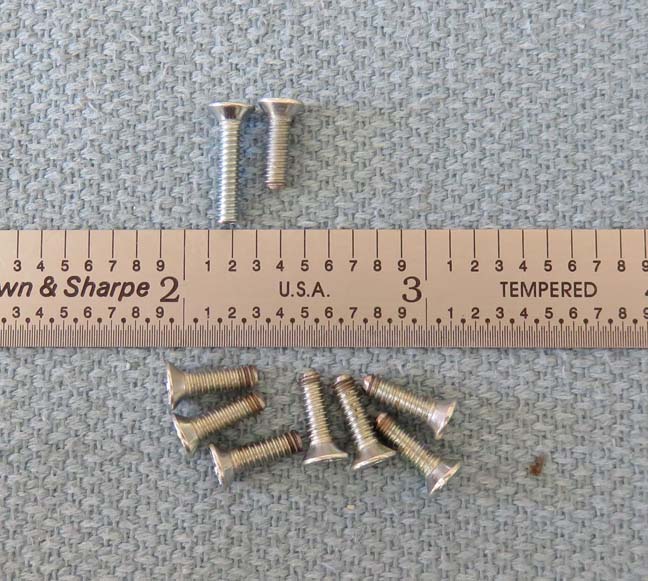
I bought some 1/2" long 4-40 screws but had to shorten them a small
amount. No big deal, my belt sander handled that pretty fast.
|
|
 |
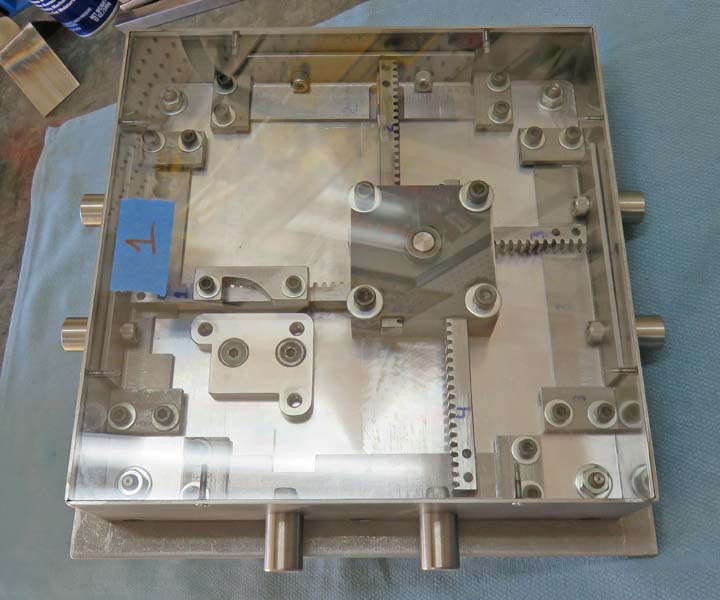
I know it's hard to see because of the reflections, but it's in there.
And once I have everything mounted inside, it should look that much
better.
|
|
 |
|
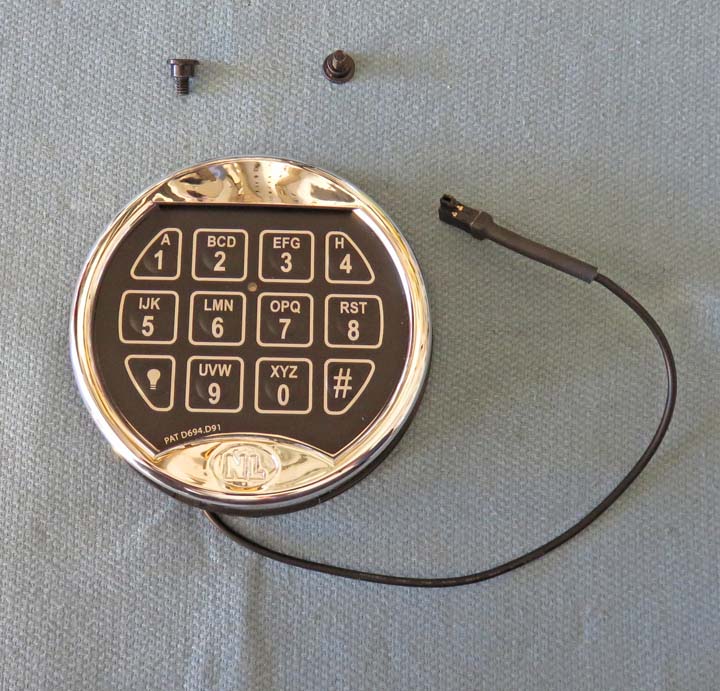
Keypad Installation
I showed you the electronic keypad earlier so now it's
time to install it. The two screws that came with it are special as you
can see. Those screws go into an adapter plate that gets attached to
your project. And the wire will need a hole in the door to pass through
as well.
|
|
 |
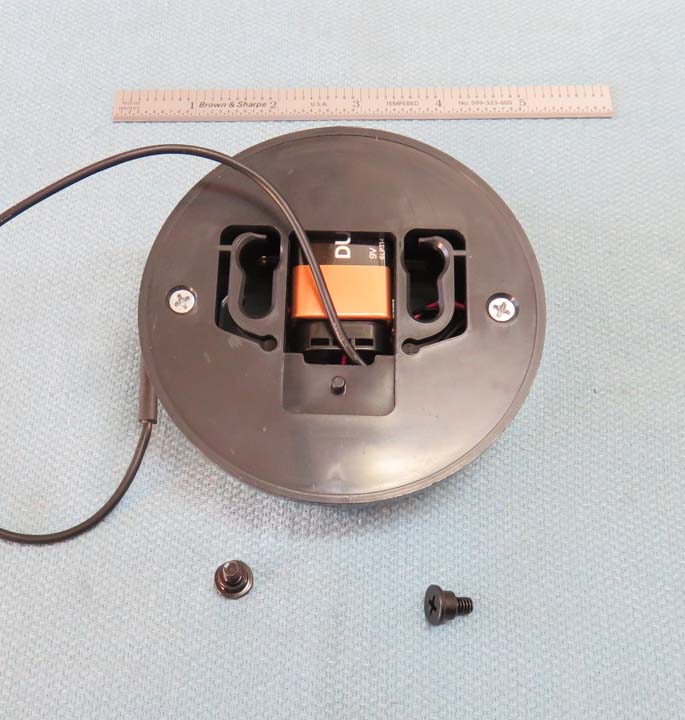
Here is the back of the keypad and you can see the two 'key slots' that
the two special screws go into. It's a well thought out system and so
far I like it.
|
|
 |
|
1
2
3
4
5
6
7
8
9
10
11
12
13
14
15
16
17
18
19
20
21
22
23
24 |