|
Here you can see how a transfer punch works. They have a
point centered within it's diameter that transfers a small dimple onto your
work piece once you strike it with a hammer. This small dot/dimple can
be picked up with a center punch to make it larger and deeper, or you can use it as
a spot to locate from. Transfer punches come in sets ranging from 1/16"
thru 1/2", but don't get used very often by machinists. However, in a
case like this they can be very useful.
|
|
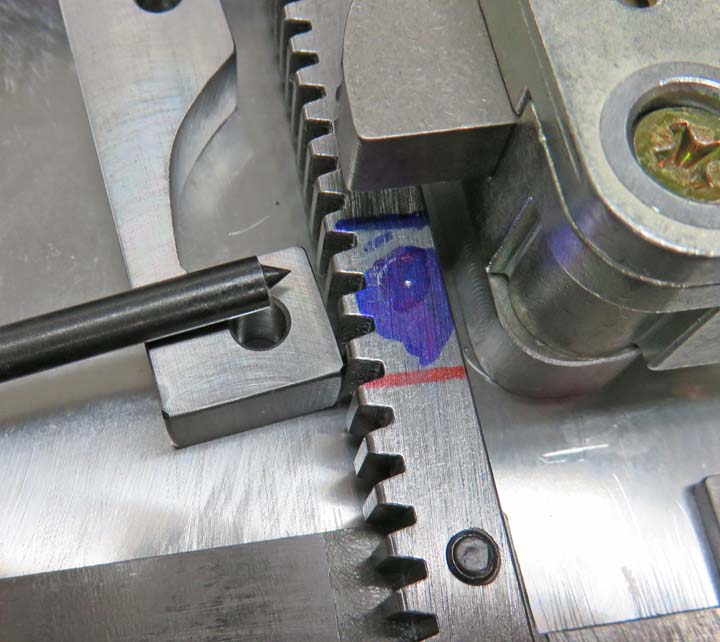 |
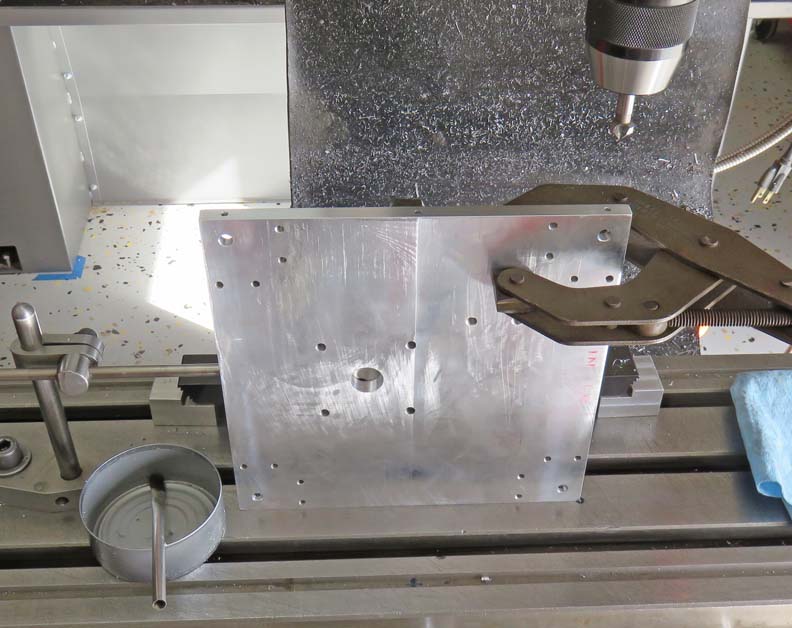
I'm using this dimple to locate from and
once I have it centered, I'll set my zero here and then dial over the
desired amount for my second hole. This way I know they will go together
correctly.
|
|
 |
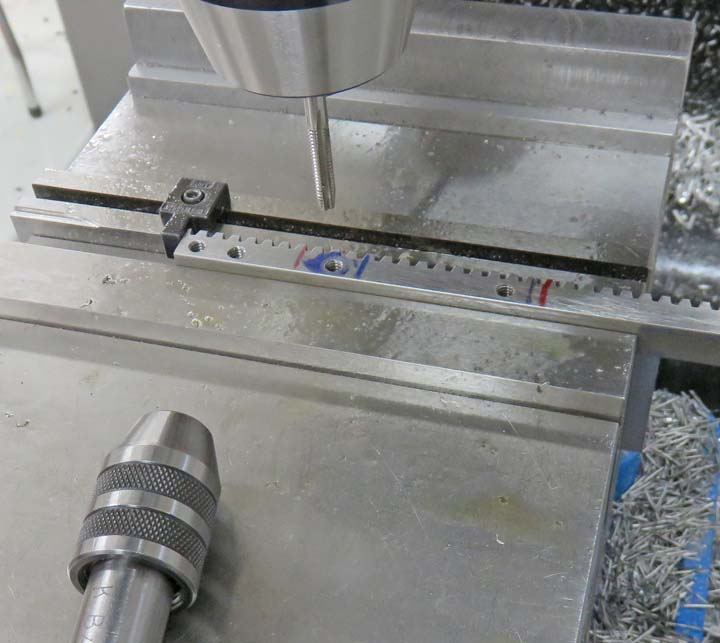
I'm tapping the rack with 8-32 threads here, which should work great for
this. At this point I'm going to start on something else and revisit
this lock block part later.
|
|
 |
|
Building A Box
Have you ever looked inside of a safe and noticed the overall
thickness of the door? Not just the piece of steel that you see from
the outside, but the total thickness from outside to inside. The reason
they're so thick is to hid all the moving parts that make up the lock system. I'll
need to do the same thing on this one, so it covers the lock mechanism.
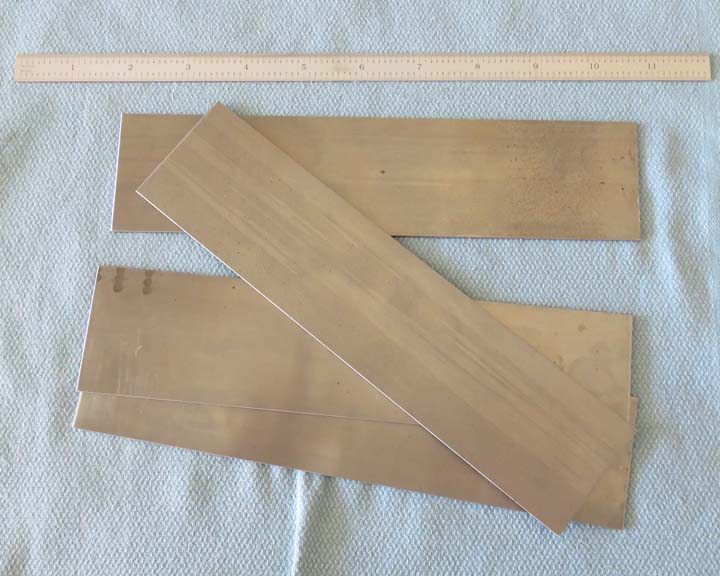
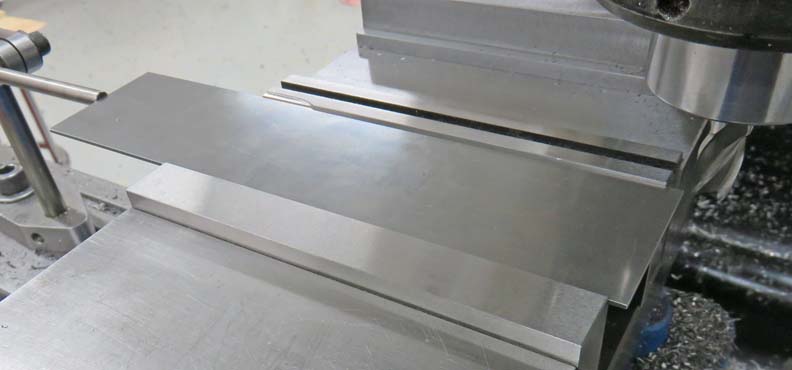
Well, mostly that is.... I'm going to make this box out of
1/16" thick steel sheet and to do that I'll be using four pieces of
material. I plan on fastening it to the sub plate with screws, three per
side, which is more than enough. I'm machining all four pieces below,
which makes the setup more ridged (like you saw before). I'm also using clamps to help keep my
work pieces from chattering (vibrating).
|
|
|
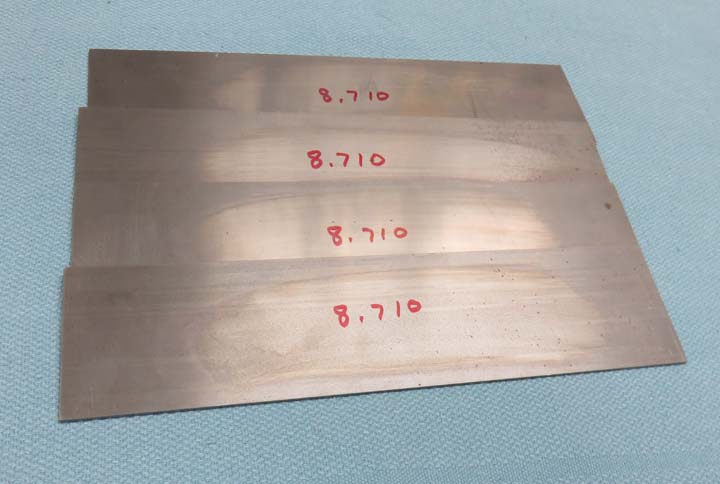
The height of the box is 2.050", which is the max I can
make it and still have the door open and close. These pieces will end up
with a few holes in each one soon.
|
|
|
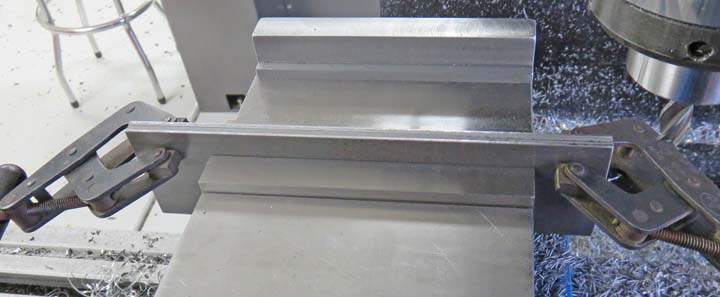
Here I'm machining them to length, which will be the
same as the sub plate.
|
|
|
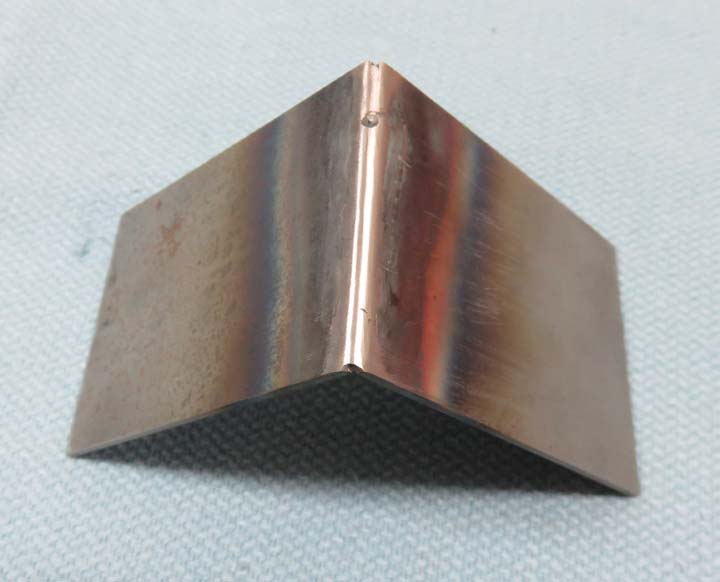
I plan on welding the corners of the box so it becomes
one piece, but before I do anything to these I'm going to do a test weld
on some scrap stuff first.
|
|
|
I welded this from the outside and then sanded it to
see how it looked. So far so good, because I'd rather know about any
problems at this point instead of later.
|
|
|
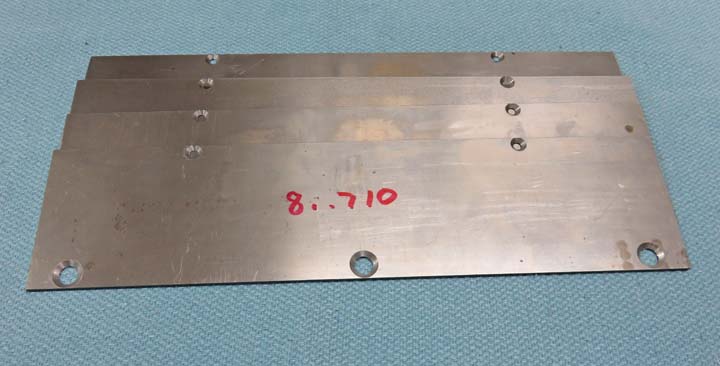
I drilled and countersunk for some 6-32 flat head cap
screws (3 places) that will attach to the sub plate. But how about those
other holes that are smaller? Hang in there...I'll get to that soon.
|
|
|
Here I've drilled and tapped for my threads on the sub
plate and I'm also
countersinking them, but deeper than you normally would. Why? The next
page will have that answer, unless you already know.
|
 |
|
1
2
3
4
5
6
7
8
9
10
11
12
13
14
15
16
17
18
19
20
21
22
23
24 |