|
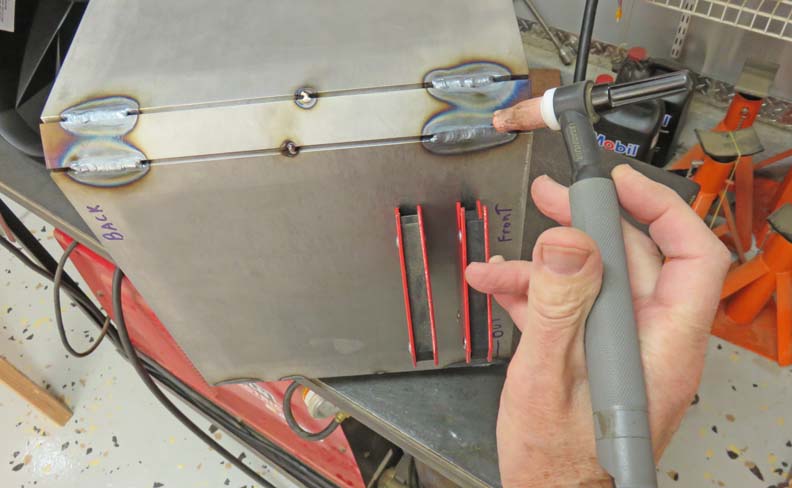
Welding Again To keep the warping to a minimum, I welded a 1 1/2" bead
and then turned the box 90 degrees and repeated the process. Once I had
four welds, I turned the box around and did the other end. This worked
out for two reasons: first I knew that if I welded from end-to-end in
one shot, I would have a warping problem. And the second thing, my
welder is only rated at 20% - 25% duty cycle. This means I can't weld
continuous because the torch gets to hot (the part in my hand). So after
welding those small welds in eight places, I would let everything cool
down for about 30 to 45 minutes and go back at it.
|
|
 |
|
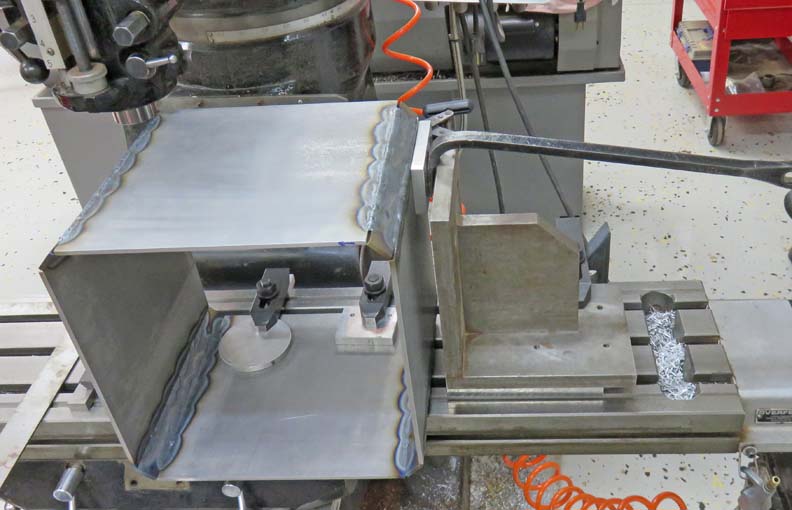
Fixing A Problem Note the series of welds along the sides. I did this in
six steps. To get to this point it took me two to three days. And as
careful as I was, it still moved with the heat. What I'm doing is
squaring the box again with the aid of a large lever.
|
|
 |
|
As you can see I have the box clamped down and then using a
large bar
along with a piece of aluminum to pry against, I was able to move things around.
Whatever works...right?
|
|
 |
|
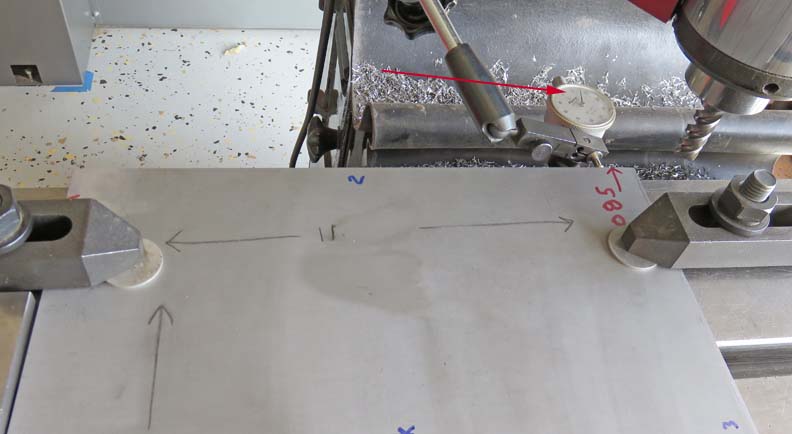
Custom Fitting
Once I had the box a little straighter, it was time to
machine the back piece. I ended up with the box slightly out of square
(what a surprise with all that heat) so after taking some measurements, I cut the back piece to fit
the box, which
means it will have a slight taper on one side. I needed .085" less at one end so I used a dial indicator to make
that happen (arrow). Once I had the correct amount I clamped my work
piece down and cut the angle I needed.
|
|
 |
|
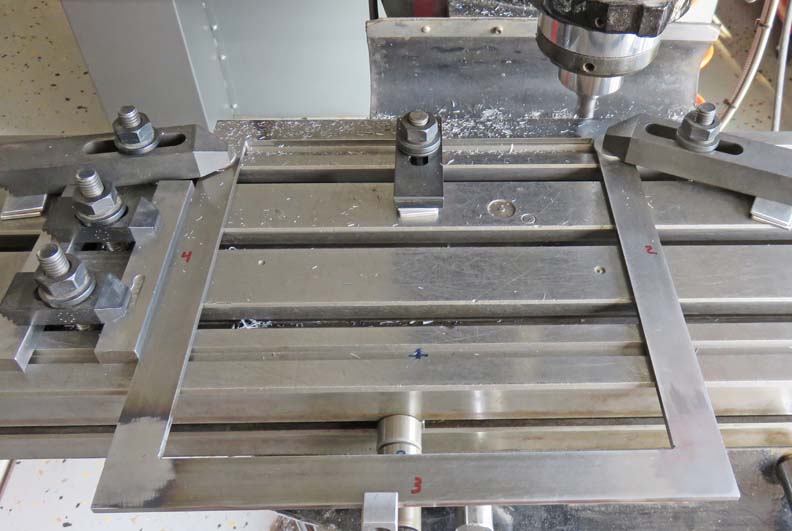
I did the same thing with the door frame but for some reason
the front of the box wasn't
as bad as the back was. I also cut the inside of the frame at each
corner where some weld was.
|
|
 |
|
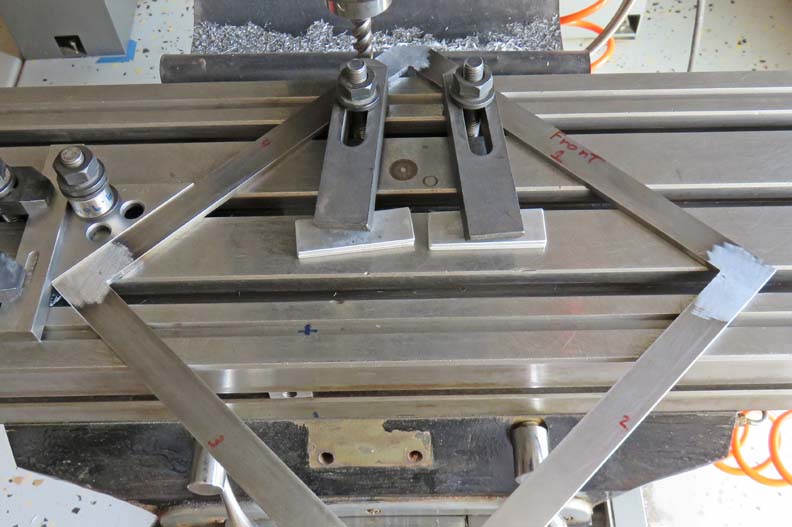
Once I had the outer surface cut to size, I needed to cut
the 45 degree angles at each corner. I used my 45 degree angle block
(that is clamped down) to bank against, which worked out great. And
notice the corner of the door frame touching the parallel next to the
angle block. I used that parallel as my work stop.
|
|
 |
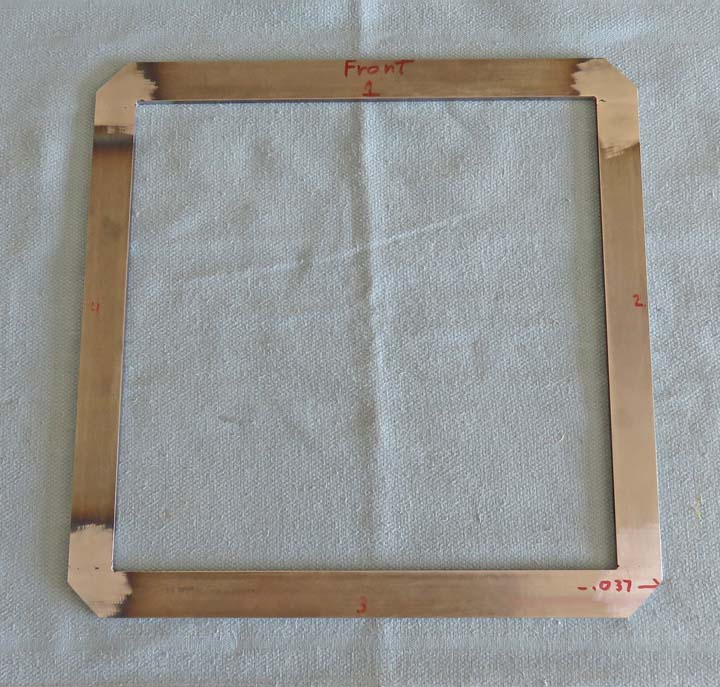
Here is what the front of the safe will look like. I think the angled
corners look a little better than just being square.
|
|
 |
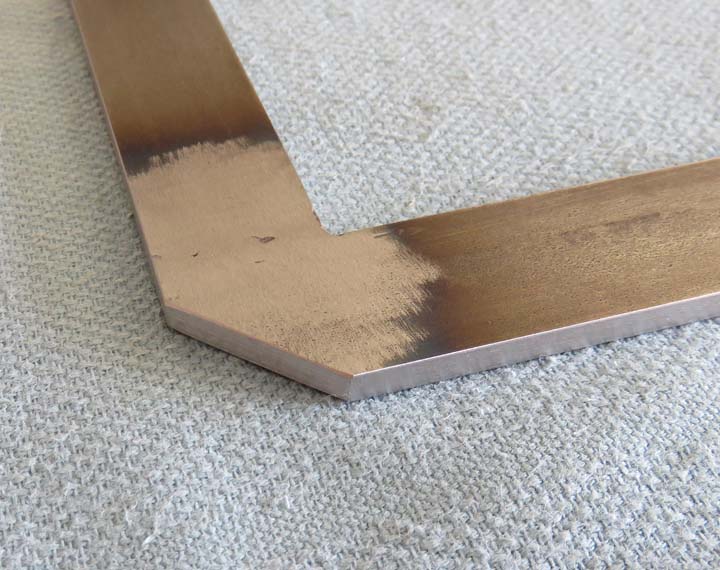
Close up of the milled corner.
|
|
 |
|
I machined the back piece the same as I did the
door frame, with 45 degree corners. However, what I didn't show you
before was how I did the last corner of the door frame. When my work piece has a sharp
corner, it's easy to bank against the work stop (parallel). But when you
don't have a sharp corner any longer (after machining it away), I had to
come up with something so the angle would be the same size as the rest.
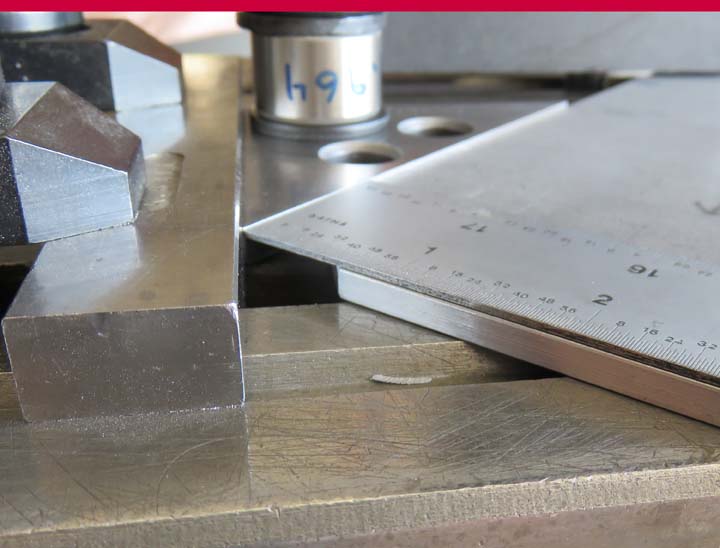
With the use of my ridged scale, I placed the edge of
the scale flush with the edge of the work piece (side and end) and then clamped
the two together. Now I could use the end of the scale to simulate my
corner of my work piece.
|
|
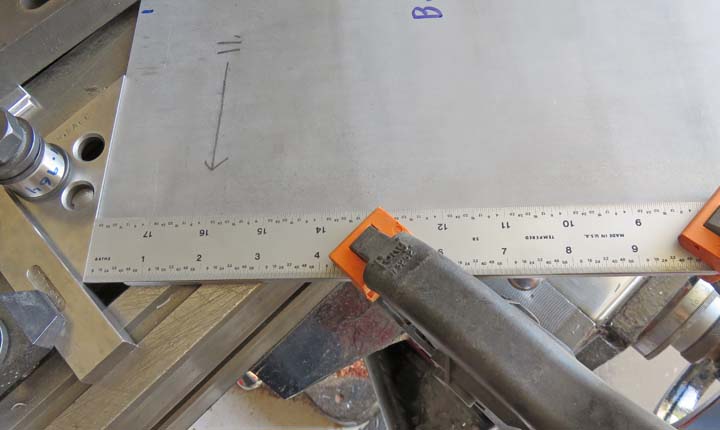 |
Once the scale was just touching the work stop, I clamped my work piece
down and machined the remaining corner. This worked out great and it was
easy.
|
|
 |
|
1
2
3
4
5
6
7
8
9
10
11
12
13
14
15
16
17
18
19
20
21
22
23
24 |