The glaze dries fast so you need to work quickly.
|
|
 |
|
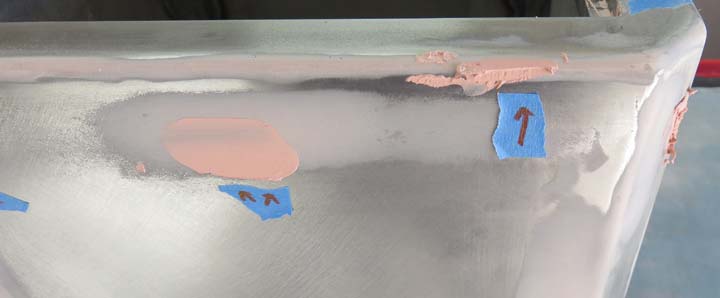
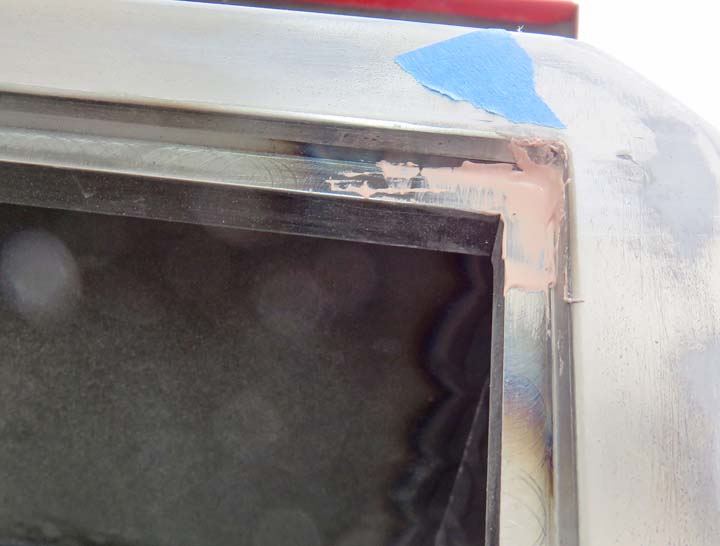
One area that I was looking forward to filling was the
door frame corners. It's very easy to apply the filler, but sanding is a
different story. I used used a small block of wood with 120 grit paper
but that was taking awhile. So I switched over to a file that has a bend
in it, they are called "mold making files". That worked much better and
then I went back to the block and paper.
|
|
 |
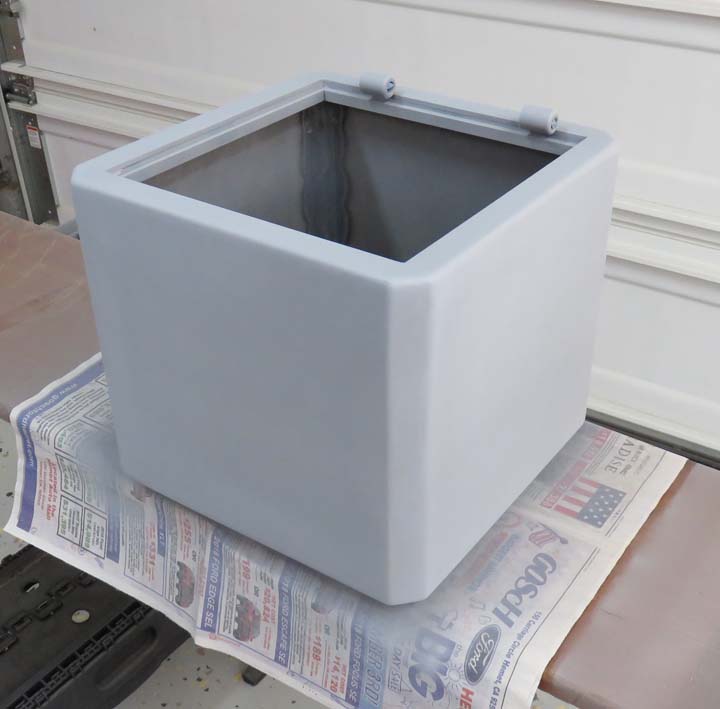
Once I had all the filler sanded it was time for some primer. I sprayed
on many coats because it didn't cover very well.
|
|
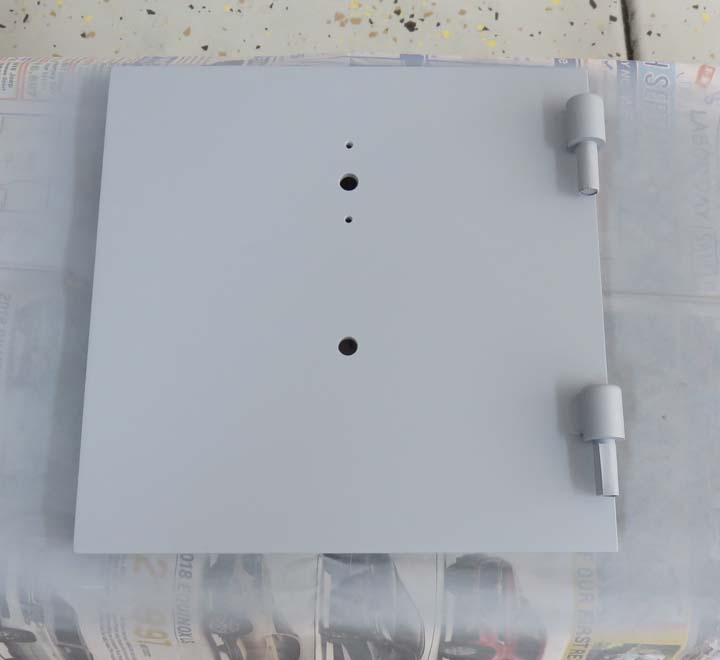 |
The same went for the box. Once I had them both primed, I sanded them
smooth and then started painting. BTW, I used the whole can of primer.
|
|
 |
|
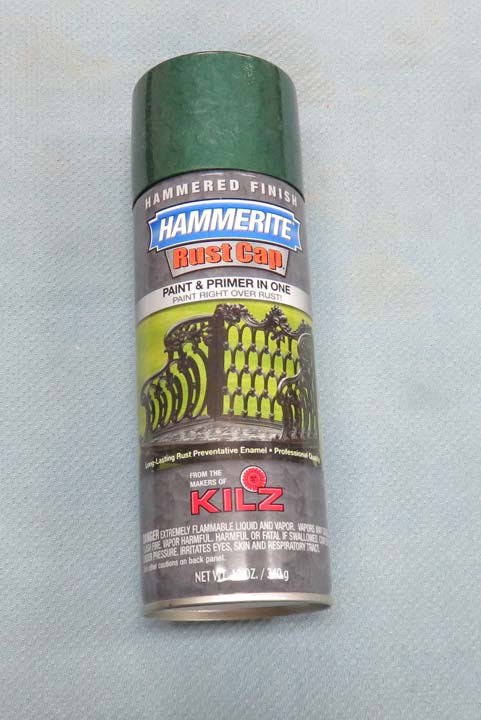
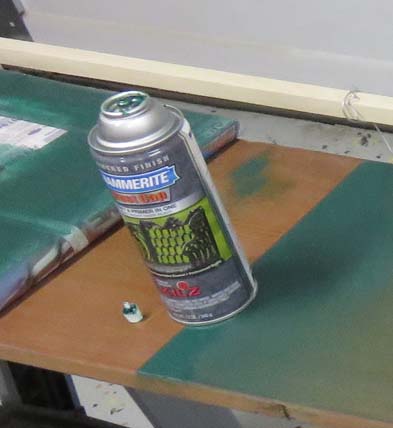
Here is the paint I'll be using. If you look close
you'll see the finish on the cap isn't smooth. This is called a
'Hammered Finish' and I thought it would look pretty good. My gun safe
has a similar look which I really like, so this is why I went with this
product.
|
|
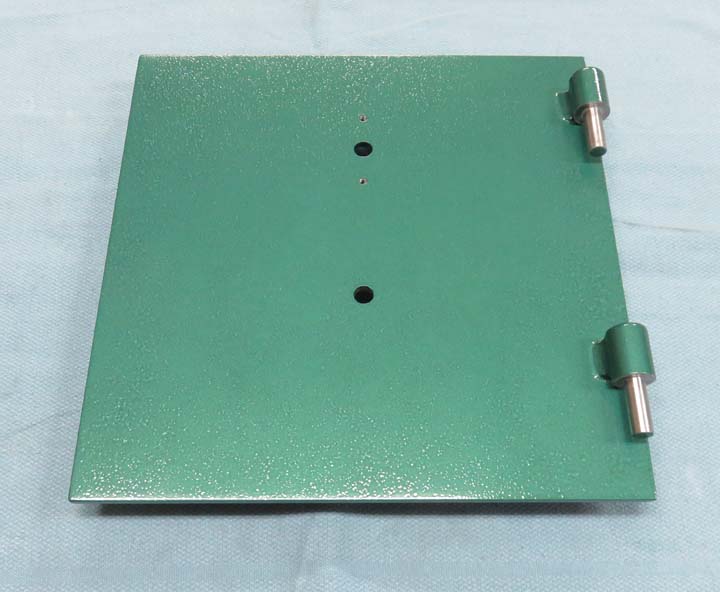
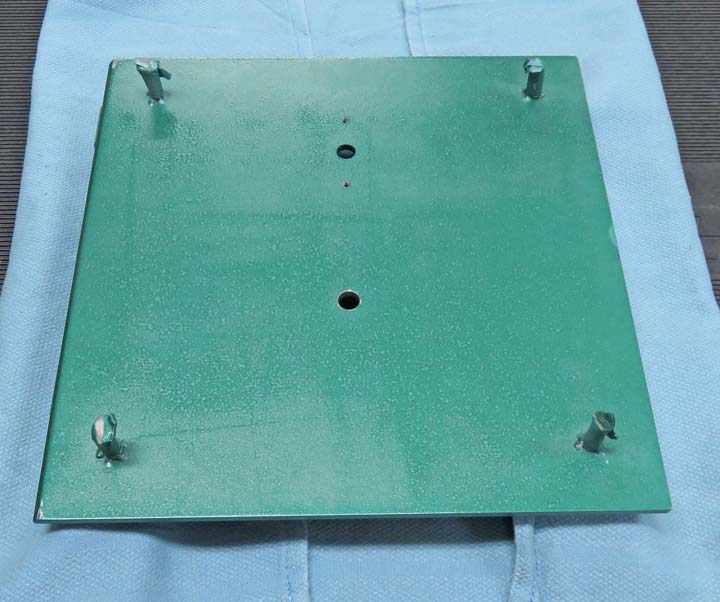
This is what it looks like after two coats. This paint covers great but
I had a little trouble with the nozzle wanting to clog. It wasn't bad
but it wasn't that good either.
|
|
 |
|
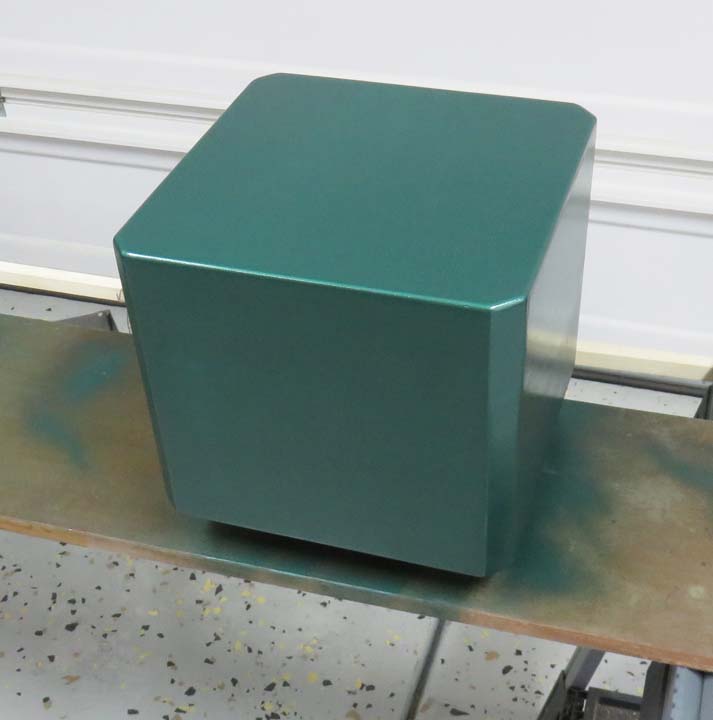
The following day I painted the box, but this went very
different from the day before. I had all kinds of trouble with this can
for some reason, and wondered if I was going to get through it. Let me
explain, when I started spraying the box, I noticed the nozzle got
clogged within about one minute. I've had this happen with rattle cans
before so I didn't think much of it at first.
I tried shaking the can,
clearing the nozzle but nothing worked and all it would do is spit and
sputter. Then I tried spraying some compressed air through the nozzle
and that helped. But for only a few seconds and then it would clog
again.
Well this went on and on for about 30 to 40 times and I
wasn't happy. I mean this would have pissed off the good humor man
because it was that bad. I finally had enough paint on the box to cover
it, but I also had streaks too. Not good to say the least.
|
|
 |
|
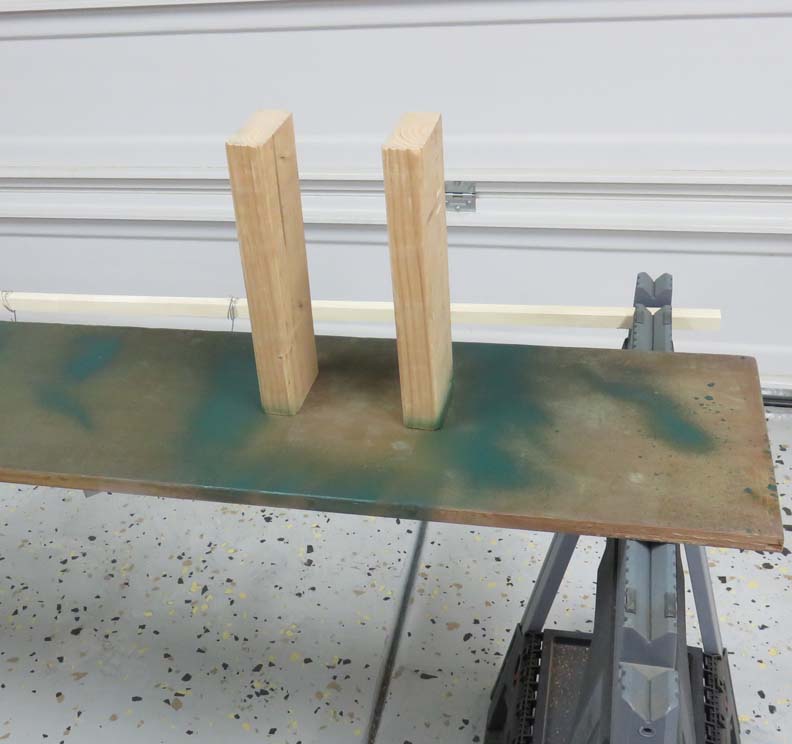
This is how I sprayed the back, by resting
the box on these 2 X 4's that I screwed into that piece of wood. The end
of the 2 X 4's sit inside of the box against the back wall. That way I
didn't have to lay the opposite side on any painted surfaces, which might
give me a problem.
|
|
 |
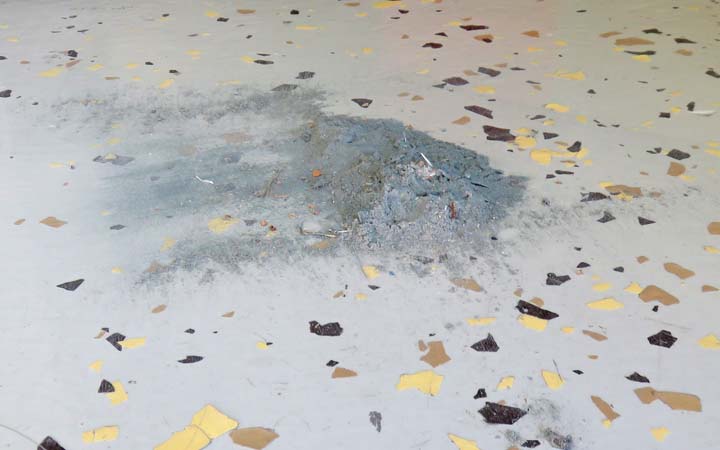
I didn't realize that I was tracking stuff into the house and then I
wondered if it was overspray. Sure enough it was.
|
|
|
Here is the can and nozzle after using it to the point
of.... I've had
enough. This was by far the worst experience with a spray can in my
whole
life. I called the people that sold it to me and told them what
happened. They were nice enough to send me another can, which was very
cool. However, I haven't used it yet and don't know when I will.
|
|
 |
|
More Bad News
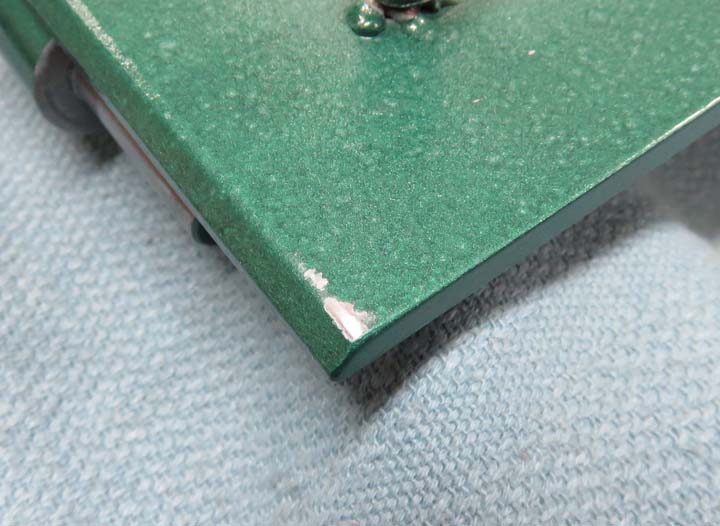
I didn't realize it till the next day but the back side
of the door didn't look the best. And I know that most of this side
won't show because of the lock mechanize taking up most of the room. But
that's not all that's wrong here, notice the corners on the left hand
side. Those areas hit the door frame when I tried to close the door. So
I opened and closed the door a few times and the more I did, the
more paint that fell off from rubbing. At this point of the project,
I've just about had enough and you would think I'd be pretty mad.
However, I guess I'm at the point of being over it and just shook my
head from side to side again.
|
|
 |
|
I know why this happened...know. It goes back to when I
was welding on the hinges and using shims along the outside of the door
to keep it centered. However, I never used any shims 'under the door'
which I realize now. This would have given me the necessary clearance
that I needed for paint buildup.
|
|
 |
|
1
2
3
4
5
6
7
8
9
10
11
12
13
14
15
16
17
18
19
20
21
22
23
24 |