Aidan's Safe  17                                                12-2018


Hinges


The hinges for the safe were made out of steel and are simple in design but should work pretty good. The outside diameter (OD) will be 3/4" and the pivot pin will be 3/8" OD. The length of the hinge package will be 2" long.


As you can see it's simple but it should be strong and reliable.


I put a radius on both ends which looks a little better but doesn't add any function. One thing I'm not going to do is mount them so one faces up and the other faces downward. This would be different if I was building a chain link fence gate, then I'd want one facing up and the other down so it's makes it harder to remove. But for the safe, I want to be able to take the door off when I'm finished.

But wait....is that a good idea? I mean what about security? Well that's the beauty of a safe, if you build it right then the hinges are only there to swing the door open, not to keep it closed. That's what the lock bolts are for, they keep the door from being opened. Even if you cut the hinges off you still couldn't remove the door because the lock bolt system is the real security in safe construction.


I'm getting ready to weld on the hinges and I'll have to admit, I'm a little nervous. I guess one reason is that I know how heat affects metal and how it can move it. And the last thing you want with hinges is to have them misaligned.


I made sure to have them equally spaced from the ends, which is what the blocks are for. And with the use some V blocks, they will keep my round pieces from moving. Also notice I have shims on every side to help keep the door centered.


I tack welded in two spots and then tried opening the door to see how everything was. Well....when you first look at it, it would seem all is well. However, I didn't think this through enough and now I'm in trouble. What I mean is, there's no clearance between the movable parts of the hinge and the opposite side. That means it rubs and doesn't work right. And it's very hard to move the door. So now what???


One Step Forward, Three Steps Back


Well, to fix this I'll have to remove both hinges and start over so I brought out the Dremel with a cutoff wheel. You can see I've cut through most of the weld here and stopped to take this picture. This was a really hard pill to swallow because nobody wants to cut off something they just welded on.


Once I had all the hinges off, I took them to the lathe and removed most of the weld, but I stayed away .005" and will re-weld over the existing weld later. This will work fine and won't show when it's finished.

So how do I create space between the hinge and box while welding? I thought about using some kind of steel shim, but I might end up welding that to the hinge or box. Then I thought about using aluminum shims. Again maybe not.

I'm sure safe manufactures use some kind of welding fixtures for mass production but I'm not going to do that with just one safe. So now what do I do?


After thinking about for a few minutes, I came up with a shim, but not made out of metal. I'm going to use cardboard, about .020" thick to be exact. I figure that I can tack weld just like before with the cardboard in place and that should create the clearance I need. Yes it will burn away but that's no big deal as long as it stays in place during tack welding.

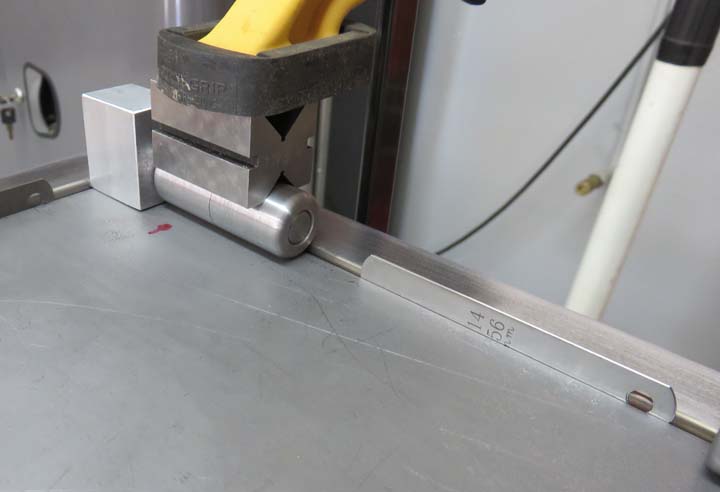
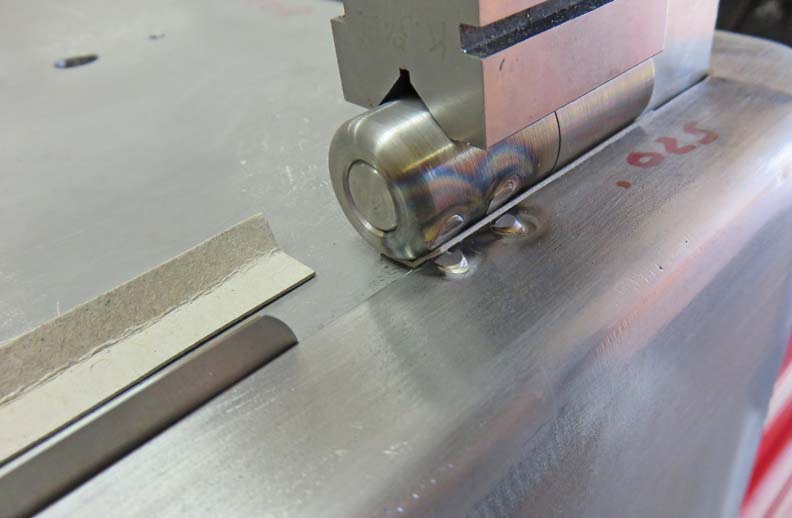
I used a small piece, about 1/2" wide, placed it in my bench vice, bent it length wise and then placed it under my hinge. As you can see I've lined up my welds from before and now it's time to put the heat to it.

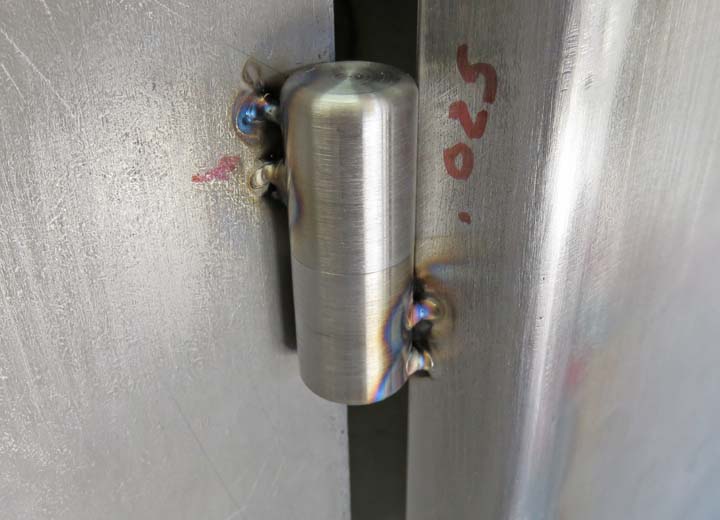
Well, I have good news and bad news: the good news is that it worked and I've got a small amount of space where I need it. The bad news is I couldn't move the door once I was done tack welding. Not because of my bad welding skills, it was because I didn't have enough lubrication on the hinge before I started.

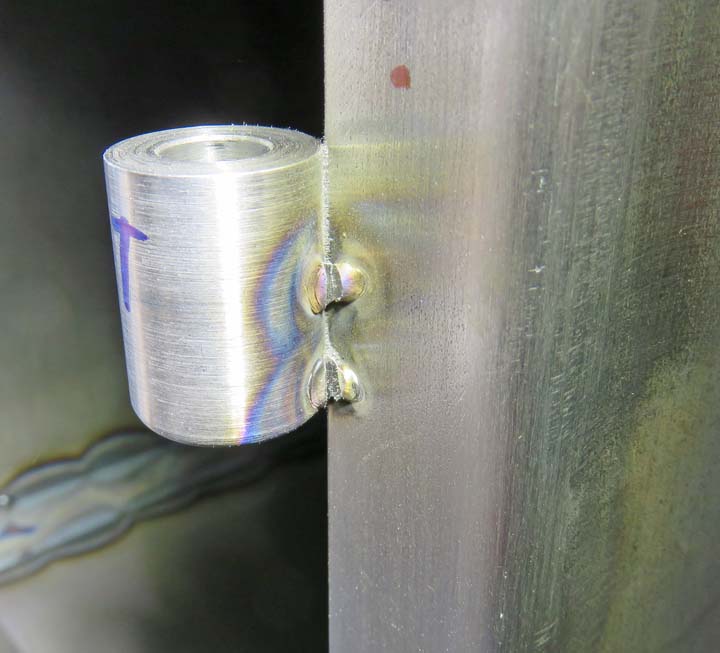
I'll explain: I cleaned off any oil that might have been on the hinges before welding the first time because I didn't want to deal with all the smoke. However, after my first attempt there must have been a small amount of oil still on there, but for the second attempt all of that oil must have burned off and I didn't add anymore. I mean I didn't even think about it because my head was in 'distress mode' after removing the hinges earlier. That turned out to be a big problem because when I tried to move the door the second time, the hinges galled on me.

Galling is when two pieces of metal try to become 'one' and tries to transfers metal from one piece to the other. Not a good 
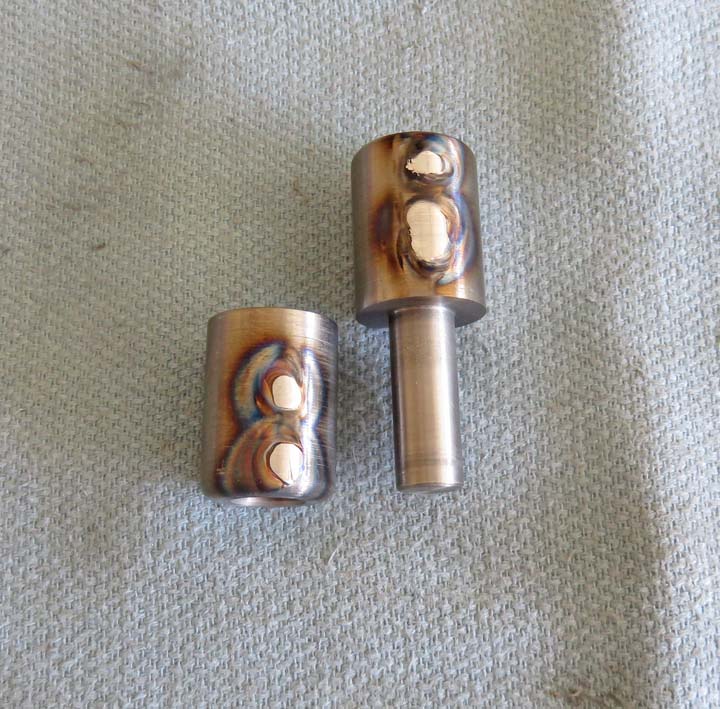
thing at all! I pulled really hard on that door and it was stuck big time. So now what (as I shake my head from side to side).

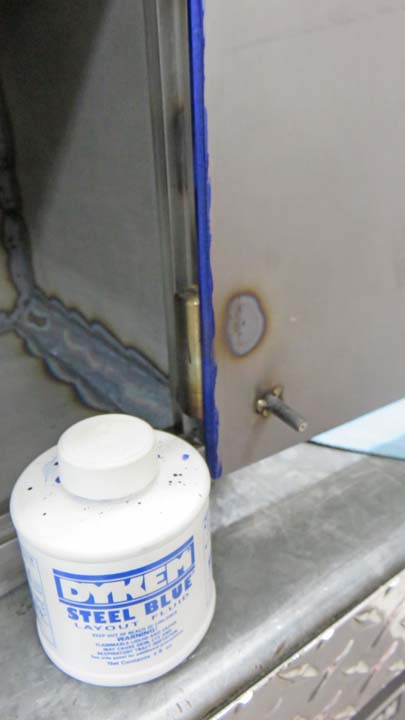
To make a long story longer, I put some WD-40 on both hinges because that stuff penetrates pretty well. While that was 
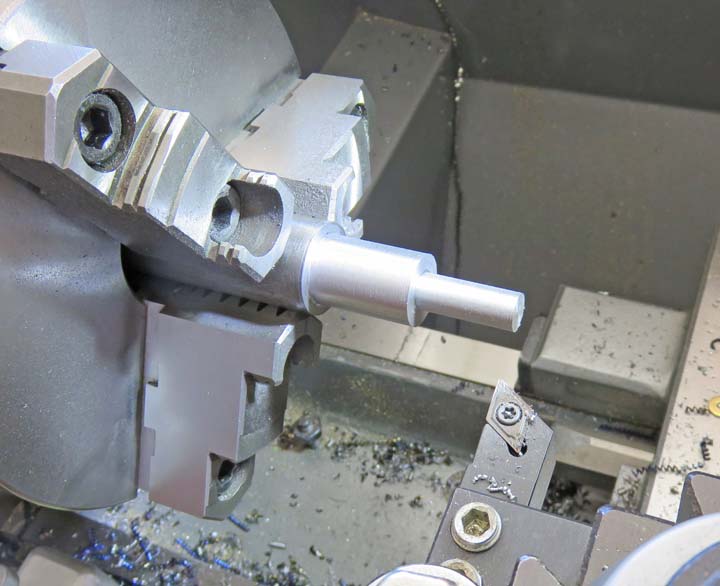
working, I turned down a piece of brass on my lathe to use as a punch. When I came back to my problem door hinge I was able to move it, so the lubricant worked. I had to hit the hinge a few times with my piece of brass and hammer but it came loose so that was a good thing.


I also found out I have another problem, the inside of the door hits the door frame. I put some layout dye along the door and found the area that needed clearance. Now it's time to address that.


1  2  3  4  5  6  7  8  9  10  11  12  13  14  15  16  17  18  19  20  21  22  23  24