|
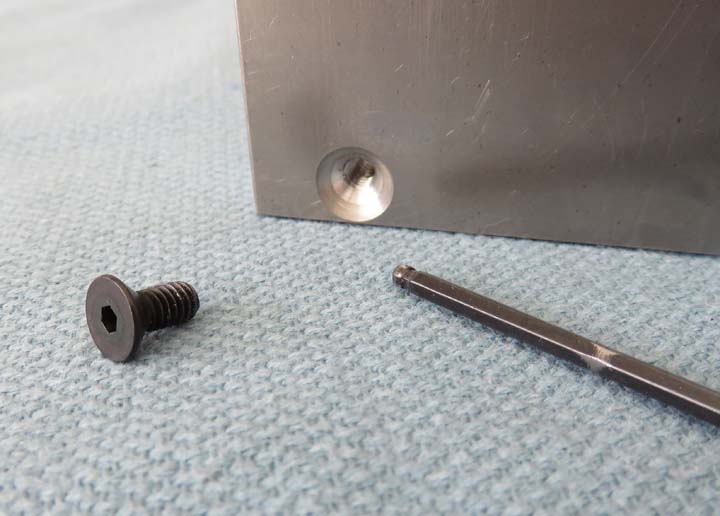
Here is the reason, with the box material being so thin
(1/16),
the flat head cap screw won't tighten down properly. The screw would be
snug, but the box would be loose.
|
|
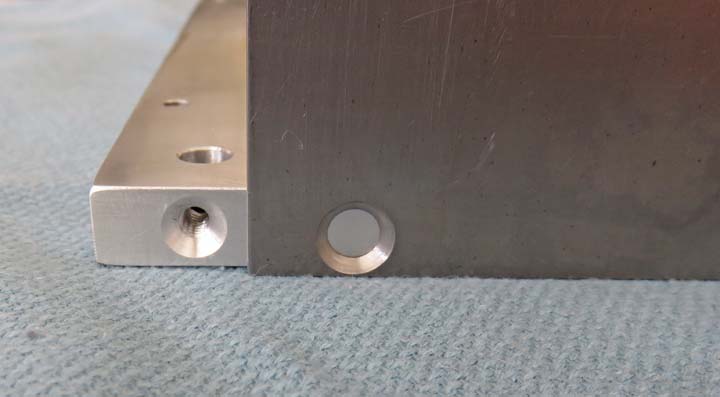 |
This should clear it up for you. The
countersink looks normal now, just as if the material were one thick
piece.
|
|
 |
|
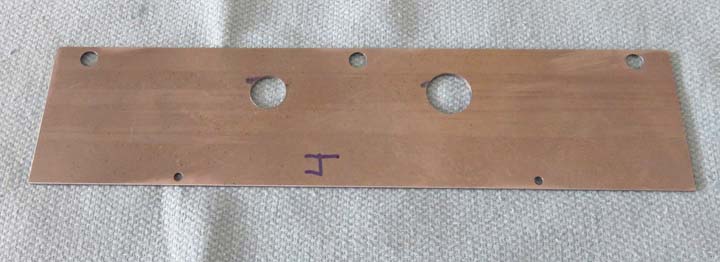
Like I said earlier, I made the sides the same length as
the sub plate. This means there is no overlap, but that's what I wanted.
The reason is so I'll have a built in 'weld prep' like I did with the
safe box (the thicker material I welded earlier). I'll weld on this one
soon, but right now I have more holes to put in this box.
|
|
 |
|
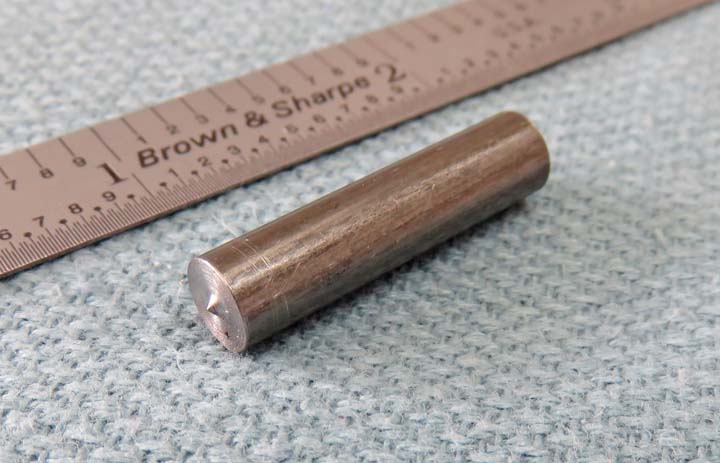
The next step for my four piece box is to put in some
clearance holes for the lock bolts. In order to aid me in doing that I
made a small transfer punch. It's made out of mild steel and it only
took me a few minutes to make, but it's not heat treated. No problem
because I don't need much of a dent, just a scribed dot will do.
|
|
 |
|
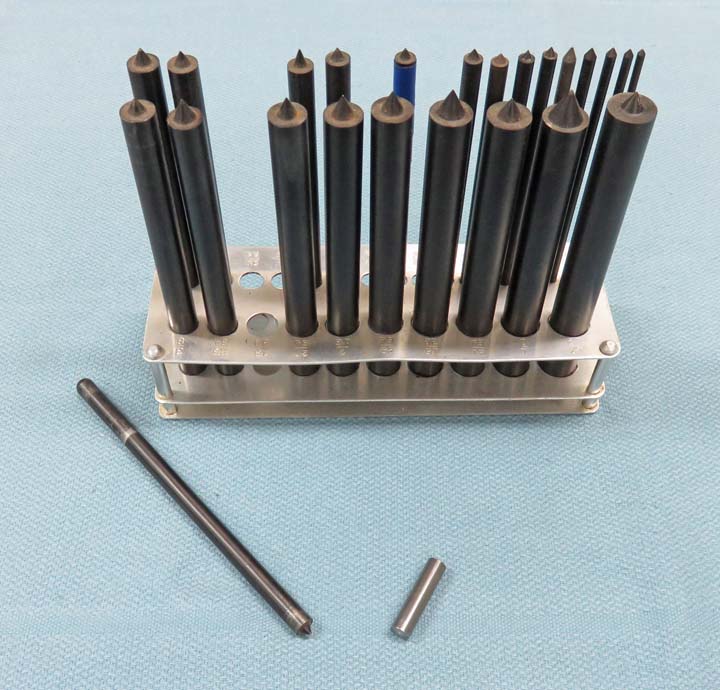
Here are what transfer punches look like. I know I've
been talking about them and I thought it was time I show you what they
look like. I've had this set for a very long time and come to find out
they are not very good. The points are not heat treated, which is a bad
thing because one or two hits on some steel and the tip flattens out.
Looks like it's time for me to buy some good ones.
|
|
 |
|
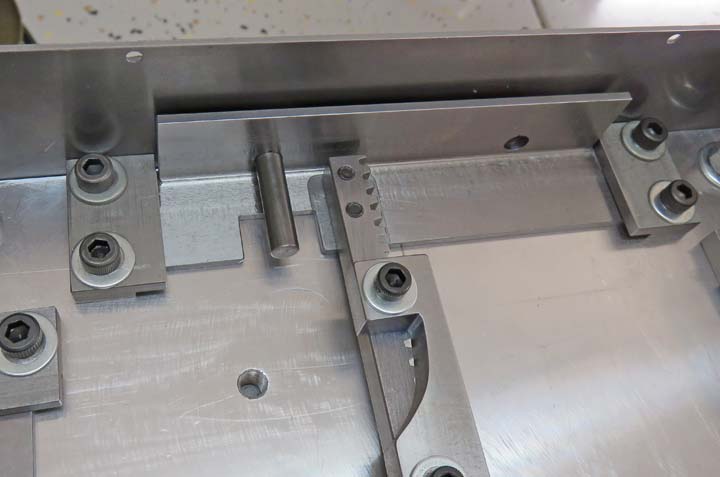
Anyways, with the limited amount of space I have to work
with, the longer ones just won't fit. This is why I made the shorter
one. I removed all the lock bolts and then placed the angle iron next to
my new box, tapped it lightly and that's all it took. This would give me
'one' location but the other I would use my digital readout to find the
other location.
|
|
 |
|
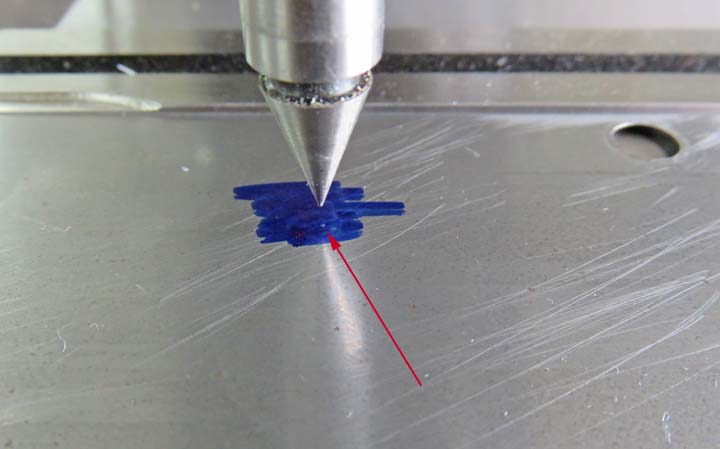
If you look close you'll see a tiny dot that has been
'transferred' to my work piece. That's all I would need and then I used
my center finder to pick up that spot. Now I could set my Zero on my
digital readout and dial over to the other one.
|
|
 |
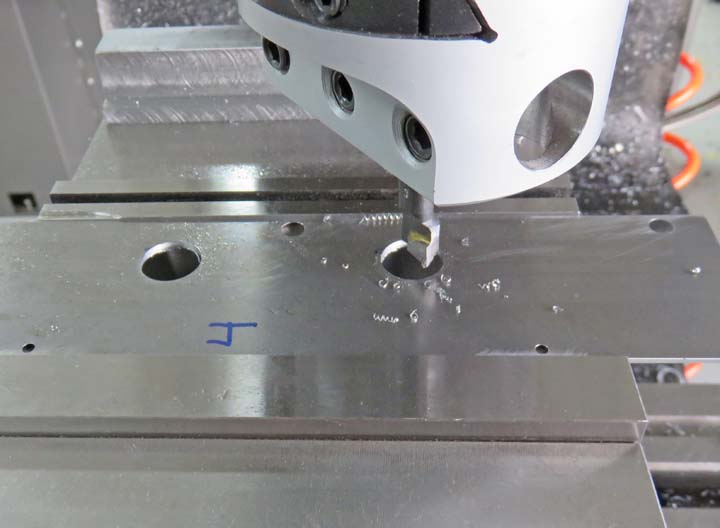
First I used a center drill, then a 1/2" drill, then a 5/8" end
mill. However, the lock bolts are also 5/8" so I'll need more clearance.
|
|
 |
I setup my boring bar and opened up all the holes .020" more. This
worked great and didn't take that long.
|
|
 |
This safe door is looking more and more like a "Safe Door" all the
time....
|
|
 |
|
1
2
3
4
5
6
7
8
9
10
11
12
13
14
15
16
17
18
19
20
21
22
23
24 |