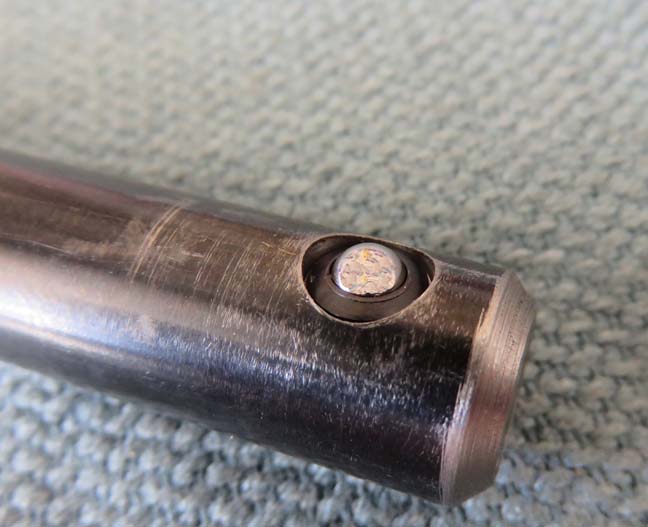
Component Parts Continued This is what the ball plunger looks when it's in place, but it's just a slip fit at this
point. However, it works very good.
|
|
|
As you can see the ball is slightly above the shaft
diameter and is at just the right height. The depth was determined by
making sure the flange of the ball plunger was below the shaft diameter.
Very simple really and I'm happy with the results.
|
|
|
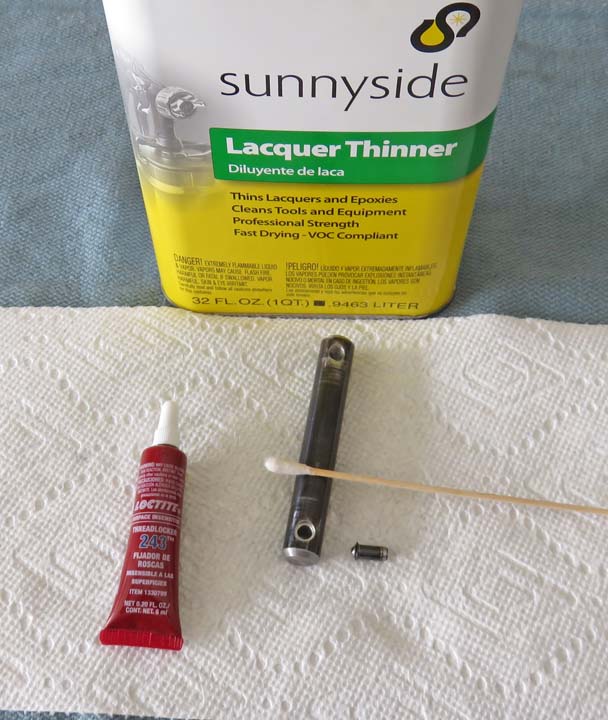
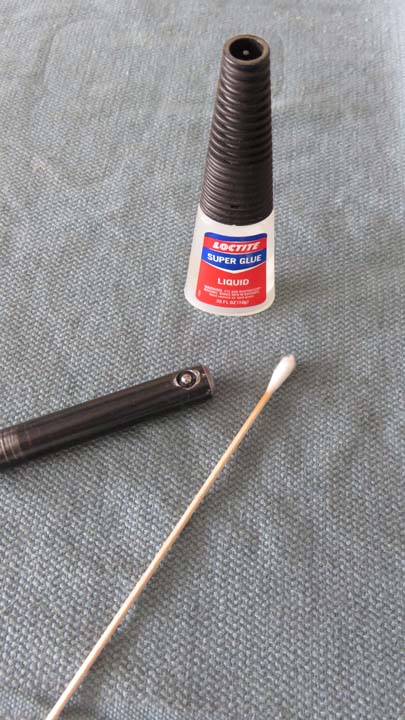
Fixing The Slip Fit
To fix my slip fit problem I
thought using Loctite might solve it. This is the 'blue' stuff that is
not permanent like the red is, which means you can still
break it loose once it's setup. Now this Loctite is used for threads
like on a bolt, not really like I'm planning on using it but I thought it
was worth a try.
I cleaned the hole and the ball plunger with lacquer
thinner to make sure there wasn't any oil or dirt on any surfaces. Once
things were clean I used one drop of Loctite on the body of the ball
plunger and placed it in the hole. I let this set overnight and came
back the next day to see how it looked.
|
|
|
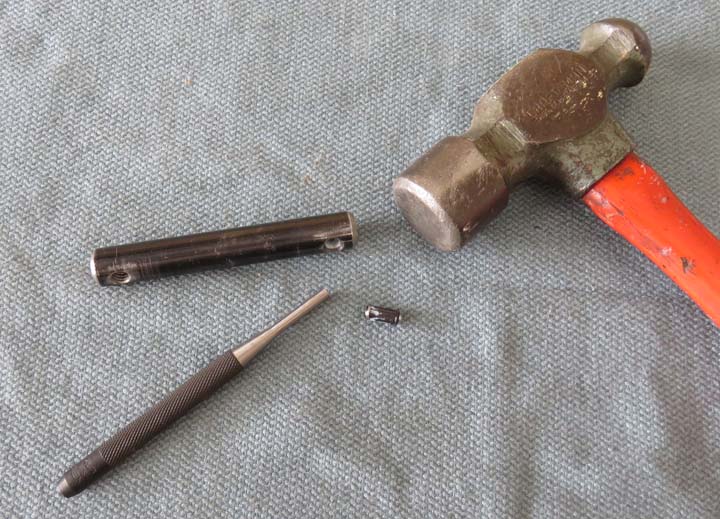
The good news is that it worked, but the bad news is
that it worked a little too good. To remove the plunger I placed
the shaft on my vise with the jaws slightly open and then used a punch
and hammer to remove it. I gave it one or two taps but it didn't move.
With my eyebrows raised now I tried again with a little more force and
with a few more hits it finally came out. Well this was an eye opener
for me because I didn't think it would hold that well.
Now this isn't going to work because if the kids ever
needed to replace one of these, say one of them broke, there's no way it
would come out. The reason is because once everything is bolted to the
large piece of plywood the aluminum block and shaft would flex too much while it was
getting hammered on. In my case I had perfect conditions for removal and it
was still tough. This blue Loctite was impressive to say the least
so it's time for plan B.
|
|
|
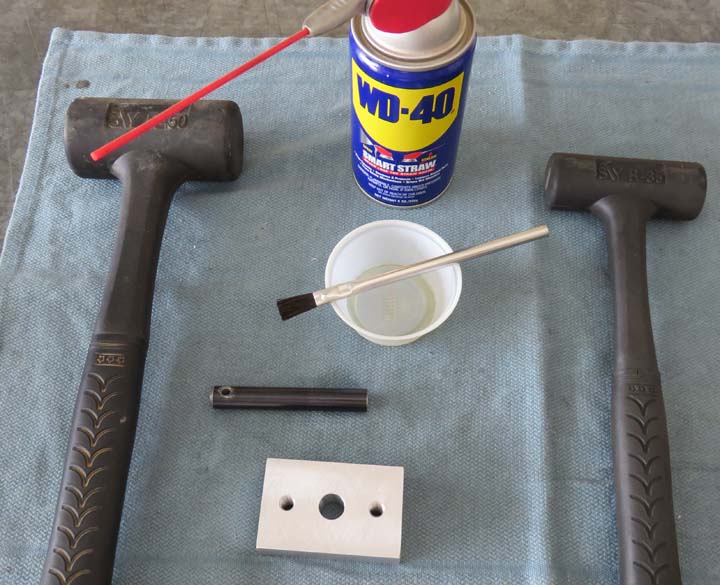
While placing my blue Loctite back on my shelves, I saw
what might work, super glue. This stuff is made by Loctite as well but I
really didn't have the best feeling about it. The reason I didn't think
it would work is because this type of glue dries in a crystal type form
which means there are small gaps between both surfaces.
I prepped both surfaces the same way as before and left
it overnight. The next day I placed it on my vise and did the tap test
once again. And as I suspected it came right out after a couple of light
hits. At first I thought this wouldn't work because of it's reduced strength but
after thinking about for awhile I'm not so sure now. Here's why: the ball
plungers will be in a vertical position with the counterbores facing
upwards. This means I'll have gravity helping to keep them in place. At
this point I'm on the fence with the super glue.
|
|
|
Now that I know I'll be using this type of ball plunger
I'm ready to assemble the shafts and blocks. What I'm getting ready to
do is press fit the shafts into the aluminum blocks.
Tip: Before pressing any two pieces together
apply some kind of lubricant to them before hand. This might sound
counterintuitive when talking about 'press fitting' because, after all,
you want them to stay together. And logical thinking would be if you
used something like oil when
assembling them it might make them fall apart later.
Well, if you have the correct amount of interference fit
between two pieces before you start then it will stay together
regardless. Using some kind of lubricant helps the two pieces slide
together in place of galling (the wear caused by adhesion between
sliding surfaces). Now just about everyone that has pressed two pieces
together has skimped on this at one time or another, myself included,
but this is the right way to do this.
|
|
|
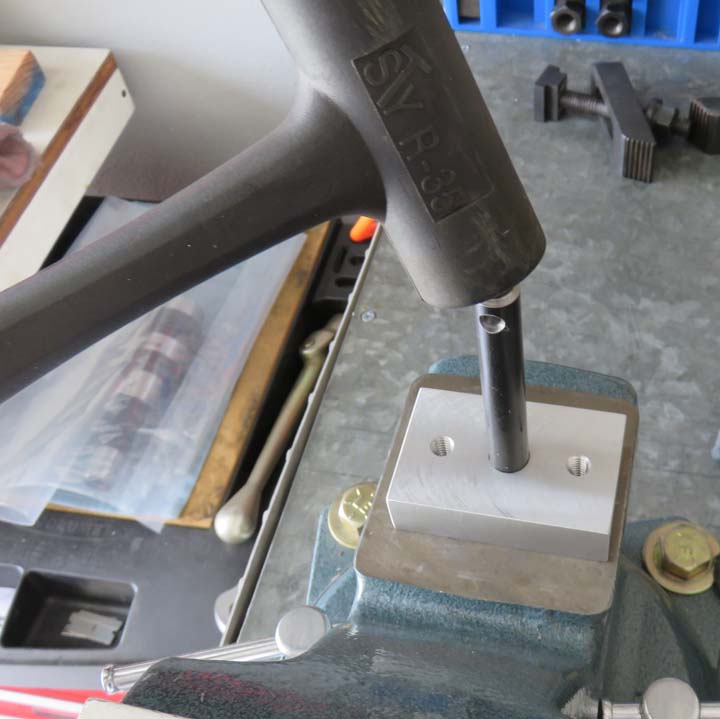
I used a soft-faced hammer to get the shaft started,
with the hole for the ball plunger 90 degrees to the bolt holes.
Quick tip: when using a hammer on something,
you'll get maximum results if your part is nice and sturdy. In my case I'm using
the rear of my bench vise which has a flat surface for hammering on. And
my vise is at the corner of my workbench. Why does this make a
difference? Because if you use the center of your workbench and there
isn't any support legs under it, the bench will flex every time you hit
your work piece. Move that same piece over to the corner where the legs
are holding up your bench, now you have a nice firm surface that is made
for hammering on. You can get the same results by placing your work
piece on the concrete floor, but that isn't a very comfortable place
to work unless you have to.
|
|
|
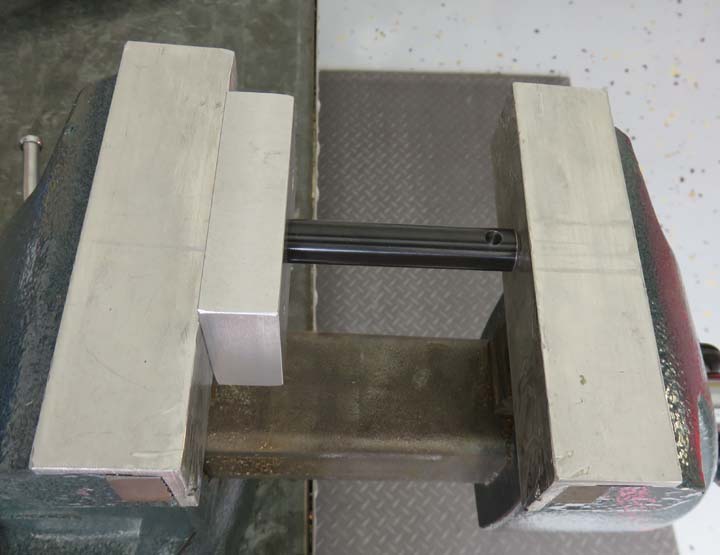
Once the shaft was started in straight with the hammer,
I moved over to my vise to finish with. I like to press a small amount,
release the pressure and then press a little more. The reason is if your
vise has slop in the screw, this will help in keeping things as straight
as possible. And taking your time is key with pressing two pieces
together.
|
|
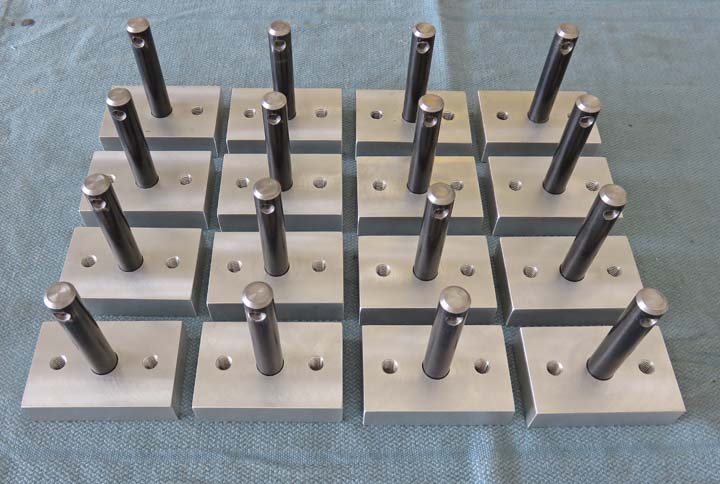
Here are all the shafts pressed into the aluminum blocks which I'll set
aside till later.
|
|
|
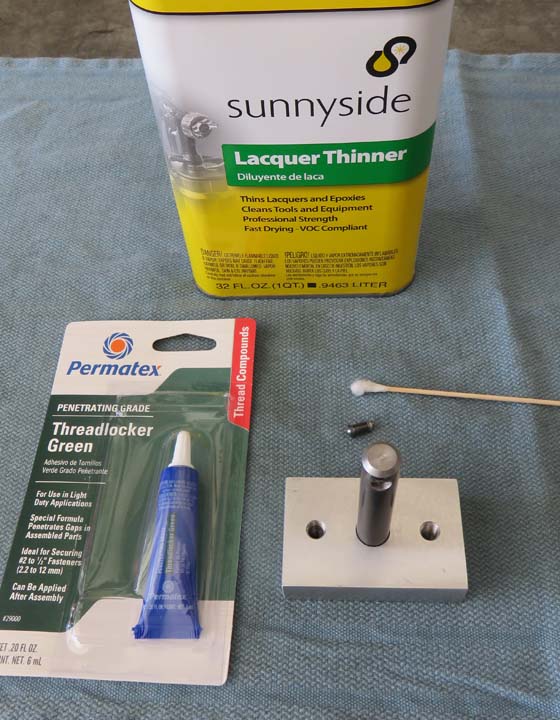
I just happen to be in a hardware store a few days later and
saw this threadlocker made by Permatex. I've used Permatex products many
times before and after reading the label I had to try it. The front of
the package says for use on light duty applications so I gave this stuff
the same test as other two products.
The following day I did the tap test once again I didn't like it. The Permatex didn't hold as well as the blue
Loctite did but it held way to much for what I'm wanting. Looks like
I'll be using the Super Glue made by Loctite as it seems to hold well
enough, but not too much.
|
|
|
1
2
3
4
5
6
7
8
9
10
11
12
13
14
15
16
17
18
19
20
21
22
23 |