|
Sprocket Adapters Continued
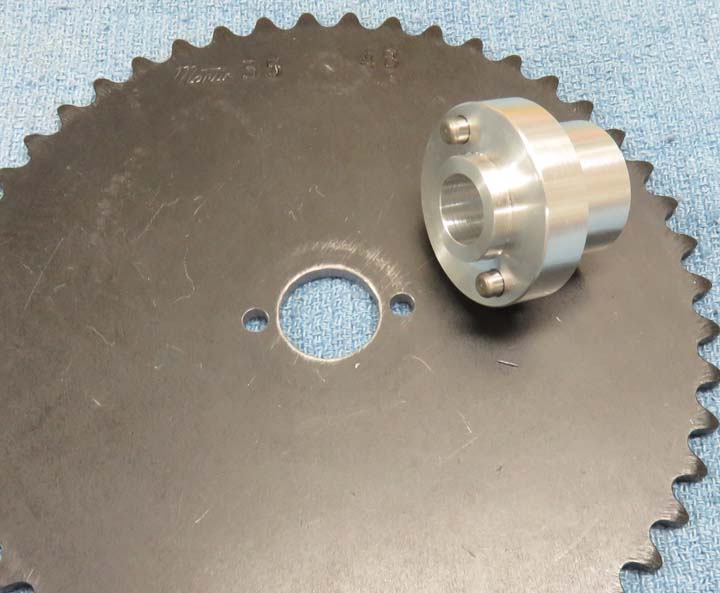
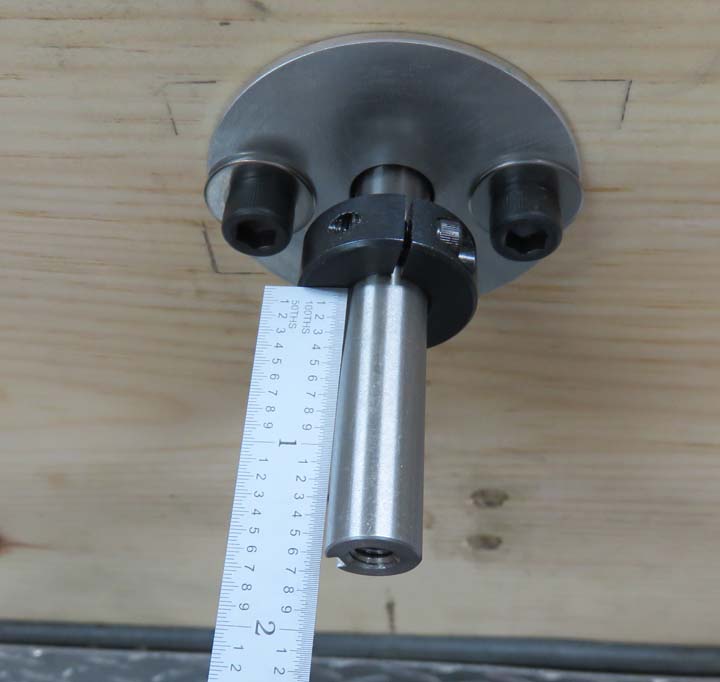
This should give you a better idea of how the adapter works. The
sprocket thickness is .163" so I made the length on the spacers .160". I
also had to make the dowel pins a certain length so they didn't stick
out the other side of the sprocket. The reason for
this exact pin length is because there will be a bolt and washer holding on
this sprocket so I don't want the pins or adapter to protrude through.
|
|
|
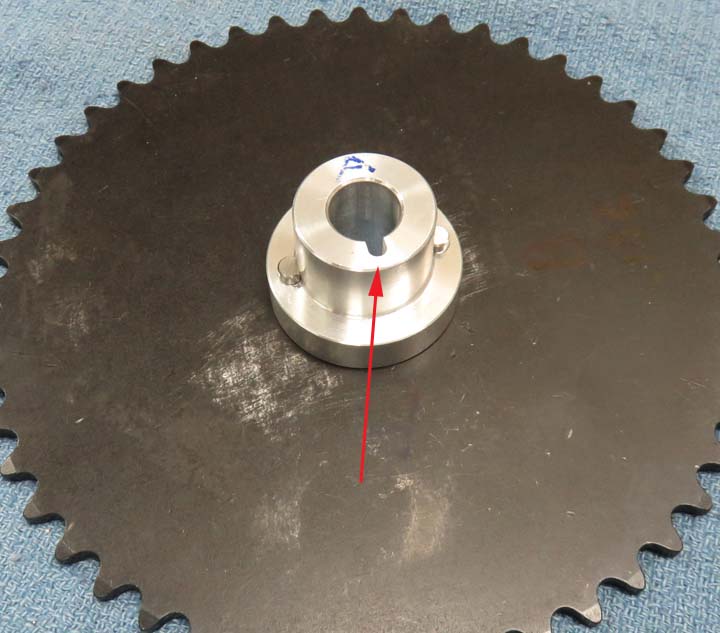
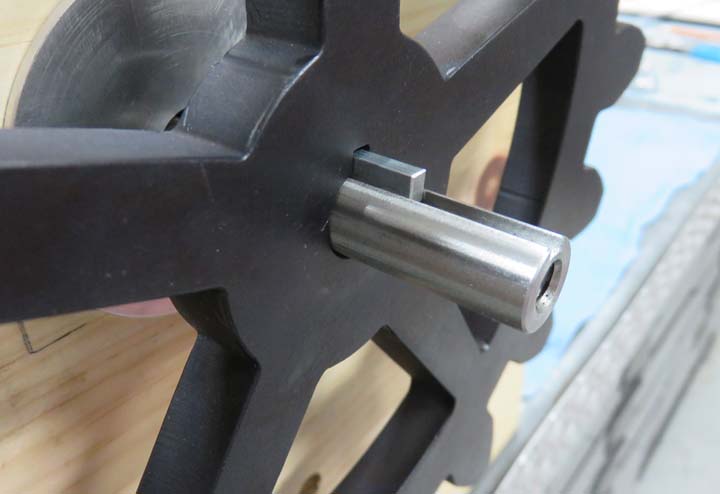
Here is the adapter and dowel pins in place. I milled
the keyway 3/8" deep X 1/8" wide (arrow) in this end only. Once these
are on the shaft with the key in place, the adapter and sprocket will
turn.
|
|
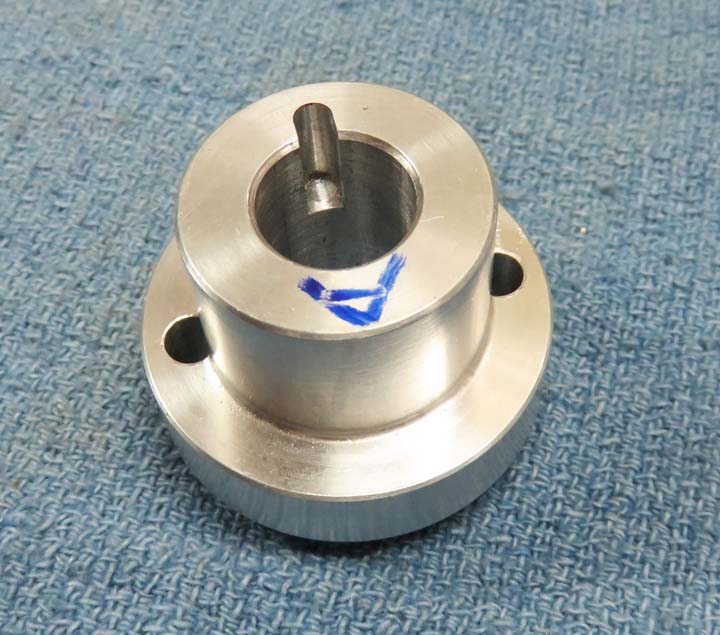
A close-up of the keyway here. The letter 'A' is so I don't get the two
similar adapters mixed up. Whatever works you know...
|
|
|
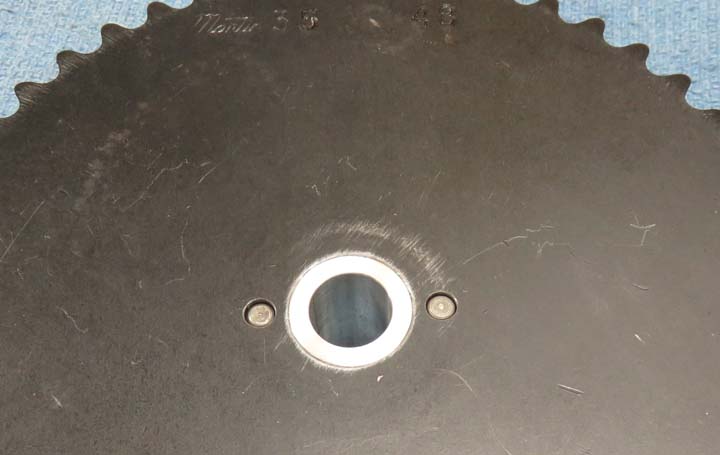
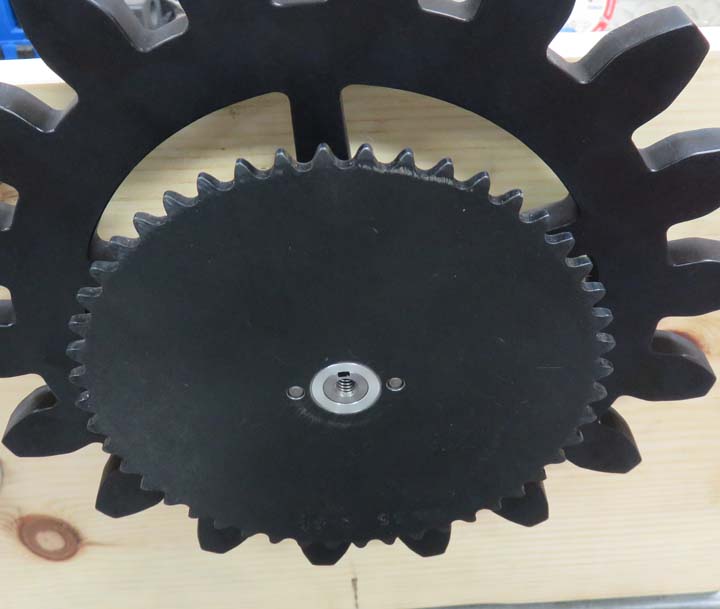
Here is the other side of the sprocket and you can see
the pins and the adapter face are below the surface. Once the bolt and washer
are in place, everything will clamp together properly.
|
|
|
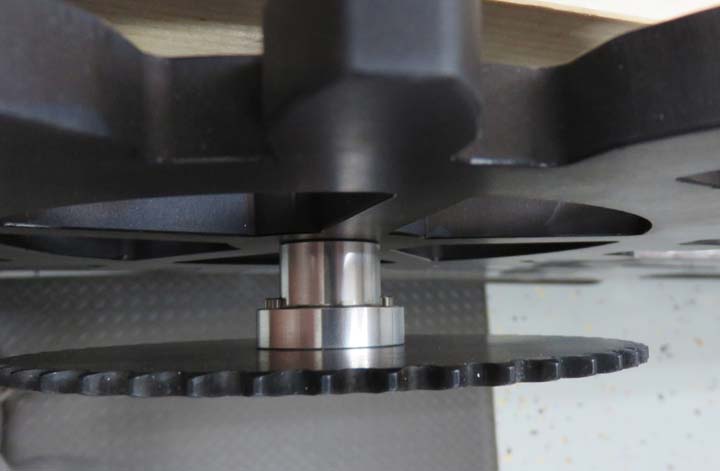
I'm getting ready to install a gear/sprocket combo onto
this shaft. I'm using a shaft collar in back of the gear to set the
proper depth. These shaft collars work great and don't move once
there're tightened down. Also notice the threads in the end of the
shaft, this is where the bolt and washer will go.
|
|
|
With the shaft collar in place, the gear goes on next along
with a key. The key runs all the way through the gear and buts-up
against the shaft collar. The remaining key that you see sticking out
will go into the adapter. There will be plenty of surface area (of the key) to
drive the gear and sprocket because there isn't much load on either one.
|
|
With the adapter in place and engaged with the key, the sprocket fits on
the other end of it. By the way, this is the 6" sprocket with a 9"
gear.
|
|
Here you can see the one inch spacing between the gear and sprocket.
This distance was calculated by me so the chain doesn't come in contact
with the gear at all.
|
|
|
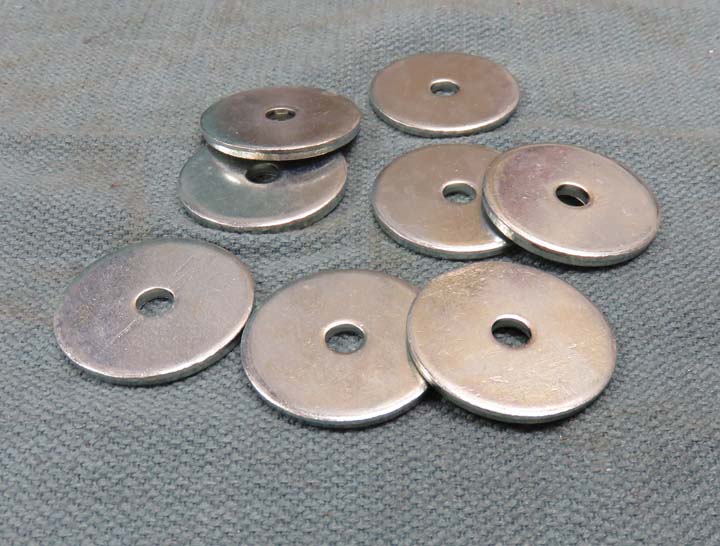
These are the washers I'll be using and I bought them for two reasons: one they are
larger in diameter (than normal) and two, they are thicker than normal
as well. A normal thin hardware store washer wasn't going to cut it here so I
bought these special ones at McMaster Carr while I was getting some
other stuff.
These washers are 1 1/2" in diameter X 1/8" thick
and they
should work perfect for this application. Once I had it assembled I
showed the kids what I had come up with. They liked it...kind of. What I
mean is, again they didn't like the look of them being bright in color
(zinc plated) and they wanted to know if I could change them? No
problem!
|
|
|
I used some leftover splatter paint that I had laying
around and once they were painted they liked the look. Again...whatever
they want...they get :-]
|
 |
|
1
2
3
4
5
6
7
8
9
10
11
12
13
14
15
16
17
18
19
20
21
22
23 |