|
Machining The Gears Continued
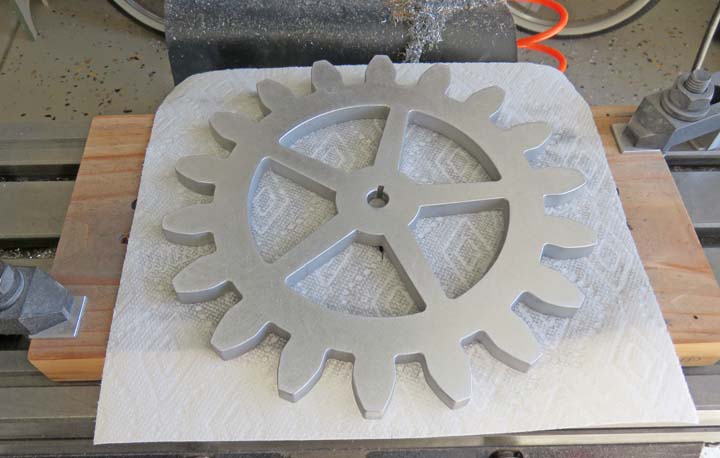
Note the wood tooling has been turned 90 degrees once again. The
reason: as the gears have gotten progressively larger, I ran out of real estate
for my clamps. By hanging some of the wood over the back of the table, I
was able to use a third clamp to help hold the larger gears. BTW, this
is the 12" gear.
|
|
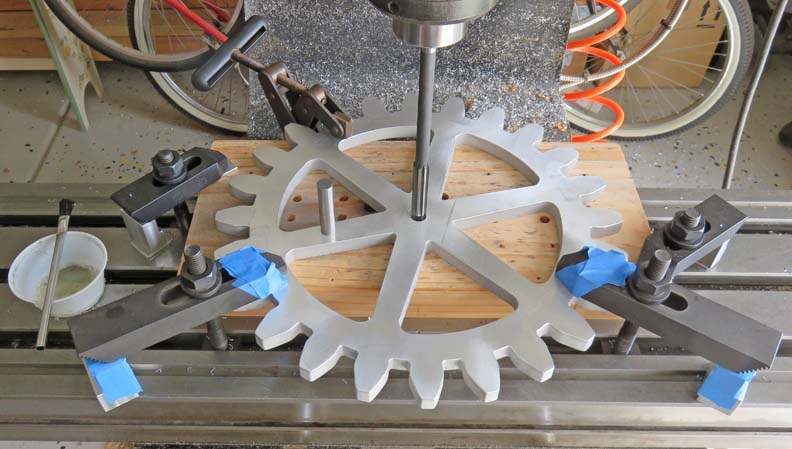 |
A keen eye may have noticed that I'm not using paper
between the clamps and parts any longer. The paper worked great, but it
was very slow to work with so I switched to using tape on the clamps and
blocks. I wrapped the tape around the clamps two times to make sure
everything was protected well, which worked out great. Total time for
reaming was about one and a half hours.
|
|
|
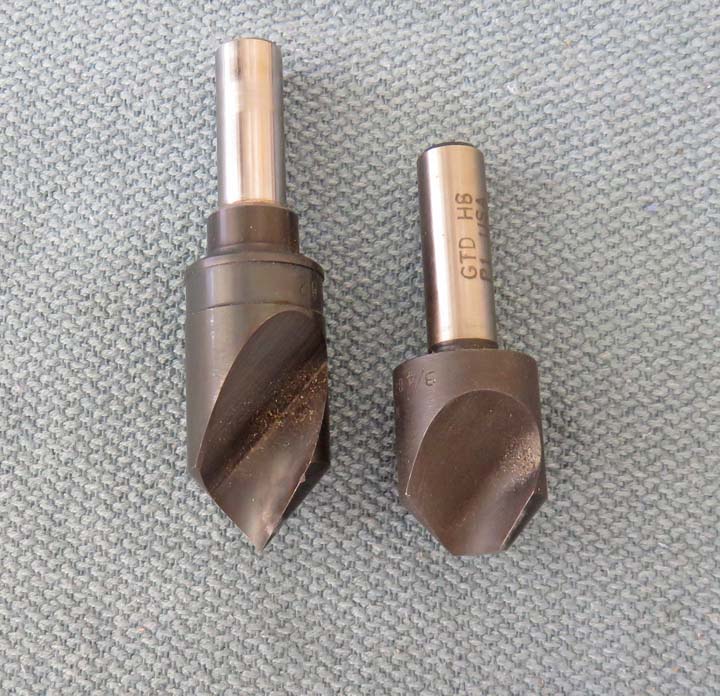
Now that all the holes are reamed to size, it's time to
chamfer both sides of them. Here are two single flute chamfer
tools, both being the same diameter but I ground a flat on one so I could
use it with my wood fixture. Now normally I wouldn't have to do this but
this is a special setup.
|
|
 |
|
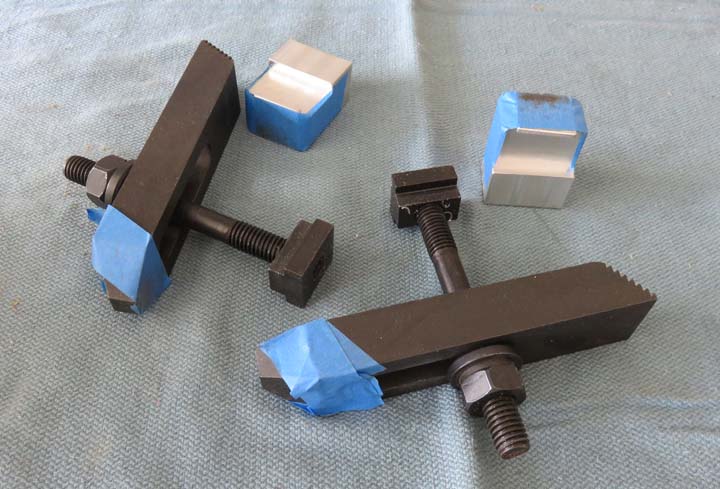
First I drilled and reamed a new hole in the wood tooling so I could use a 1/2" dowel pin for
locating. I also left the pin sticking out a third of
the gears thickness. By using a short pin this way, I can place the gear
over it (which will stay in place the whole time) and then chamfer all
the holes. This keeps the work piece centered while I'm working.
Now I could have used a three flute countersink for this
and not used any clamps at all. However, that method can cause the
countersink to chatter and I didn't want that either. And to make sure there
isn't any chatter, you need to clamp your part down, which is what I
did.
|
|
 |
Here you can see what I came up with which worked out great. And using a
single flute countersink makes a nice finish. If you don't clamp your
work down using a single flute countersink, the part will 'walk' or move
around as the tool makes contact so clamping is a must.
|
|
 |
|
Here is a finished chamfer and they came out great. The
size is .025 thousandths of an inch which should work out pretty good.
The hardest part about this operation is changing clamps because
chamfering takes only seconds. Total time for this operation was about
one hour.
|
|
 |
|
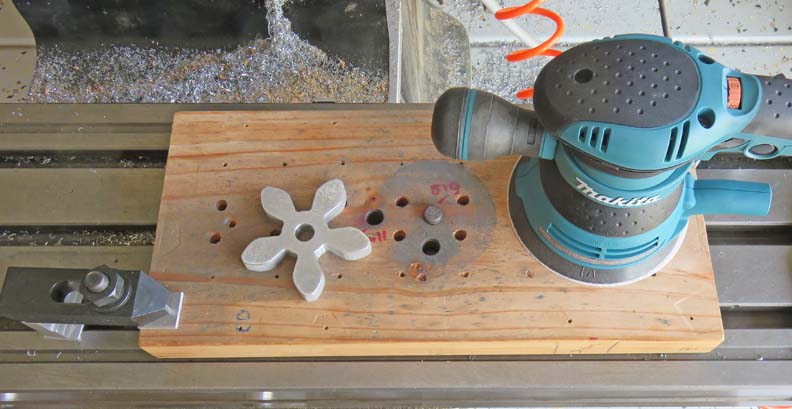
Now that all the machining is done, I wanted to remove all the cutter
marks so it was time to sand. I bought this orbital sander made by
Makita just for this job. The 5" sanding discs attach via hook-and-loop
and the sander has a variable speed motor so you can adjust it to
whatever you want.
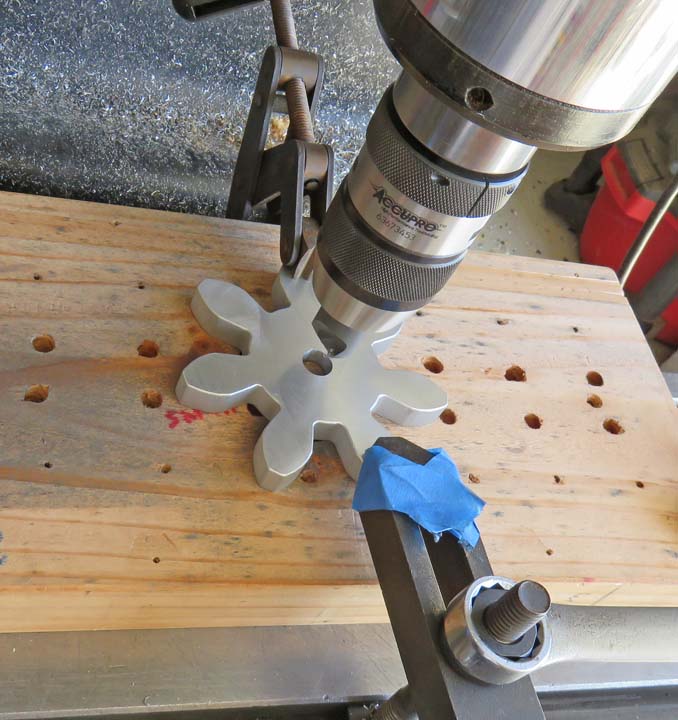
I used my handy wood tooling once again to keep the work piece from
moving, although it did spin a small amount on the pin. This setup
worked out really well and made it pleasant to sand each piece.
|
|
 |
I used a paper towel for the finish sanding because the wood tooling had
gotten very dirty from the machining and rough sanding operations. And
all this dirt and grime would transfer onto the surface of the gear
making it look bad. I could sand both sides of four to six gears before
I had to use another clean paper towel. This worked out great and it was
very
easy.
|
|
 |
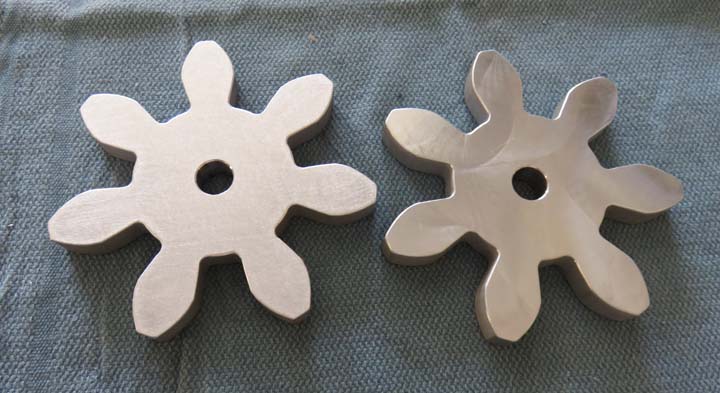
As you can see this made a big difference. The sanded part is on the
left and all the machine marks have been removed now. I used two
different grits of paper, 80 to rough them and 120 to finish with.
|
|
 |
|
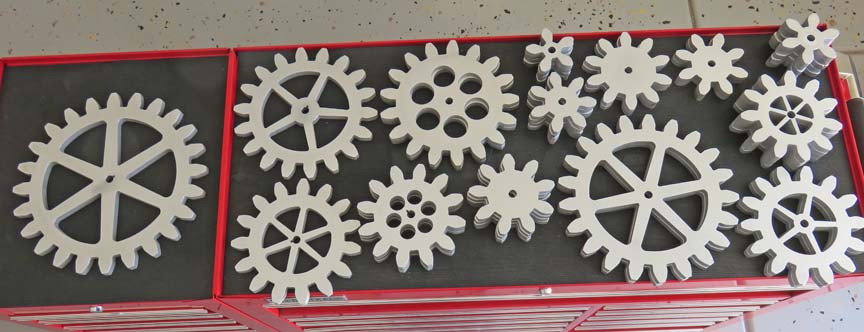
Here are all the gears finish sanded and at this point are ready for
plating. Total time for sanding was about three hours. Speaking of
plating, I mentioned the hole diameters being reamed oversize awhile
back (.503) and now would be a good time to tell you why. I'll be using
1/2" (.500) diameter shaft material for these gears and with the plating
build-up at .001 per side (one thousandth going into the material and
one thousandth build-up to the outside of the material) I should end up
with my hole diameters at .501" when they come back from anodize. This
will give me the perfect slip-fit of about .001" between the shaft and hole, at least
that's the plan.
|
|
 |
|
1
2
3
4
5
6
7
8
9
10
11
12
13
14
15
16
17
18
19
20
21
22
23 |