|
Building A Box Continued
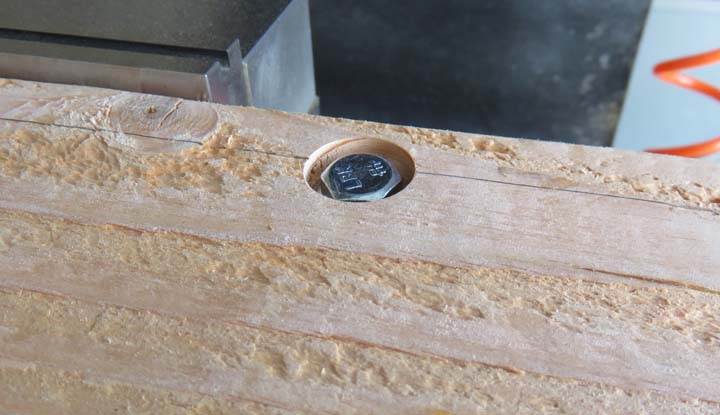
And there you go. Now I realize this isn't a normal
operation that a carpenter might do but then again I'm not a carpenter
either. I just do what I think will work and go from there.
|
|
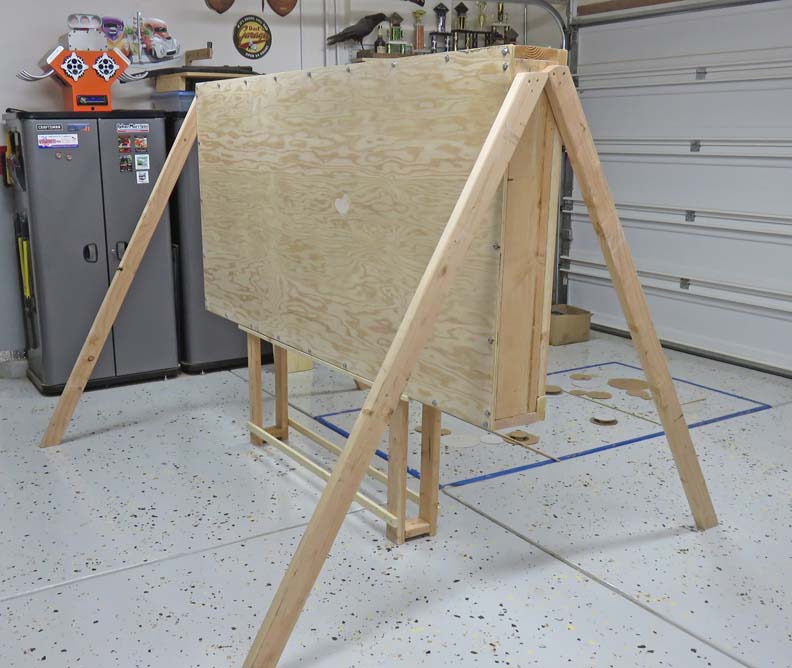
I wanted to make sure this stayed where I
put it because this box is heavy. I used some 2" X 4"s to help support
it and it came out really solid.
|
|
|
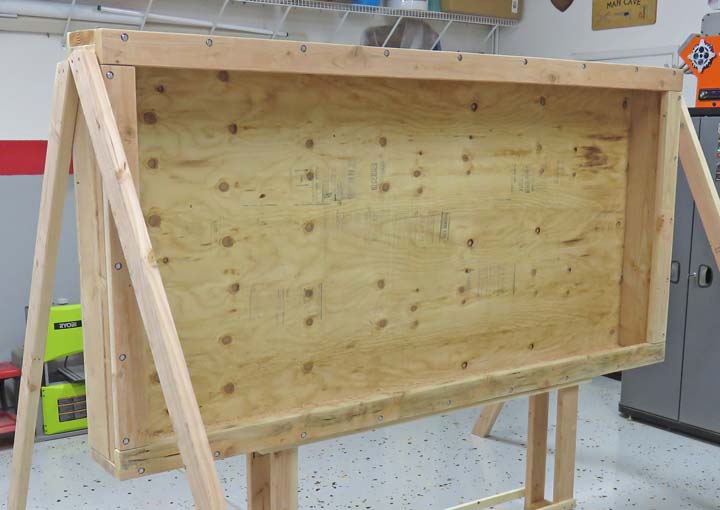
Here you can see all the recessed bolts and yes....I
placed one every foot because I wanted to make sure it stays put. Again
this surface will sit against the wall and will probably need some extra
nailing blocks when the times comes to mount it.
|
|
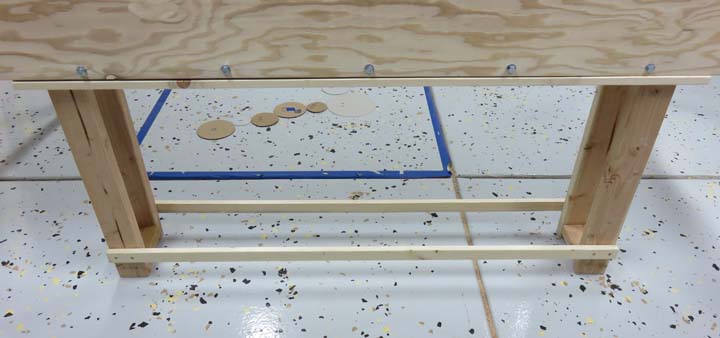
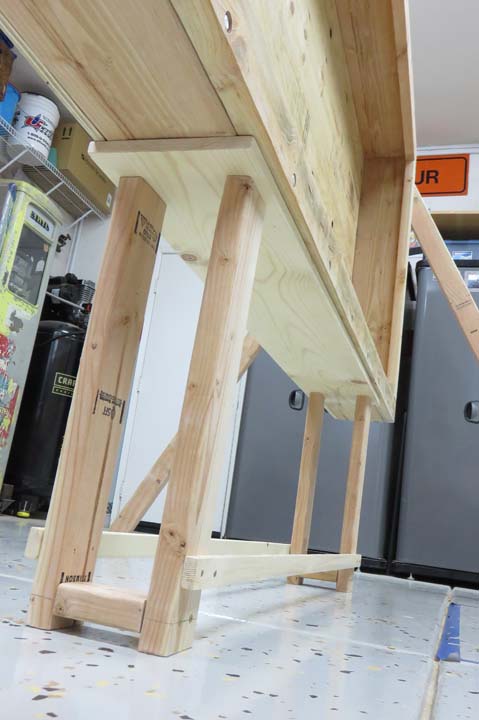
I made this stand out of 1" X 10" pine and attached 2" X 4"s as legs.
The box sits two feet off the ground, which seems like the perfect
height and might be what the kids will end up wanting too.
|
|
By adding the stringers to the bottom really made this stand stable. And
with those supports on the sides it hardly moves at all which makes it
nice and safe.
|
|
|
Mounting The Hardware Now
that I have the box built, it's time to start mounting all the pieces I
made. I started in the lower right hand corner, which will be the gear
that will have the hand crank and worked my way from there. I used my
life size
floor model to aid me in getting the location for each gear.
This worked pretty good and it went smooth.
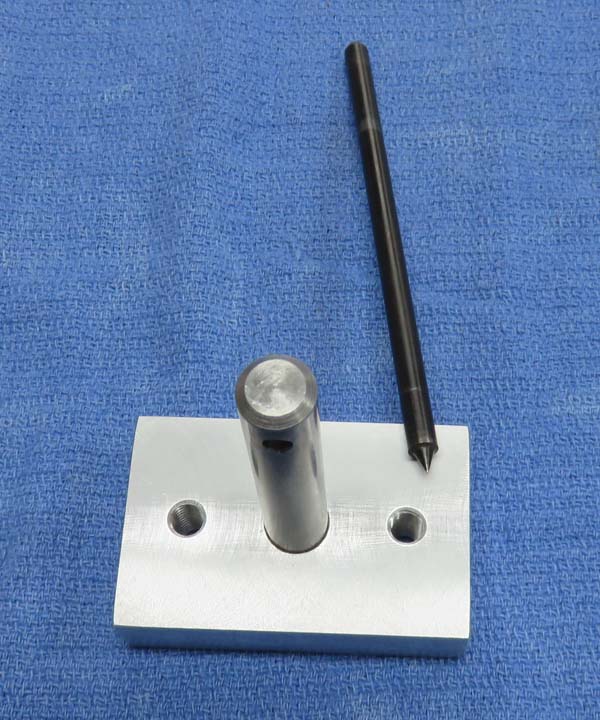
To mount each block I'll be doing the same thing I showed you earlier. I placed the block over the spot I measured
from my floor model, leveled the
block and then used a pencil to mark the top corners. Then I used my
transfer punch placed through the threaded holes and tapped it lightly
with a hammer.
|
|
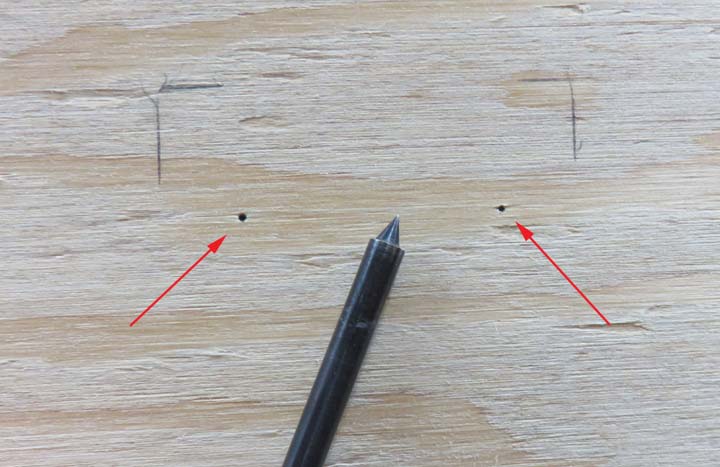
This is what it looks like when I removed the block. The small dots are
where I'll need to drill but I'll also need to find the center for the
clearance hole for the shaft to pass through.
|
|
|
I'm using a 1/8" drill as a pilot hole before going to
full size. The reason for this it two fold: first it's easier to keep
the drill in the right location because it's very easy to find the small
center punch. And two, the larger drill will want to follow this smaller hole
putting it where you want it compared to using a full size drill first, which
tends to walk or follow the grain of the wood when using a hand drill.
|
|
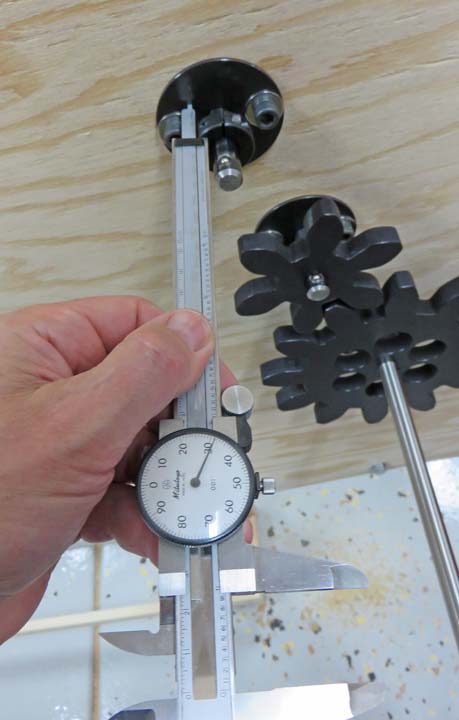
Once the holes were drilled I set the depth of the shaft collar using my
calipers. These collars work great and hold very well.
|
|
I used the trim plate to measure from and placed all of the collars
within .010" (less than 1/16 of an inch).
|

|
|
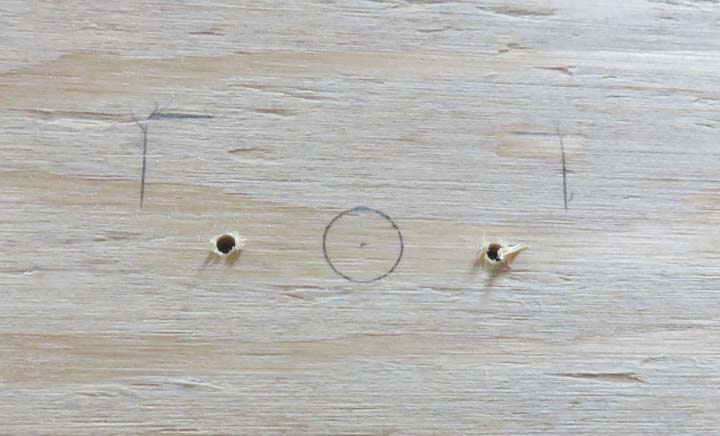
The blocks with the bearings all have four bolts and the
one that I'm working with here has a gear and a sprocket. Notice the center line running
vertical and the horizontal line that is slightly above the center
circle. This was the location that I got from my life size floor model,
which ended up very close to the actual location that I used. The reason
there is a difference is because of the chains length being slightly
different than my string on the floor.
|
 |
|
1
2
3
4
5
6
7
8
9
10
11
12
13
14
15
16
17
18
19
20
21
22
23 |