|
Machining Continued
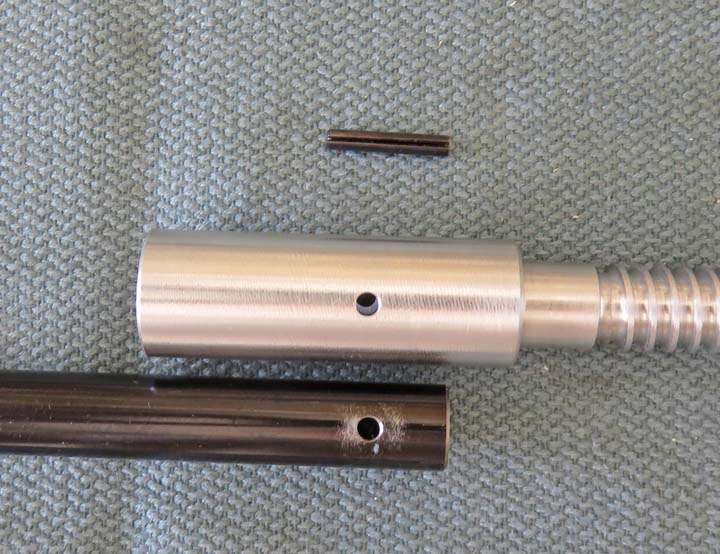
After cutting the shaft to length I needed a way to
attach the two together. What I came up with was a 'roll pin' that will
pass through both pieces. The pin is 1/8" diameter X .700" long which
will work great for this application. If I ever need to separate the
two, I'll just tap out the pin with a punch and hammer.
|
|
|
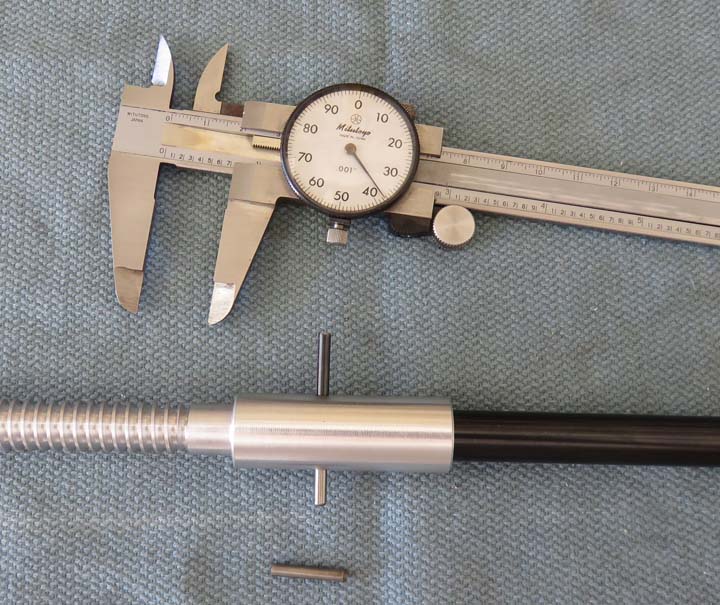
To line up both pieces, I'm using a 1/8" dowel pin that
was inserted from the bottom side. The roll pin however is a press-fit
and trying to line up both pieces once you start hammering makes it
tough. By using this second pin the holes are aligned while you hammer
the pin in and it moves the other out of the way with every hit.
|
|
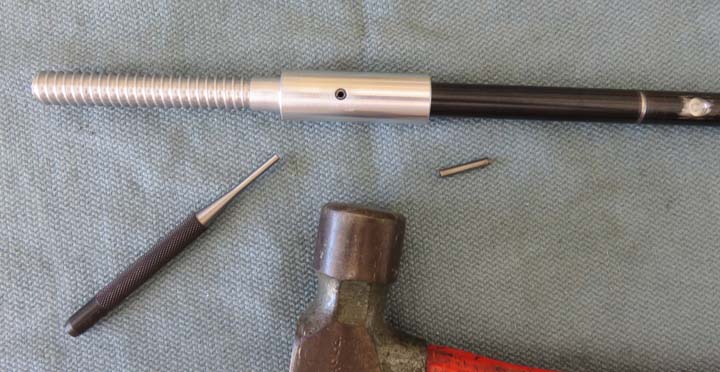
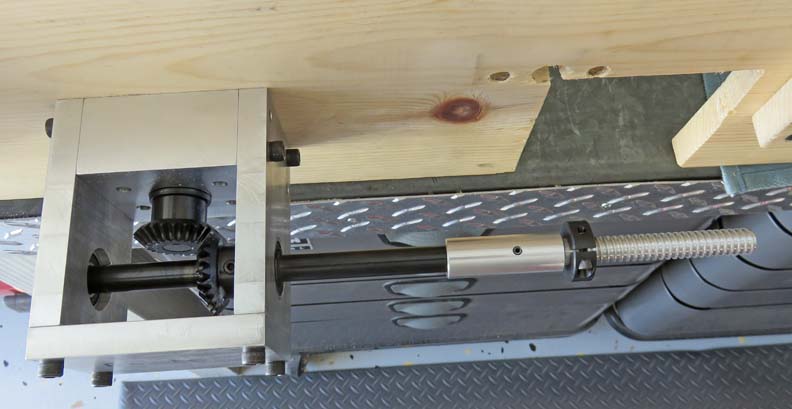
Here are the two pieces pinned together and ready for action. Now it's
time to reassemble the gearbox and see how it works.
|
|
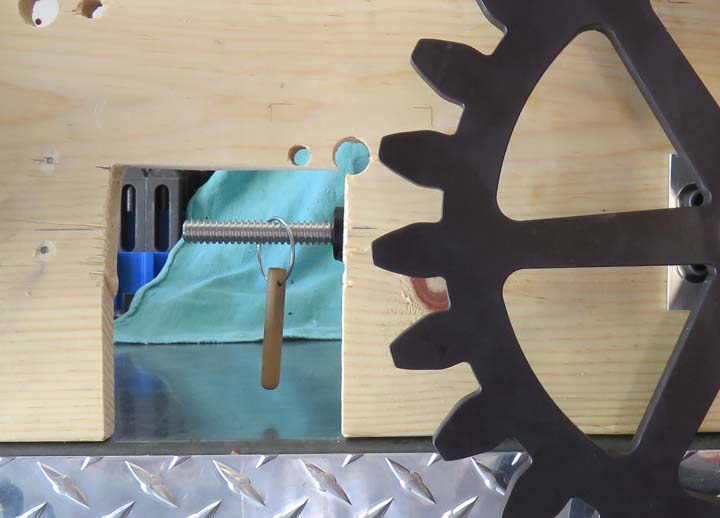
This is a mockup of the ring hanging from the threads and is basically
what the people will see when it's being dispensed. So far it works just
like I planned!!
|
|
A look from the back side. The shaft and threaded piece run very true
and should work pretty good.
|
|
|
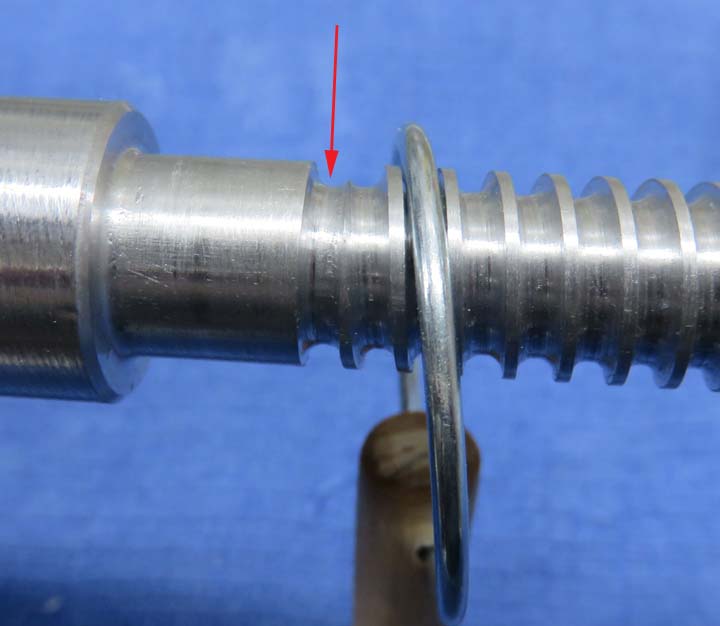
Here is a close-up of the groove (arrow) which is a
where I started my threads. Once I engage the feed lever on my lathe
to thread, the tool moves and the threads are cut. However while I'm waiting
for the threading dial to be in the right position before it's engaged,
this groove is produced.
|
|
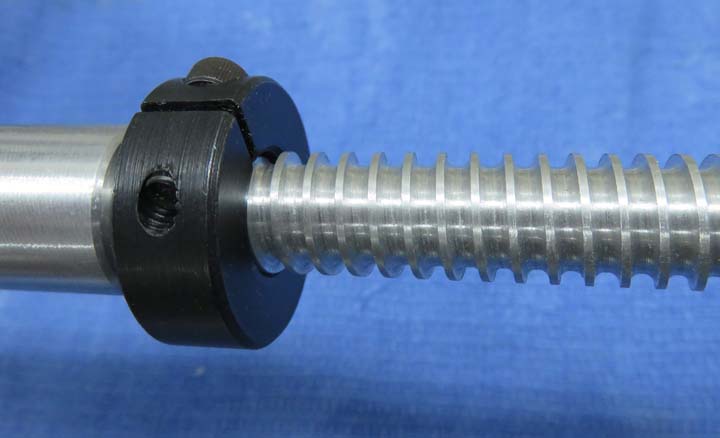
And by using a shaft collar I've covered the groove so there's no chance
of the ring ending up in the wrong place. An easy and simple fix!!
|
|
|
Making Changes
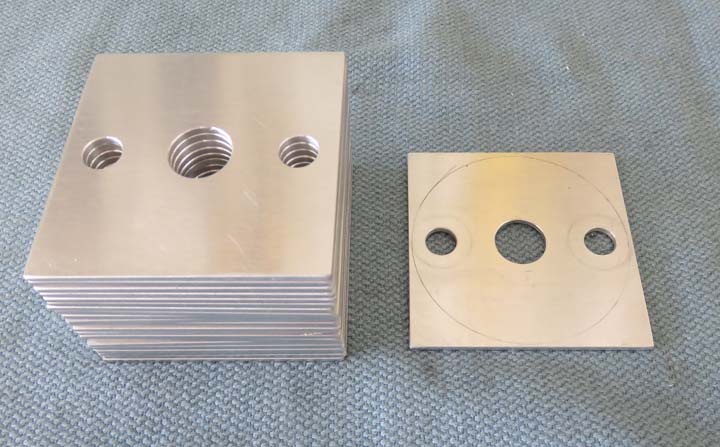
Matt and Angela came over for dinner one evening and I
was able to show them my progress. One thing they would like to have
changed were these trim plates. What they wanted is for them to be
round, not square, so I told them I'd make that happen.
I used a paint can and drew a pencil line around it to
represent what they might look like. They both liked it so now I'll be
turning them all round.
|
|
|
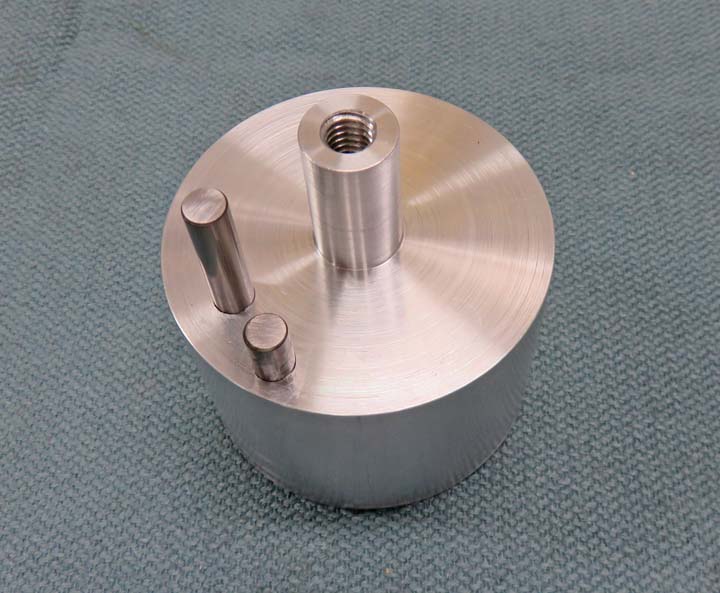
In order to turn these plates round I'll need a fixture
to hold them. What I did was start with a 3" diameter piece of aluminum
and made a spud to fit the center hole. This fixture will hold 11 parts
at a time.
|

|
|
When turning square parts (that end up being round)
this is what's called an 'interrupted cut'. An interrupted cut is prone
to spinning your parts while being cut so I drilled and reamed some 1/4" holes
for dowel pins. These pins will go through one of the bolt holes and
will be used to 'drive' the plates while they're getting turned.
Notice I have two lengths of pins here, the long one is
for the trim plates with two holes and the short one is for the trim
plate with four holes. The short pin is for the three trim
plates.
|
 |
|
1
2
3
4
5
6
7
8
9
10
11
12
13
14
15
16
17
18
19
20
21
22
23 |