|
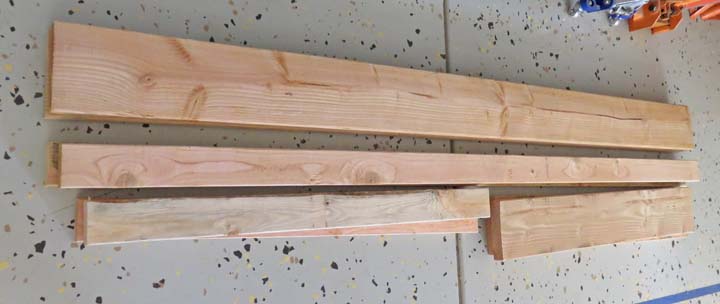
Building A Box
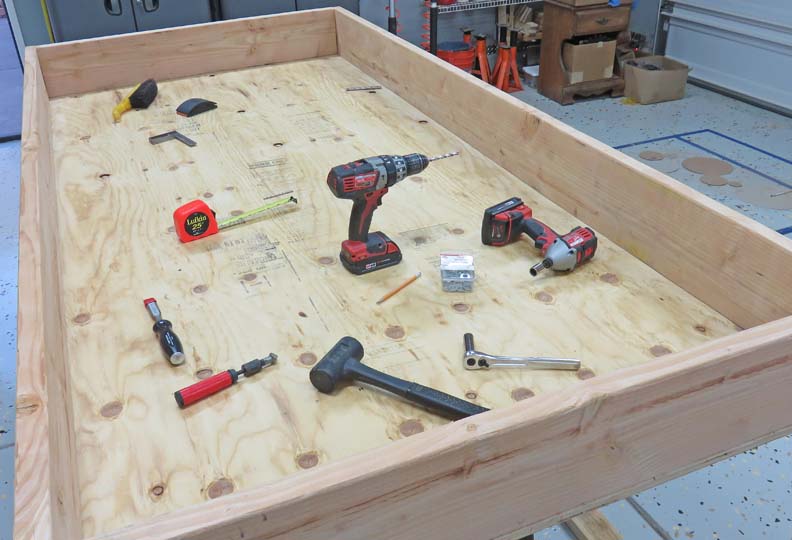
Now that most of the components are made, it's time to
mount all the hardware and see if it works. Basically I'll be making a
box without a back and to do that I'll be using a sheet of plywood, some 2" X 8"s
and 2" X 4"s.
|
|
|
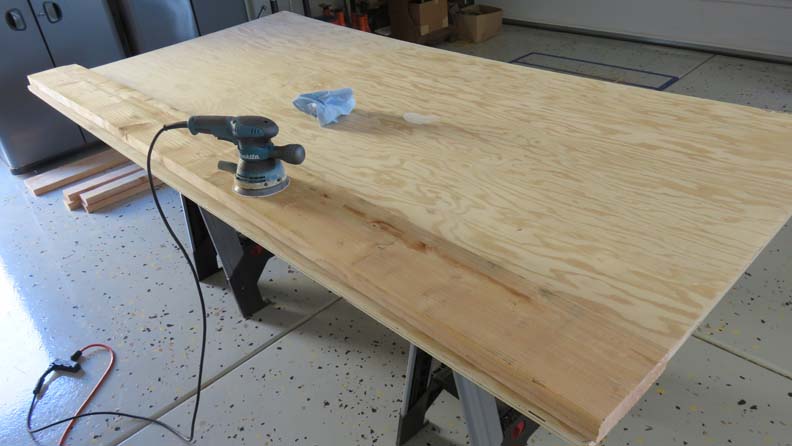
I'm using a full sheet of plywood that's 3/4" thick and
sanded on one side. I placed the plywood on some sawhorses which made a nice table to
work on. Here I'm sanding all the wood before using it so it's easier to
work with. Plus it goes together much better when all the edges are
splinter free.
|
|
|
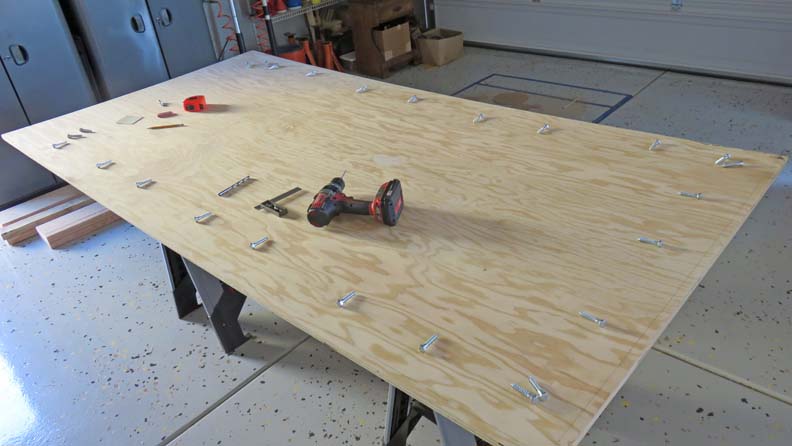
I'll be attaching the 2" X 8"s to the plywood with 3/8"
X 2 1/2" lag bolts spaced one foot apart. Now some of you may be saying,
that's over engineered....you don't need that many bolts. Well maybe I
don't but then again I need to pull that bow out of the plywood along
with a bow in the 2" X 8"s and by using this many fasteners, I should be able to
do just that.
|
|
|
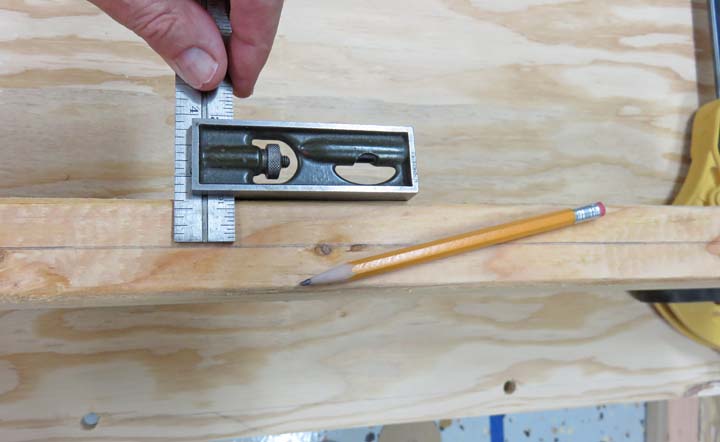
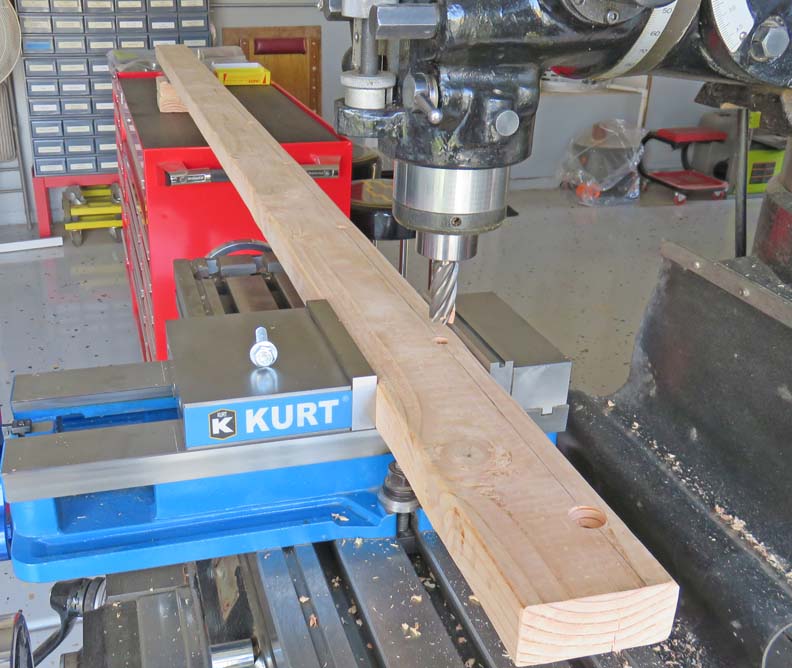
I'm laying out a centerline on the 2" X 8" so I can drill some pilot
holes for the lag screws. If this board was straight I'd line it up
flush with the plywood's edge and then drill my holes bypassing the
layout process. By doing it this way I'm assured the holes will be in
the center of the board.
|
|
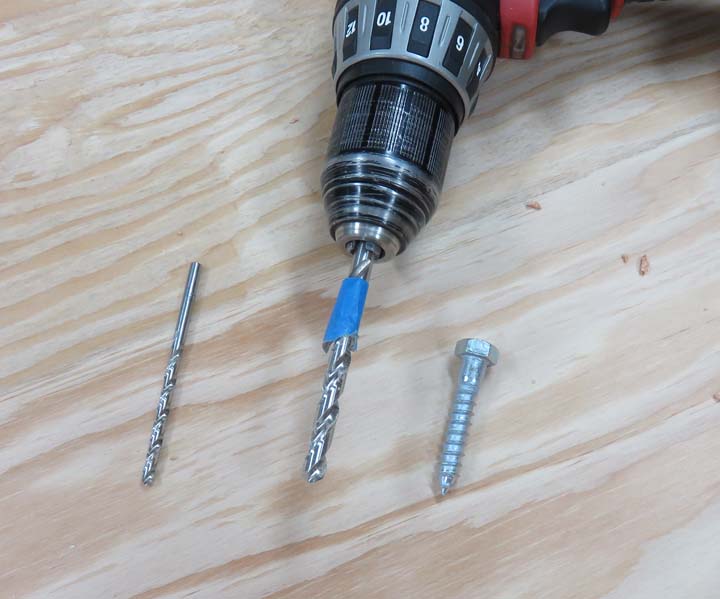
I used a smaller drill to hit the right location and then followed that
with the full sized pilot drill for the lags. I also placed some tape on
the drill as a depth gage.
|
|
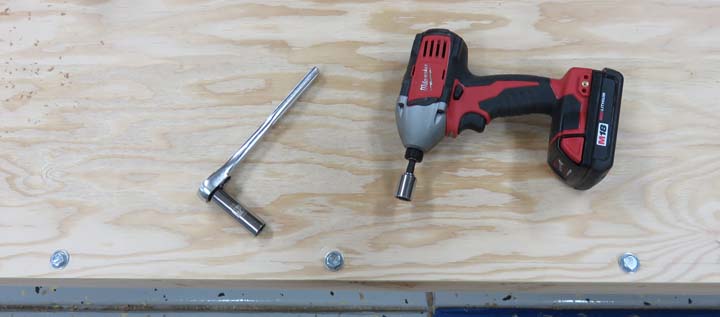
I used my impact wrench along with my ratchet to tighten all the screws
with, which made quick work of them.
|
|
|
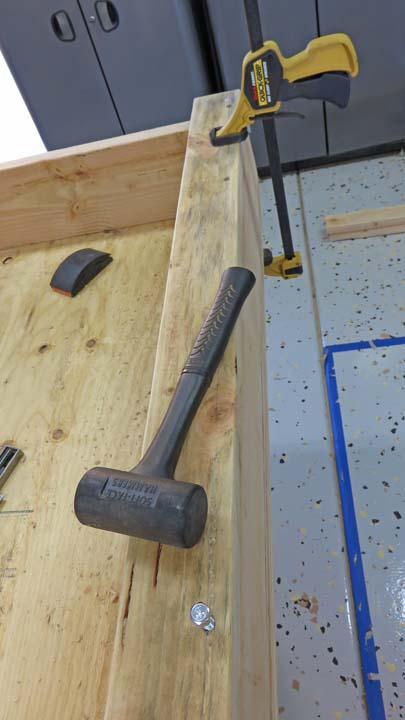
Most of the box went together pretty well but there was
one 2" X 8" that had some issues. One end had a compound curve to it and
I had some trouble getting that end to sit flush at the corner. I used a
wood chisel to straighten out the curved area which now sits much
better.
The reason I used 2" X 8" is because I needed the depth.
What I mean is, I'll be using some air cylinders to keep some of the
gears from moving as the people are placing all the loose ones on. The
air cylinders will be activated electronically to retract once all the
gears are in place allowing them to spin. This will prevent someone from
just spinning the large 12" gear by hand before figuring out the puzzle.
|
|
|
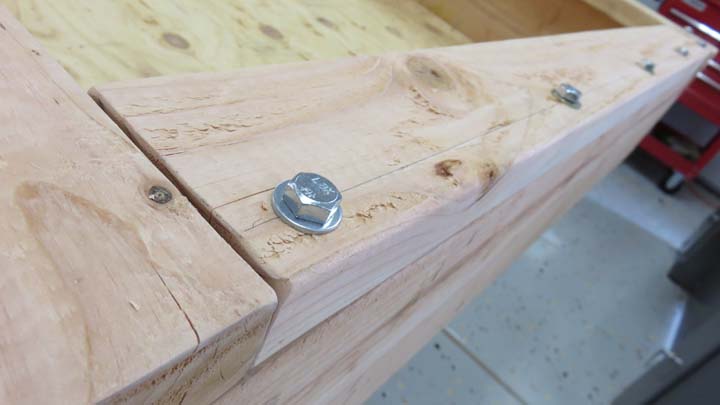
I'll need a way of anchoring this big box to the wall so
here is what I came up with. By using a 2" X 4" attached to the 2" X 8"
sitting flush on one side (see below), this will let most of this board
overhang into the box. The area that overhangs is about two inches, which
will be more than enough to drill some holes to put bolts through and
into the wall.
|
|
|
I drilled clearance holes through the 2" X 4" first and
then placed it on top of the 2" X 8"s. Once they were clamped into position
I hit the tops of the lag bolts with a hammer which transferred a spot onto the mating
board. This gave me the exact spot to drill the pilot holes for the lag bolts.
|
|
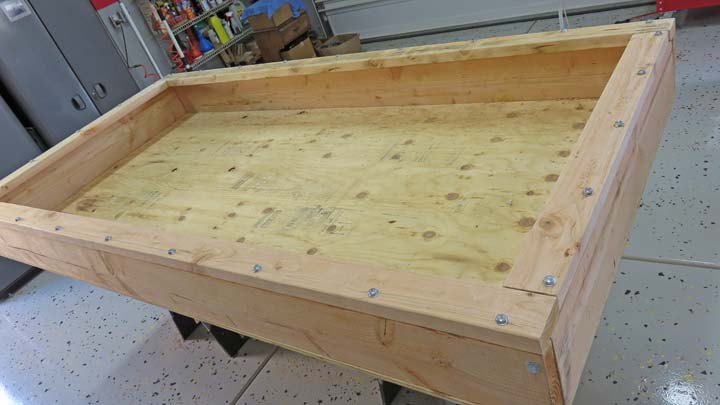
Here is the box all bolted together and should give you a better idea of
what I'm making. You can also see how the 2" X 4" overhangs as well.
|
|
Now you might be asking yourself, "how is this going to
bolt to a wall with all those bolt heads sticking out"?
|
|
|
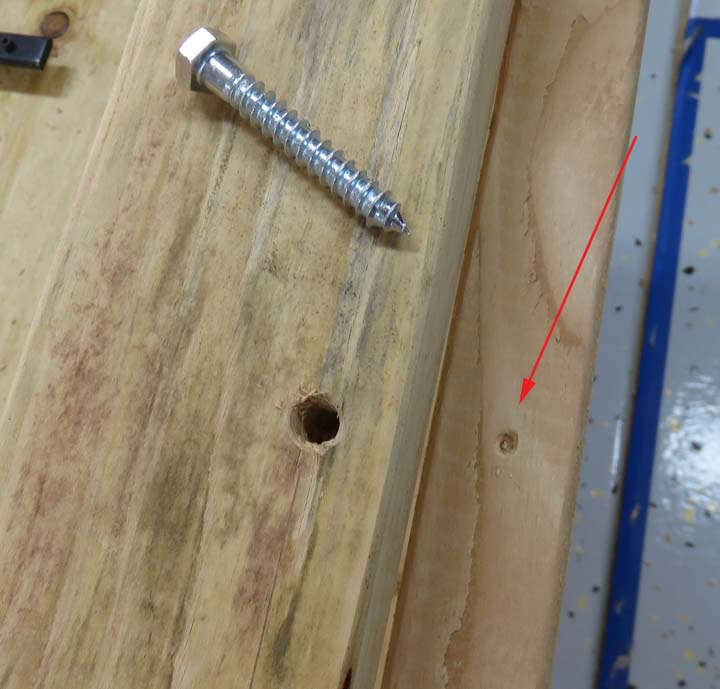
By counter-boring that's how. With all the holes drilled
now, this gives me the location for all the counter-bores. This is a
common thing to do in the industry when making tooling and fixtures and
using socket head cap screws (Allen bolts). By
using an end mill that's larger than the washer that I'm using, I set
the cutter depth so the bolt head and washer is below the
surface.
|
 |
|
1
2
3
4
5
6
7
8
9
10
11
12
13
14
15
16
17
18
19
20
21
22
23 |