|
Miter Gear Box Continued
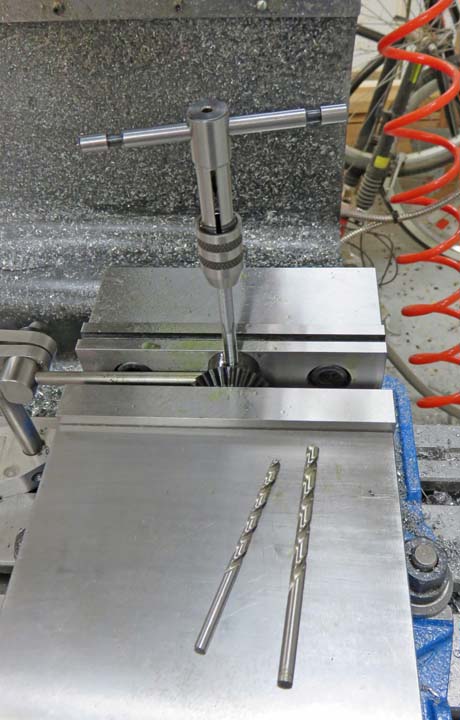
I took apart the gear box and decided to drill and tap
the miter gears themselves for 1/4-20 setscrews. This way I can make sure they
stay exactly where I want them once I have the backlash adjusted.
|
|
| These were easy to drill and this
operation went pretty fast. |
|
|
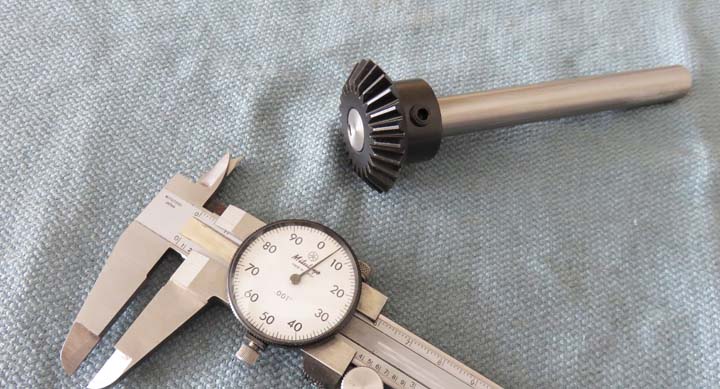
I'm putting a small dimple in the shaft here so the
setscrew will have a place to rest. I figured out where the dimple
should be and made the depth about .100" with a 1/4" drill. This method
will work good because it gives the setscrew someplace to bite into
instead of just the outer surface of the shaft.
|
|
Here is what it looks like once the setscrew was tightened down.
|
|
|
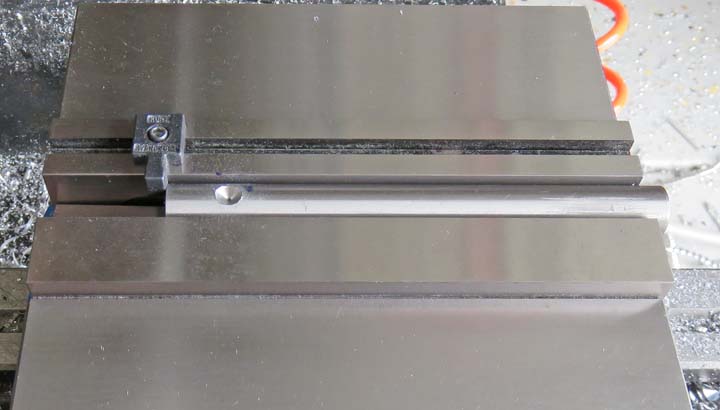
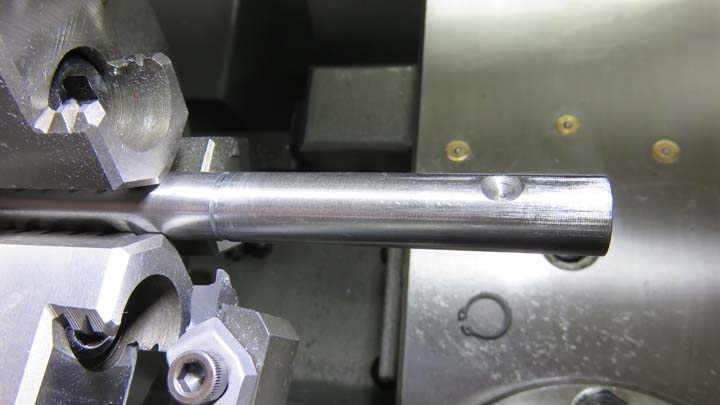
Now it's time to put some grooves in both shafts for
some retainer clips. These clips will hold the shaft in place so it
doesn't move side to side. The groove width is .053" and the clip
measures at .050" so this gives me a few thousands of clearance. However
my groove tool width is only .047" but all you do is move over .006" and
plunge the tool to depth a second time. That's the easy part, the tricky
part is getting the groove in the right location from the end of the
part.
|
|
|
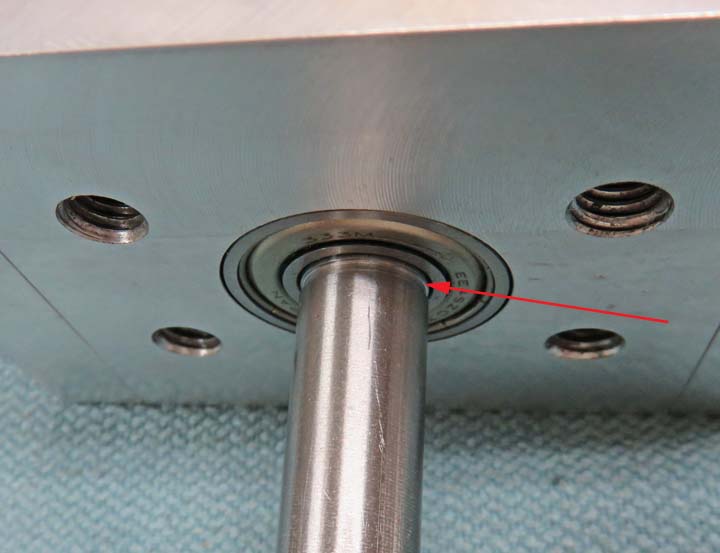
Here you can see the groove just a few thousandths from
the bearing which is just what I wanted. Once the retainer clip is in
the groove, the shaft won't be able to move.
|
|
|
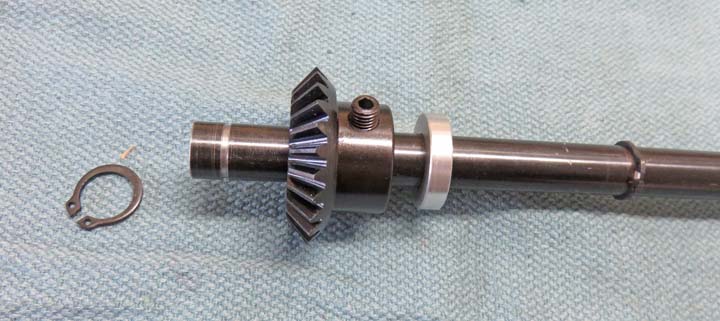
This is the other shaft in the miter gear box. I cut two
grooves here, one on each side of the bearings. I also made an aluminum
spacer that will go between the gear and bearing. This spacer won't
allow the gear to move, which is overkill because I have a setscrew to
hold it in place. Just insurance here.
|
|
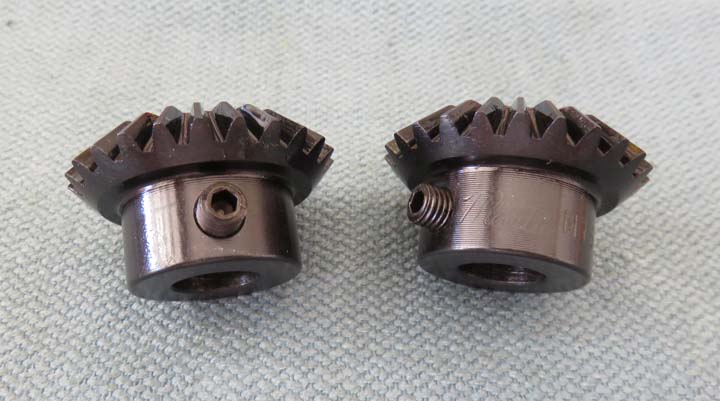
Speaking of the setscrew, this 1/4" diameter pocket is where the
setscrew will reside. I made a pocket in place of a dimple because I
wanted a small amount of adjustment.
|

|
|
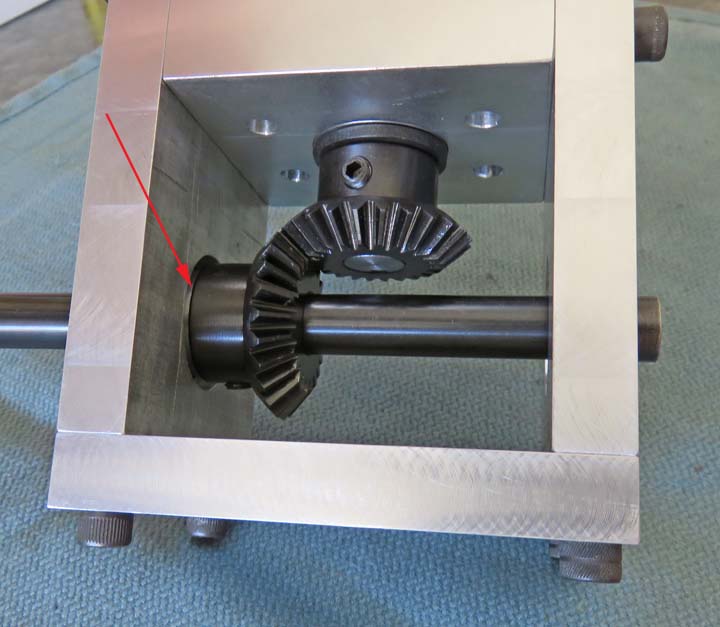
Here is the gearbox assembled again and the arrow is
where the aluminum spacer is at. With this being the first time building
something with miter gears, I'm extremely happy with the results as they
turn very easy and should last a long time.
|
 |
|
1
2
3
4
5
6
7
8
9
10
11
12
13
14
15
16
17
18
19
20
21
22
23 |