| Now that the door panel was fixed, a
new problem came up. When I had all my upholstery in before paint, I had
attached my wind lace (a few months ago) by tucking it behind all the panels
that it came in contact with just to get an idea of how everything was
going to fit. I did some rough cut-and-fit with the wind lace at that
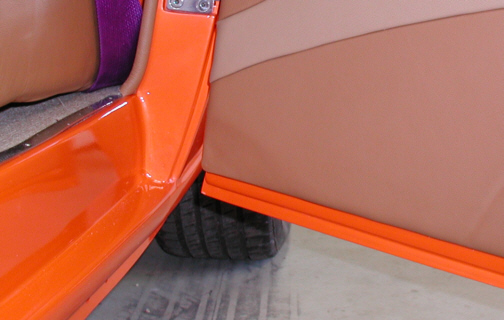
time but now I have it all glued in place. With the door panel on the
door and the door closed, the wind lace and door panel come together very
good for a nice tight fit. This is what you want between the two pieces, so that's a
good thing. The bad thing is that because of this great fit. the door
wants to open and close a little harder than before, (even with the fix
I did at the bottom). That's no big deal because a good close fit means
not as much wind noise but what doesn't work again is the keyless entry. I
guess I could ALWAYS leave the window down so I could use the door
handle on the inside to open the doors. Or I could find out how too fix
it.
I took the door panels off and started looking at
the mechanism that opens the doors. After looking and thinking about it,
I found the problem. My solenoids weren't strong enough to over come the
tighter fit between the wind lace and door panels. This new tight fit of
mine was causing a little too much outward-pressure on the door latches
and now they wouldn't open like they use too. If you remember
awhile back, I had made some pieces to help with the leverage of the
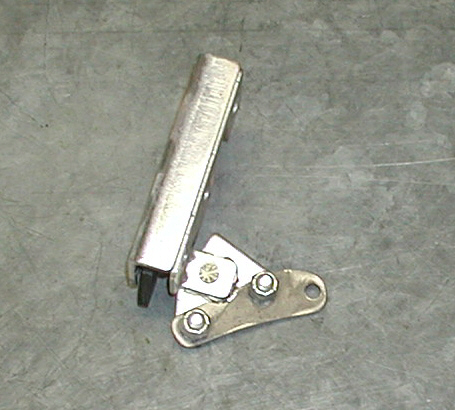
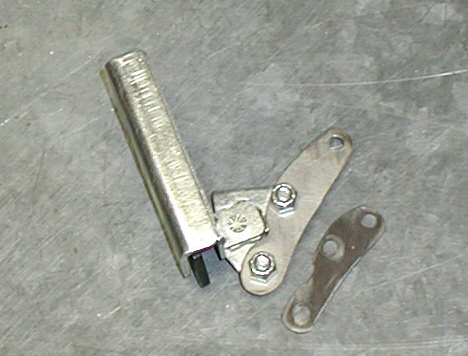
door latches for this very reason but this still wasn't enough to open them now. What you see
below is the added piece I made some time ago and I thought that if
this method worked before, it should work again. What I plan too do
is make some longer ones for even more leverage.
|
| After replacing the door panel on the passenger
door, I started in on the drivers side. What I discovered was that the
solenoid was not at the correct angle to operate the linkage that went
to the latch. When I hit the button to open the door, everything moved
but not as smooth as the passenger side. The two pieces of linkage (one
from the solenoid and the one for the door latch) seemed too bind-up
which was taking away from the power needed to operate the latch. What I
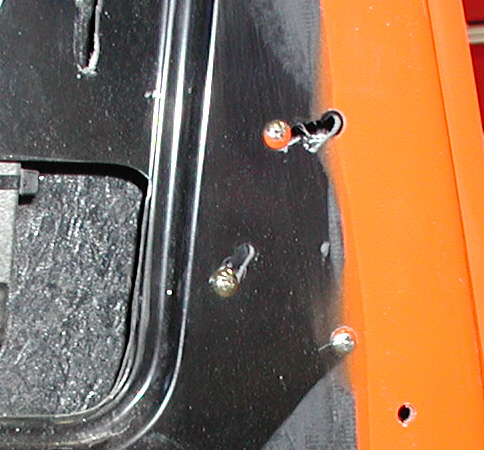
did was relocate the solenoid a few degrees. I took out two of the three
screws
that hold the solenoid in place and then used my Dremel to slot those holes in my
door skin. This would end up giving me a straighter shot at the new location of my extended
latch piece. I didn't do a very good job at doing the slotting because
it was a guess where the new hole locations would end up.
After trying the new location of my solenoid, it
still didn't open the door. Now how could that possibly be? I had done
everything that I could think of to gain mechanical advantage with the
limited space that had to work with (the new arm was right next too the
window track or I would have made it longer) and it still wouldn't
work.
|