33 Coupe Paint 25
10/14/05
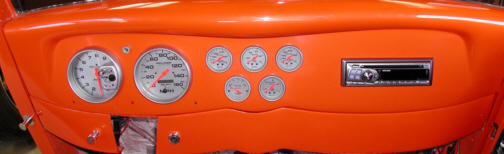
| On a different note, the dash is
coming together very nicely. I've got almost everything hooked back up
under there with the exception of a few more wires that go to the console.
Once I have more of the interior back in, those wires will hookup
fast because they have plugs on them.
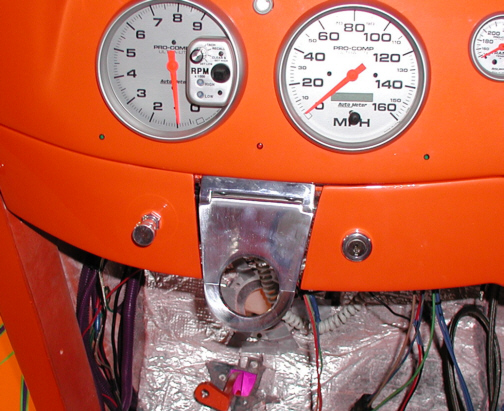
I've been working on my column drop that bolts
under the dash. The column drop holds my steering column in place (one
of two places) but while I was doing the buildup, it ended up with a few
scratches in it. I'm taking the time to rework it and make it nice and
shinny again. I've also opened the dash up that goes around the column
drop to what you see below. It
use
to have more material on the top portion of the dash but I thought
it would look better with it removed. After removing the material, I now
have a gap on both sides of the opening
and on top that has to be addressed. If that
weren't enough, I can also see behind the dash because all that material
is gone. I sure don't want to see any wires behind the dash so this
means more work. I thought I had all this engineered already!
|
|
|
What I did
to fix some of the problem was to relocate the column drop closer to the
rear of the car (towards the driver). I was able to drill two new holes about a 1/2"
closer to the edge of the dash which helped seeing behind it so
much but the gaps on both sides still remain. I've got to come up
with something that will trim-out the edges of the dash so it looks
better. Yeah.....I could leave it like this....but I'm not! Look for a
better looking opening very soon.
|
|
|
| 10/16/2005
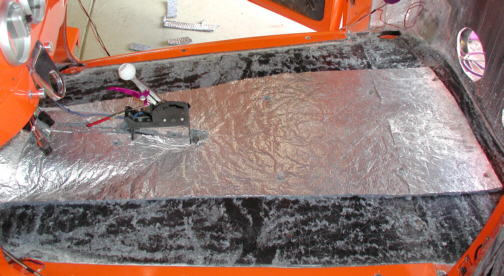
While the car was over at Bart's place, he had the
doors off to paint the body. While he was in the process of painting,
one of the steps is to wet-sand the primer and clear coat. Once that had been
done, some water had found its way into the insulation and made it hard
in spots. I knew this would take away from the insulating qualities so I
decided to replace it. I ended up cutting away the bad sections with a
razor blade and then prepped the surface by scraping it with a small putty
knife. The putty knife removed almost all the existing glue and
remaining insulation so I could lay down some new stuff. I cut and fit
some new pieces and then started gluing it in.
|
|
|
| Here you can see the new and old
insulation butted against one another. One other thing I did this time was
leave myself a
small gap next to the rocker panels when I installed it. This gap was for a few wires that make
there way towards the rear of the car. The first time the insulation was
installed, it was butted up against the rocker panels. While the car was
being built, I added a few more wires and I didn't want to run them
under the car like the rest of them (got a little lazy) so I cut a
channel in the insulation next to the rocker panel for the wires to lay
in. To cut the channel, I used a razor blade but this took some time because this
insulation dulled the blade quickly, so leaving a gap this time saved me some
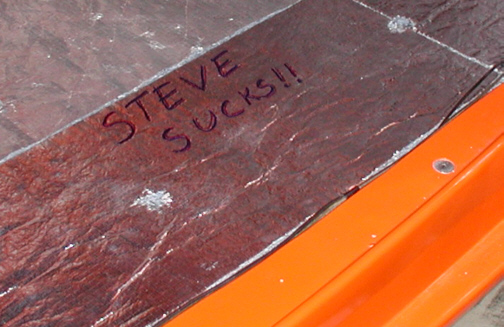
work. Now how did that writing get on there? Looks like
someone's gett'n some attention. Steve, who is one of
the guys that I work with (which has been a friend of mine now for over
ten years) has read every word that I've written so far on
the car buildup. After he's done reading, he then critiques me on what
he's read through an email telling me what words have been misspelled or
if I missed a word or two. I really appreciate what he
does and I just thought I'd let him know how much it really means to me.
Don't worry big guy, once the carpet is in, nobody will "ever"
know :~]
|
|
|
|
1
2 3
4 5
6 7
8 9
10 11
12 13
14 15
16 17
18 19
20 21
22 23
24 25
26 27
28 29
|
|
30
31 32
33 34
35
|
|