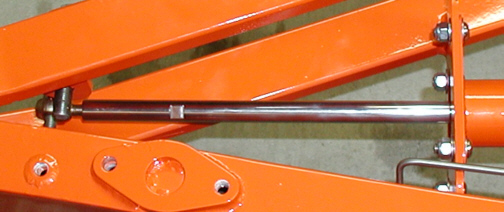
Here's a close-up of the new push-rod
and I polished it so it would look a little better. To bad that
it won't be seen once the body goes on because it came out nice. The notch
that you see is for a 1/2" wrench so I can tighten the
jam-nut that goes against the rod-end bearing.
|
|
|
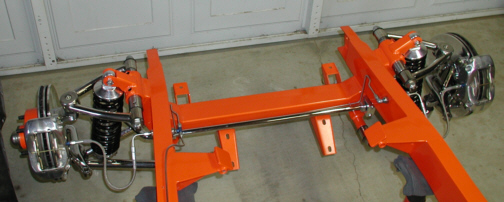
While assembling the front suspension,
I had to remove some paint from the top and bottom A-arm locators and to
do that I used a triangle shaped burr knife which worked great.
The front suspension sure does look good against that new paint. One
piece that will be getting a different color is the rack-and-pinion.
I'll have to wait till that gets painted before I install it so it will
be hard to move (steer) without it.
|
|
|
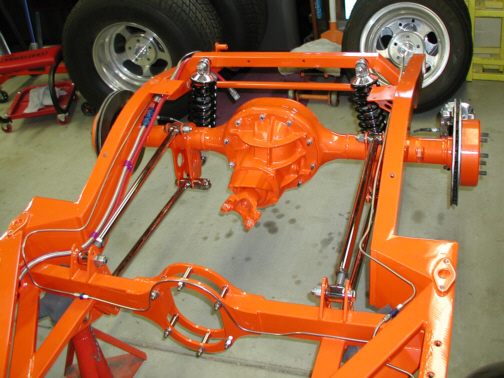
Here is a look at the rear end with
4-link and shocks installed. I ran all the brake lines but don't have
any clamps installed yet because they're out being anodized. Once they arrive,
I'll take a shot of them and post it.
|
|
|
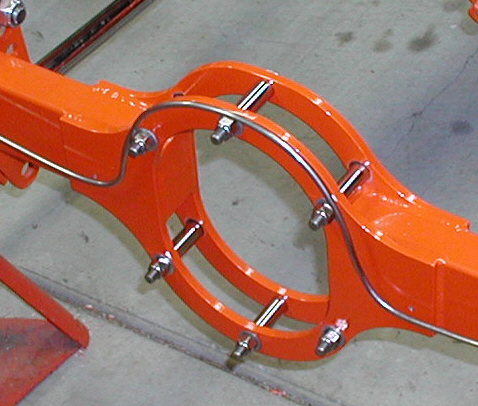
Moving towards the middle we have the
area that the drive-line passes through. TCI supplies the chassis with spacers
that received painting too but I thought it might look better with a little
shiny in place of the paint so I made some spacers out of stainless
steel. I buffed them out to give things a little contrast and I also
used stainless button head cap screws and polished the heads of them too.
|
|
|
|
1
2 3
4 5
6 7
8 9
10 11
12 13
14 15
16 17
18 19
20 21
22 23
24 25
26 27
28 29
|
|
30
31 32
33 34
35
|