|
Making Another Router Fixture
I was placing a bottle in one of the shelf cutouts and
noticed that they can slide pretty easily. That's when it hit me, what would
happen if one of the bottles worked its way to the edge and fell off?
Now I know this is unlikely, but it could happen. So I thought, why not
make a recess for the neck of the bottles to sit in?
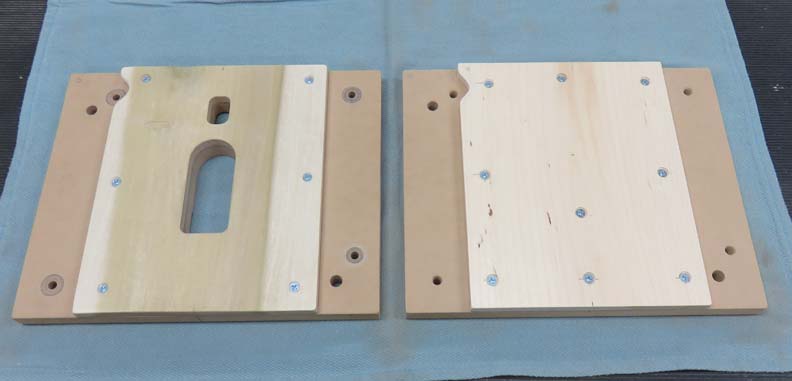
With that being said, I made another clamp plate that was exactly like the
first one but this one will just have a thru hole and no slot. Oh, but
it will have to add a sight window.
|
|
 |
|
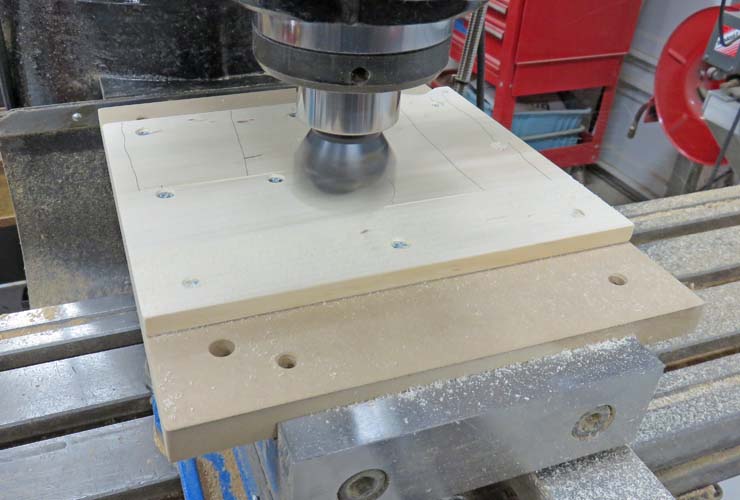
I wanted to make sure the top of the fixture was flat
because if it wasn't, the router base would follow this uneven contour so
I machined it on my milling machine. You might ask, "why didn't you just use
your planer"? A planer puts lots of pressure on the work piece as
it's going through to keep it in place while cutting the surface. So if your work piece
has a bow in it before it goes through the planer, it will still have
one when it comes out.
I put pencil lines across the top surface to make sure I
had 100% cleanup. Here you can see my cutter is spinning and is about
half way through this cutting operation.
|
|
 |
|
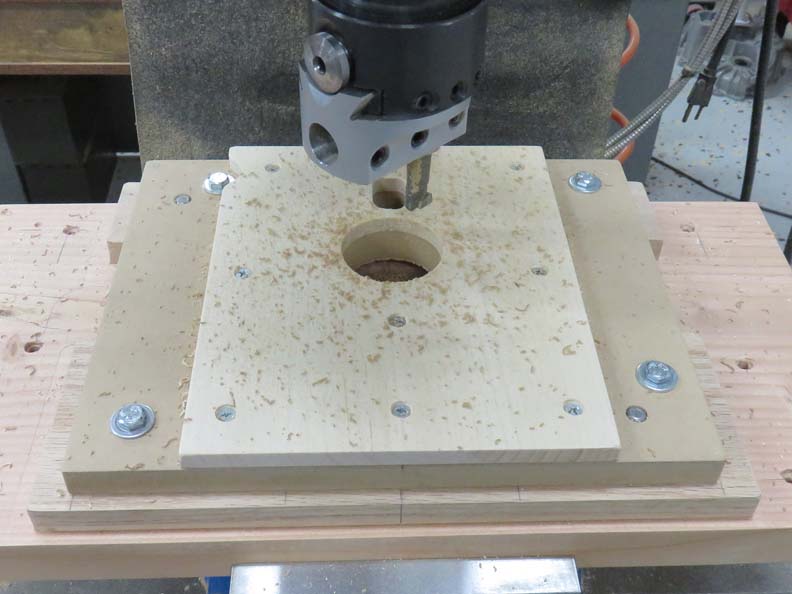
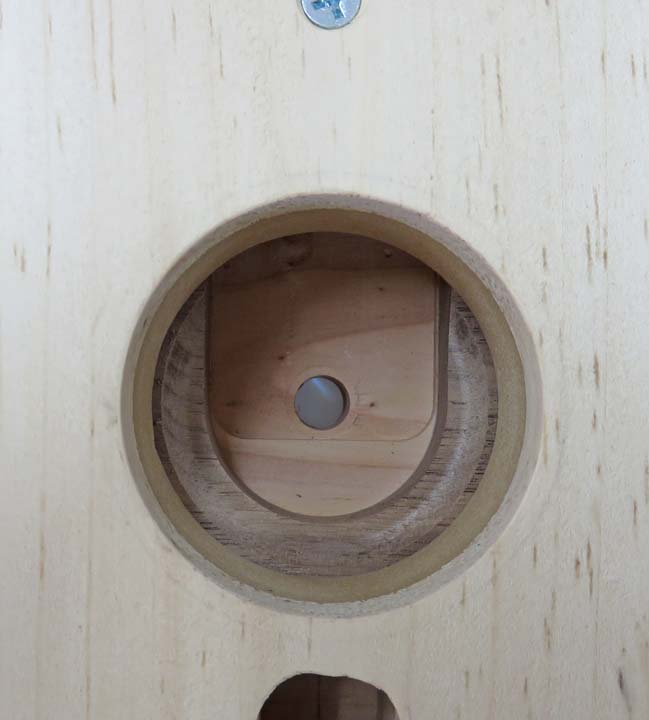
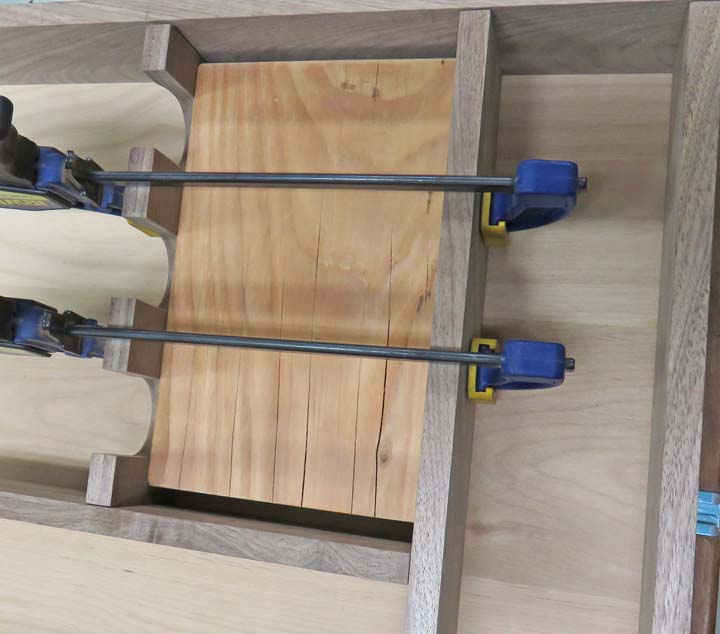
Next I bored a hole through my clamp plate. However,
after figuring out what size hole I thought would work, I didn't want to
over-shoot this dimension because this was a 'one shot deal'. So I bored my hole
slightly undersize, placed it on my router
fixture, and then checked my recess size. I gradually made this hole
larger until I had what I wanted, which took three trips to the milling
machine. If you're wondering if I ended up with the hole size I thought
would work? No, I stayed slightly under that size by .100".
|
|
 |
|
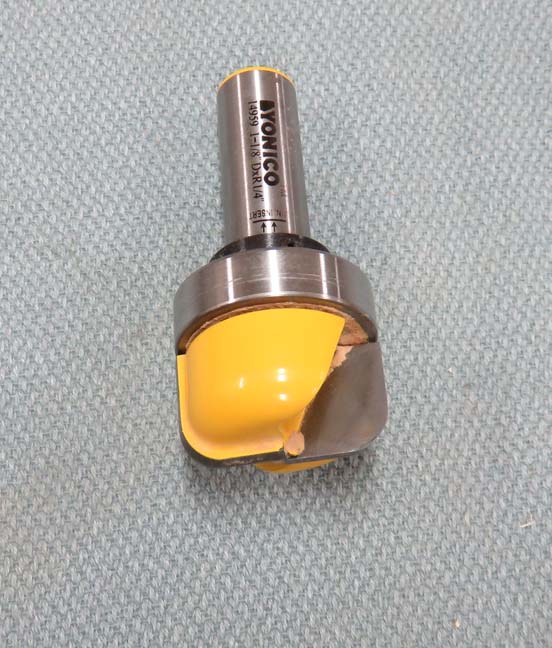
The router bit that I'll be using is a bowl cutting bit
that I had from a
previous project. I
looked for a router bit that had a 1/8" radius but they were very
expensive so I used mine that has a 1/4" radius. It's not ideal but it
will do.
|
|
 |
Looking down at my progress inside my fixture.
|
|
 |
|
Working With Wood Continued....Again!
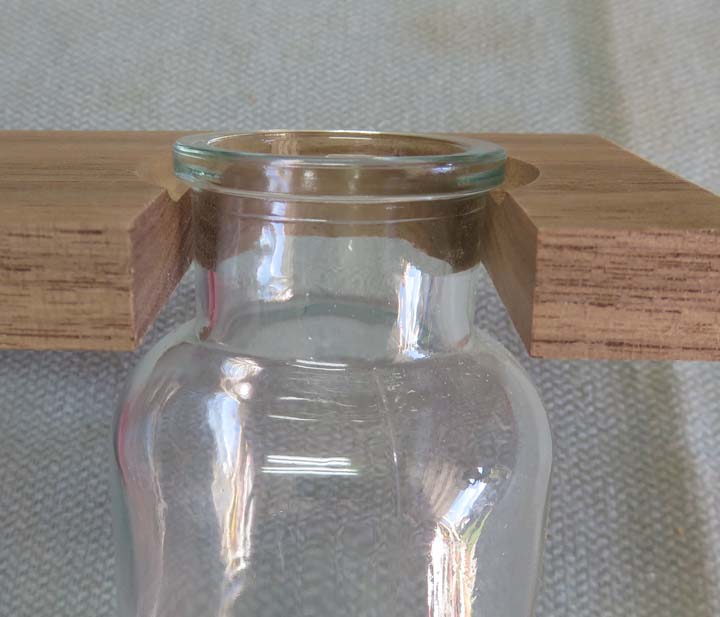
Here is what I came up with to keep the bottles in place.
|
|
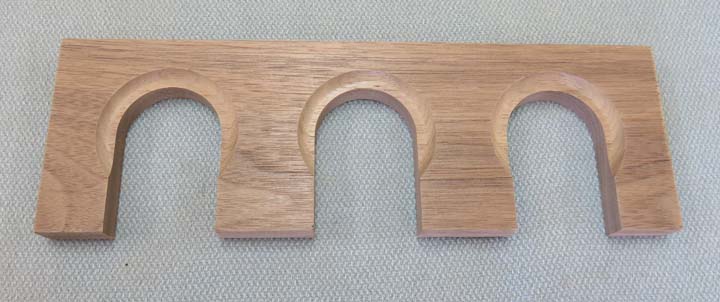 |
This notch is .110" deep (just shy of 1/8") and works great.
|
|
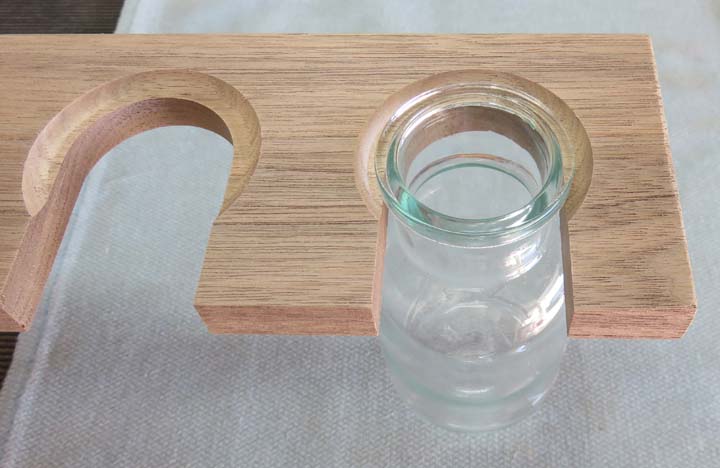 |
I think this will keep all the bottles in place and it gives me piece of
mind now.
|
|
 |
|
Now that the bottle shelves are finished, it's time to
install them. I made a spacer block (that is the dimension between the
bottom shelf and my new one) to help me with the installation. Once I
had the new shelf clamped in place, I put some pencil marks on the back
piece in a few places to aid me in laying out the location.
|
|
 |
|
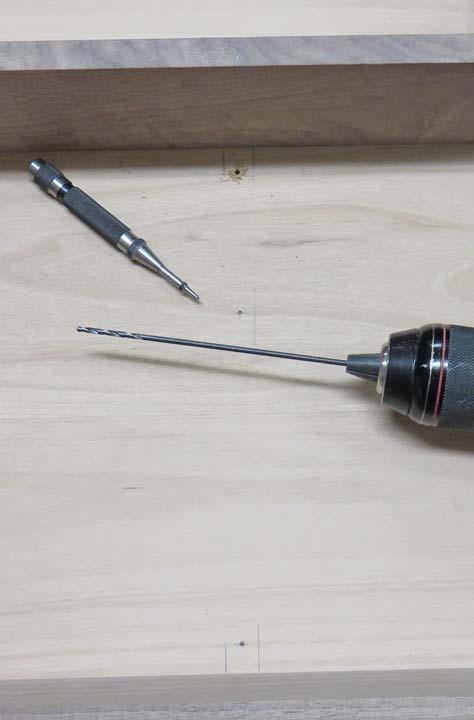
This gave me a place to layout for all my screws to hold
them in with. I used a mechanical center punch at each screw location
and then drilled each one with an extra-long 1/6" drill. The reason for
the long drill is because a normal one (or jobber length drill) was
short enough that the drill chuck would hit the sides. This long one
gave me ample room to avoid the chuck coming in contact with the sides.
Drilling Tip: Wood can be tricky to drill because of its
fibrous nature, so I like using a small drill first. The reason is
because this small drill is easier to pickup your center punch mark (and keep it
on center) than a larger drill. And once you have this first (smaller)
drill in the spot that you want, you then come back with a larger one
and it should follow the smaller one pretty good, keeping it on
location. Yes, this takes longer but it's more accurate.
Once I had this small hole on location, I turned the spice rack over and
then used a 3/16" drill, which is clearance for my screws. And last
I chamfered the back for the flathead screws.
|
|
 |
|
1
2
3
4
5
6
7
8
9
10
11
12
13
14
15
16
17
18
19 |