|
Working With Wood Continued
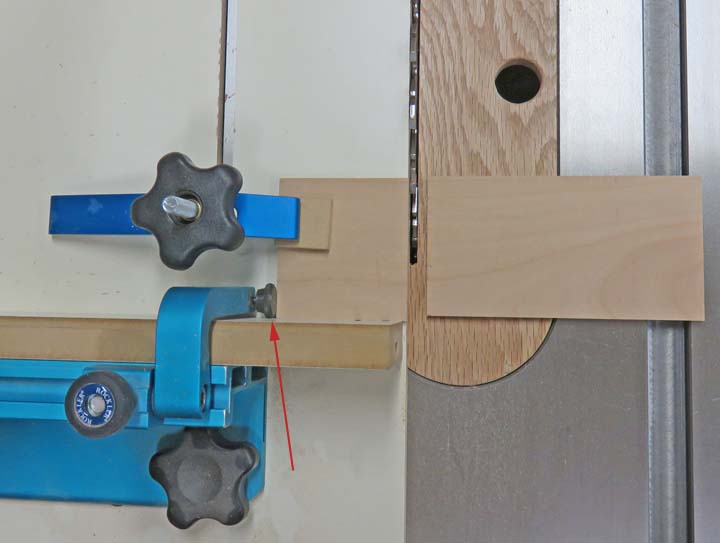
I cut the remainder of the drawer pieces on my cross-cut sled. Below I'm cutting the side pieces
clamped to the sled.
|
|
 |
I used a bunch of my blocks for this
assembly, which helped me line up everything very well. Then I used a few
clamps to hold things together while the glue dried.
|
|
 |
|
12-2023 Back to Work
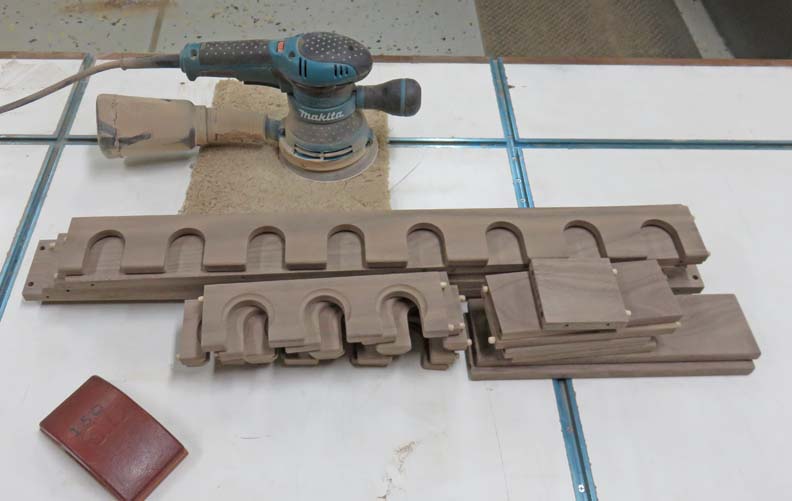
Meanwhile, I sanded all my pieces with some 180 grit paper. This process
goes good but it's time consuming.
|
|
 |
|
I talked to my daughter about the kind of finish that
she wanted and narrowed it down to a satin. Now I gave this a lot of
thought, spray vs. brush on clear and thought the spray would be a
better choice. However, I didn't want to have the spice rack assembled
when it was time to put a finish on it because some of the shelves were
too close together. And there were a few deep areas that were hard to
get at. Why would this matter? Well, if you've ever used spray or brush
on clear, it can gather up in the corners producing sags or runs when it
comes to those conditions, along with being too light in other areas.
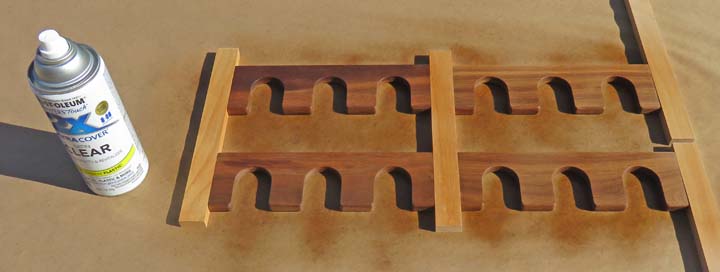
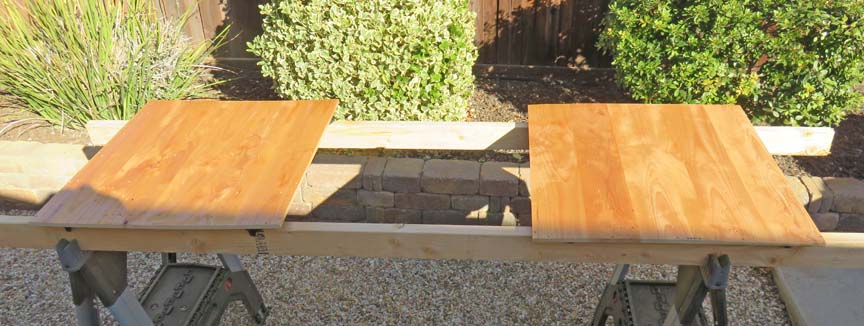
What I decided to do is use spray clear and coat each
piece while it was disassembled. However, I didn't want the finish on the
ends or in the dowel holes. To make sure these areas stay clean, I
placed some scrap pieces at the ends. This worked out well and I only
coated one side per day to make sure it was dry before turning them over
to coat the other side. I used two coats per side.
|
|
 |
Here I'm putting clear on the backs, which took almost one full can of spray per piece. I
used two coats on each side like I did on the other pieces.
|
|
 |
|
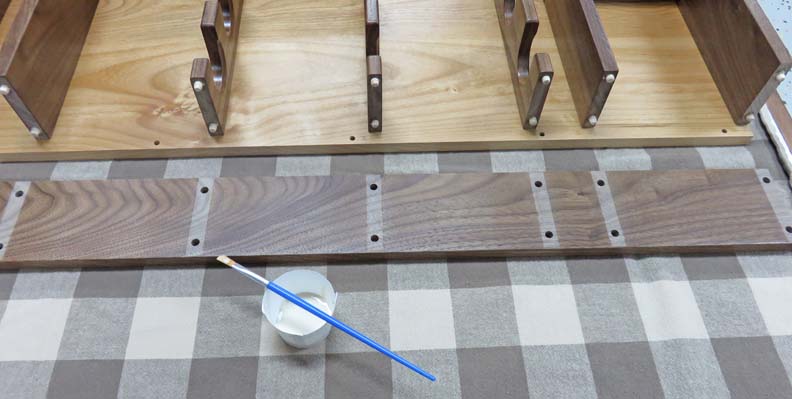
Tooling
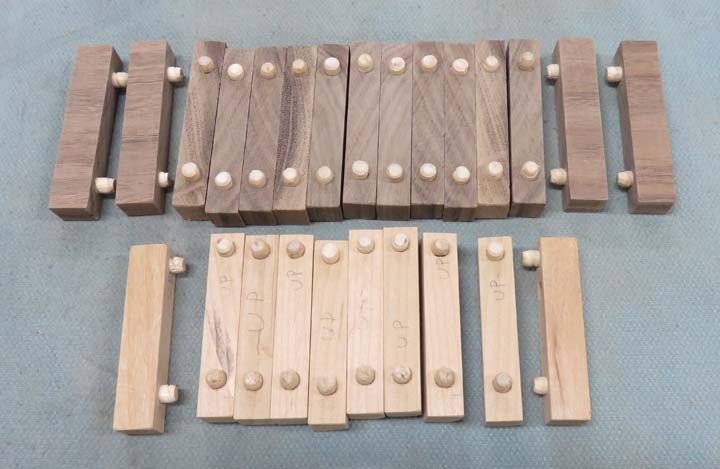
The pieces that you see below are to mask/cover the
dowel hole areas before I apply any clear spray to any of my existing
pieces. This is to make sure that when I do my glue-up that I have
virgin wood so the glue can do it's magic. I also have two different
lengths here because I have two board sizes, depending on which
piece I'm working on.
|
|
 |
|
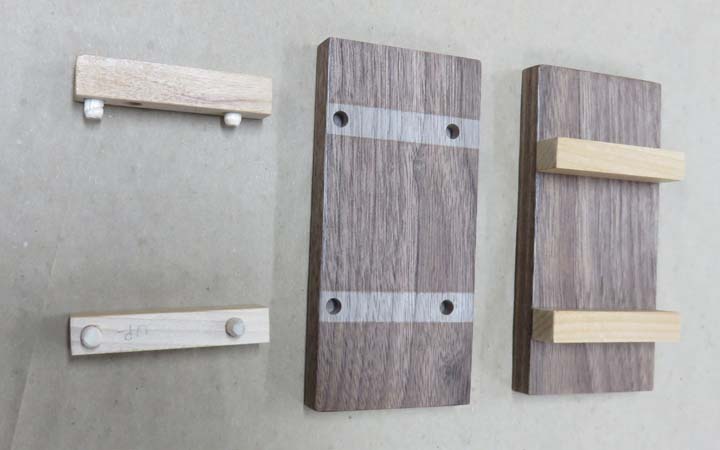
Here you can see how the dowel holes and the area
between them have been masked. This area is where a shelf or some other
piece will come in contact with it. These didn't take long to make and
they seem to work pretty good.
|
|
 |
|
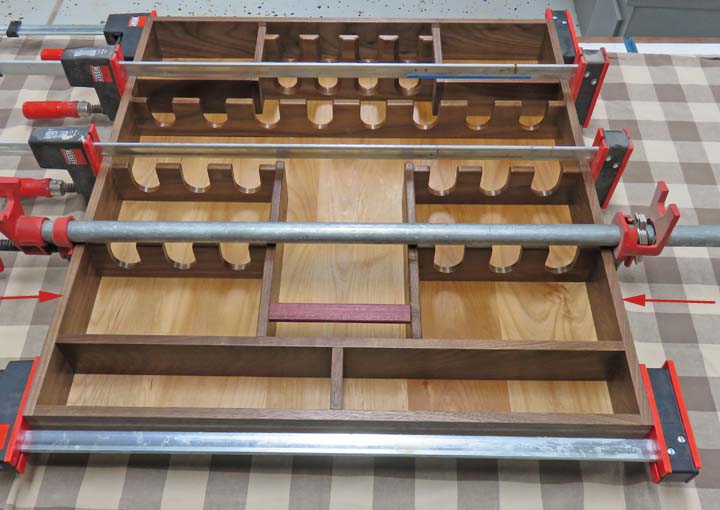
1-2024 Assembly Step 1
It's been months up to this point but
we're get'n close now and I can finally see the light at the end of
the tunnel.
I made sure to dry fit everything one more time before I did any
gluing because I didn't want to run into any problems halfway through. I mean, gluing anything together can
be stressful, especially many pieces like I'm doing here, so I'm making
sure things fit correctly now. Also, I didn't paint myself into a corner. In other
words, I had to make sure I didn't get ahead of myself and attach
something that I shouldn't have. With that being said, there
will be four steps for my glue-up process. First I'll be working at the
top, which includes the cubby-holes and small bottle shelves (arrows). While I
had everything looking good during my dry fit, I tightened the small
bottle shelf down tight. Then I took apart everything around it and applied
glue to all the interior surfaces including the dowels, but not any of
the outer pieces. I
used a small brush to apply the glue with which worked very well. Once
everything was clamped in place, I also tightened the screws to all
those pieces as well. I did this process for each step below.
|
|
 |
|
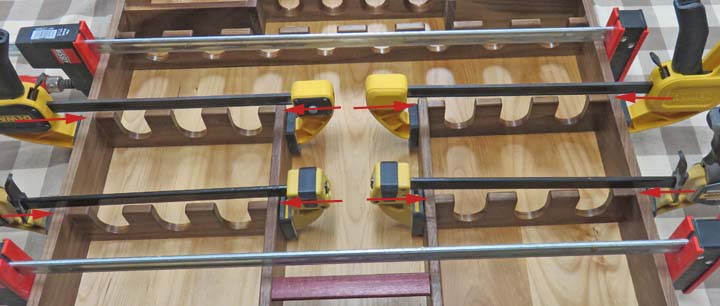
Assembly Step 2
Second, I dry fit all the remaining pieces, inserted the
small purple heart piece into the slots (no glue here) and then
tightened the six screws for the vertical pieces. Next I removed the
surrounding pieces and glued the dowels on the four small bottle shelves
first, but only the edges that were against the oil bottle side pieces
(inside arrows). The four yellow clamps are keeping pressure on the glue joints
while the two red clamps are keeping the sides from moving.
|
|
 |
|
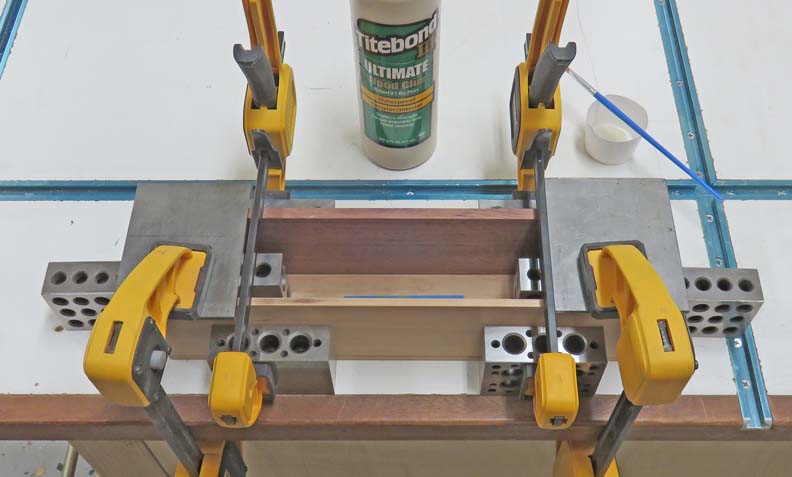
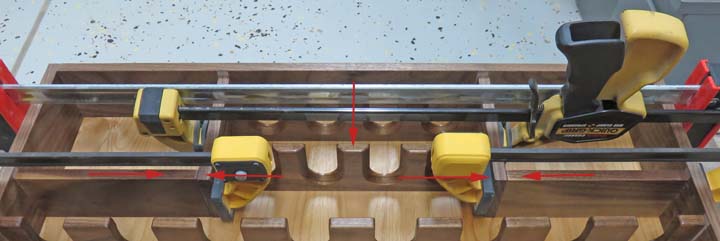
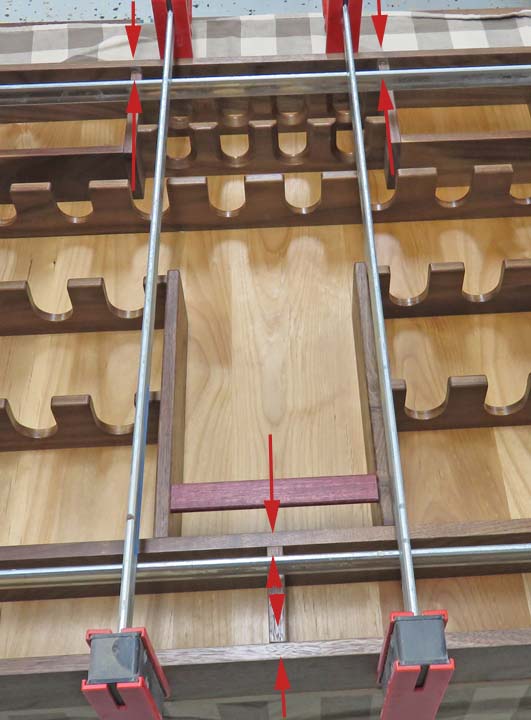
Assembly Step 3
Third, was the long top and bottom pieces (arrows). And just as
before I applied glue to the dowels and wood surface around them. The
bottom area consists of three pieces, two long ones and the short drawer
separator. Then I used two large clamps going horizontal and two going vertical
to keep things held in place.
|
|
 |
|
Assembly Step 4
The last step was to attach both of the side pieces. Now
each side piece has seven sets of dowels (14 holes per side) so I dabbed
glue into each shelf hole first and then inserted all the dowels like
you see below. Next I
applied
some glue in each dowel hole on the side pieces along with a few more
dabs between each hole. Finally I wiggled the side pieces into place
making sure everything looked right.
|
|
|
Here you can see I used a clamp at most of the glue
joints to make sure there was even pressure at each one. Once all the
clamps were in place, I screwed in five screws per side pieces (arrows) and tightened
all the screws. I did this same procedure for all the other steps above as well. Now it's
time to work on the drawers and do some sanding.
|
 |
|
1
2
3
4
5
6
7
8
9
10
11
12
13
14
15
16
17
18
19 |