|
Working With Wood Continued
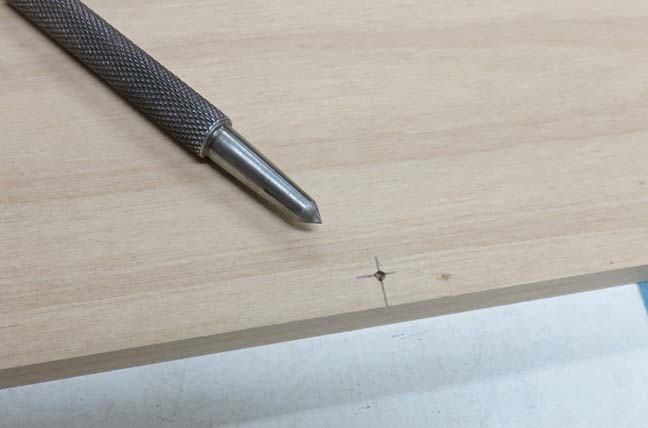
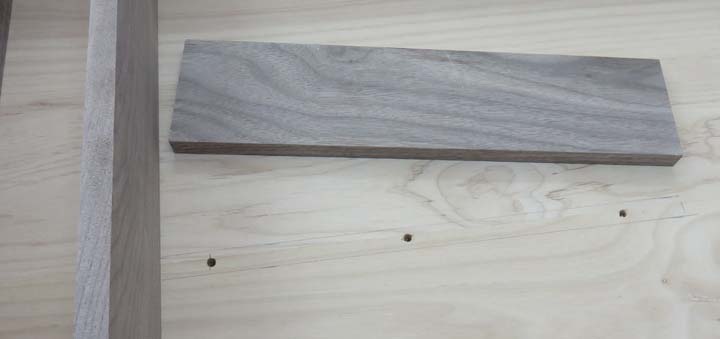
After laying out all the places I'll want screws, I used
a center punch to make a spot for my drill to start. However, I didn't
use a hammer for this, I just pushed on the center punch enough to make
a dent which is more then enough for the alder.
|
|
 |
|
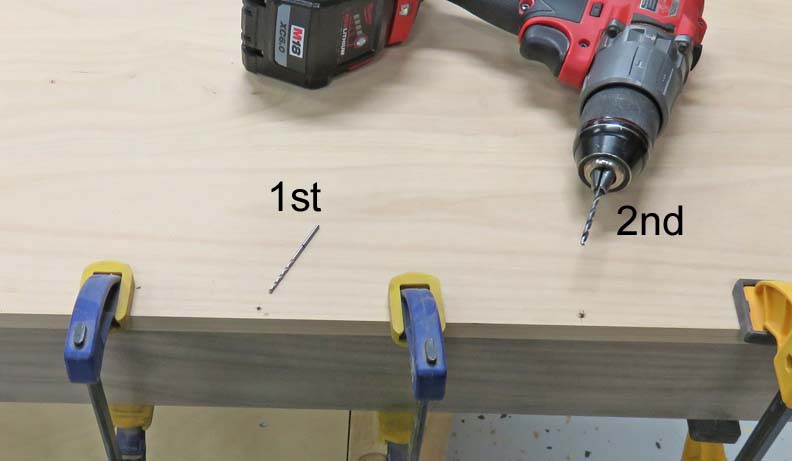
Next I used a 3/32 drill, which easily finds the
small dent made by the center punch and stays on location. Second, I
used a larger pilot drill for the #8 threads that goes through the back
piece and into the sides pieces below.
Once all the pilot holes were drilled, I removed
the clamps and then made clearance holes in the back piece for all the
screws. This method works really well, but it's kinda slow.
|
|
 |
|
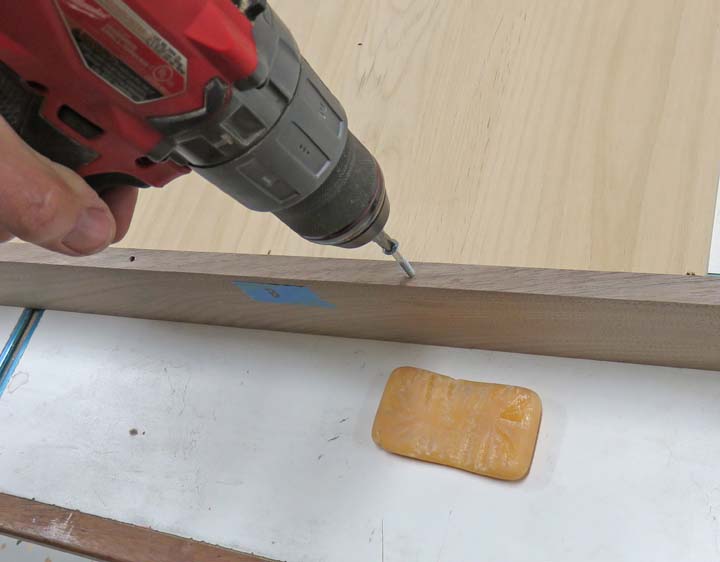
Putting threads into the side pieces was next and goes
quickly. I like using soap on the threads before running them into the
wood. This prevents the screws from squeaking or making any kind of noise
and acts like a lubricant while threading.
|
|
 |
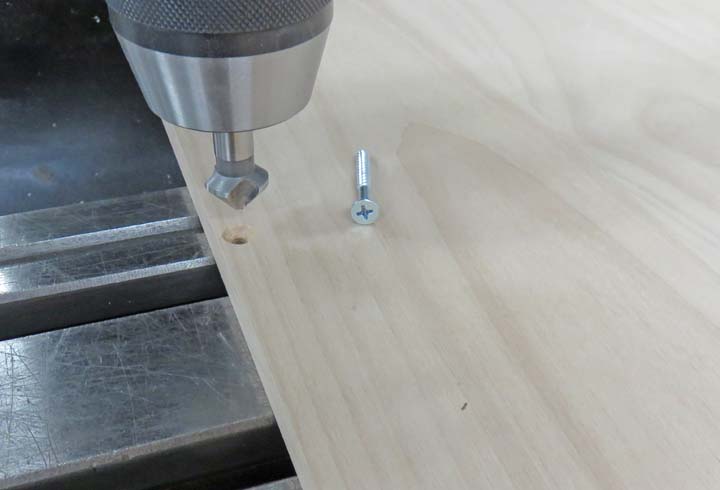
And last but not least, I chamfered all the clearance holes in the back
piece for the flathead screws. I'm using my milling machine for some of
them but I also used my hand drill for others.
|
|
 |
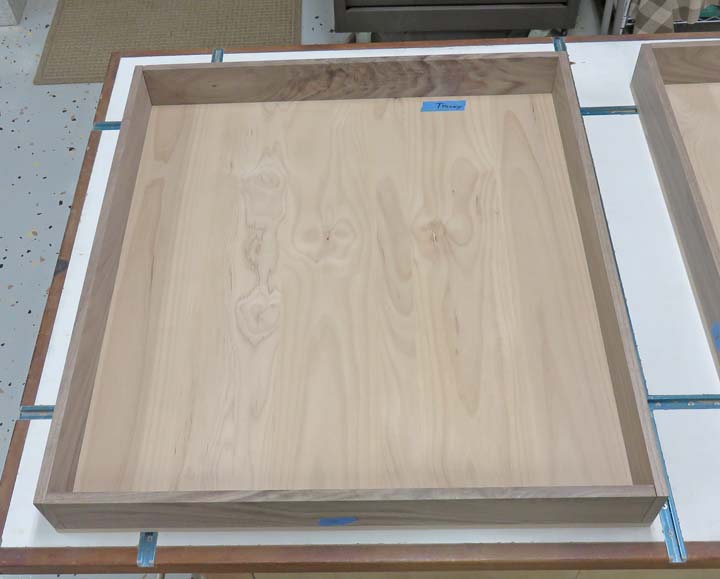
Here is what it looks like with all the sides fastened on.
|
|
 |
|
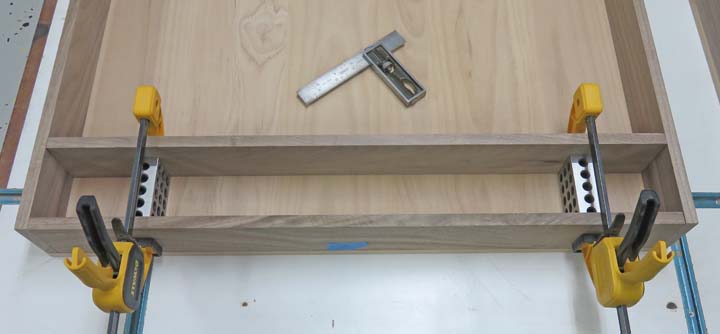
The next piece to be screwed on was the bottom shelf.
This shelf is 3" from the bottom and to make sure it stays there while
drilling, I used some 1 X 2 X 3 blocks that were clamped in place. It
seems like I always find a use for these blocks while wood working, even
though they are used in the metal working world.
|
|
 |
After a few minutes the bottom self was in place.
|
|
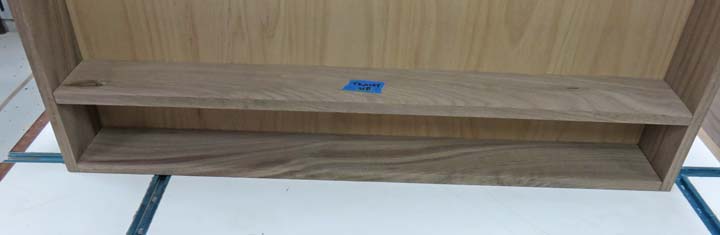 |
The back is going to have a lot of screws once I'm finished.
|
|
 |
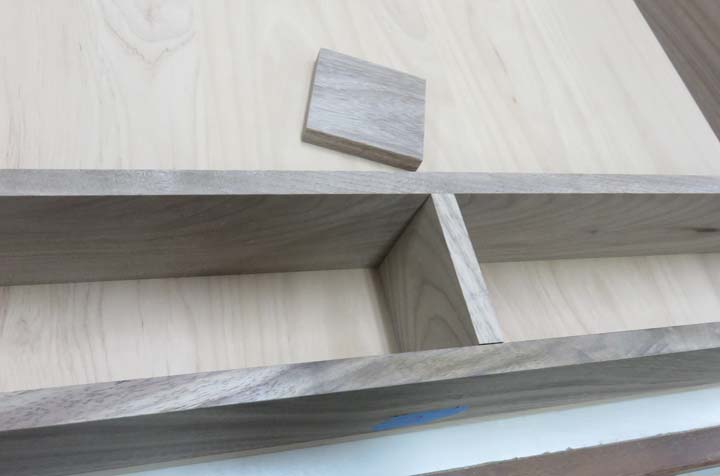
This small piece is going to divide the two drawers. I used two screws
to hold it in but I may add some dowels later. In fact, I might add a
lot more dowels to other parts of the project.
|
|
 |
There will be two of these pieces that will rest against the bottom
shelf (running vertical), creating a space for some oil bottles. Here
you can see three screw holes that will hold this piece in place.
|
|
 |
|
1
2
3
4
5
6
7
8
9
10
11
12
13
14
15
16
17
18
19 |