|
I was inspired by a video of someone making a wooden
bowl with a router so I thought I'd try my hand at two of them. This is
a pretty straight forward project so let's get started.
Making Some Bowls
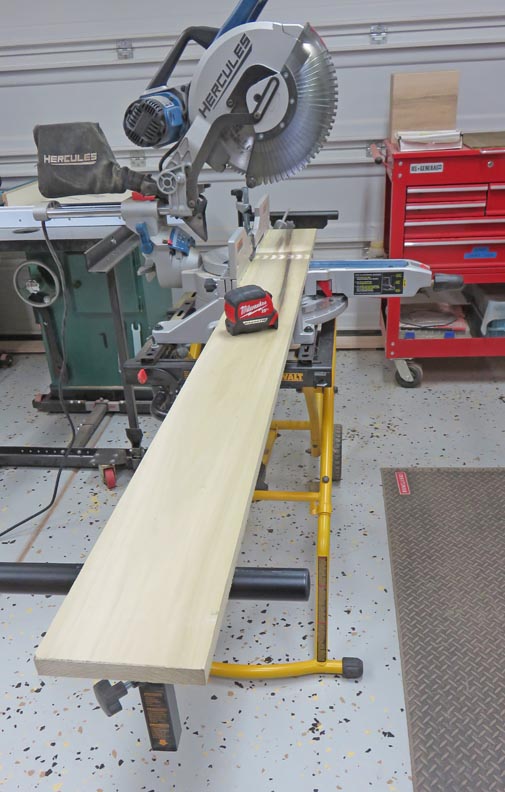
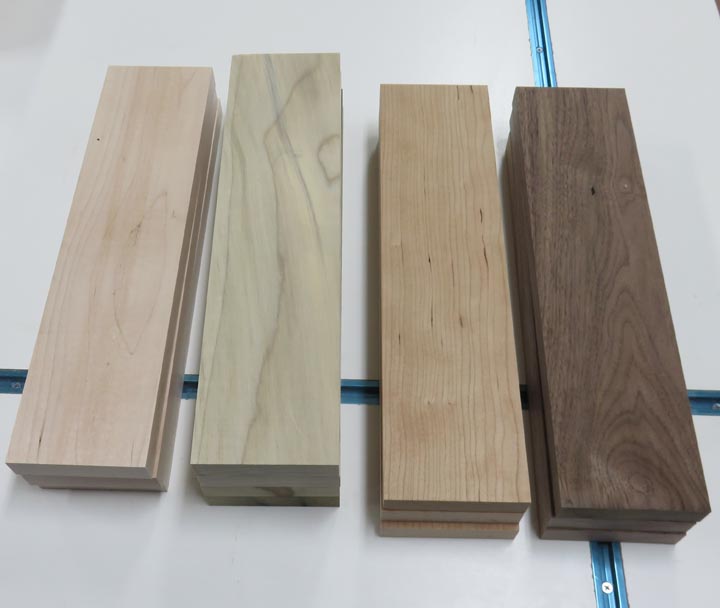
The hardest part about this project was deciding on what
species of wood to use, so I choose four different types: maple, poplar,
cherry and black walnut. The finished size will be 13" outside diameter
with a 3/4" side-wall thickness but the bottom will be 1/2" thick. Now each bowl will have
a different
pattern, which means I'll need to cut my pieces accordingly. Here I'm
cutting some poplar to a length of 14" long.
|
|
 |
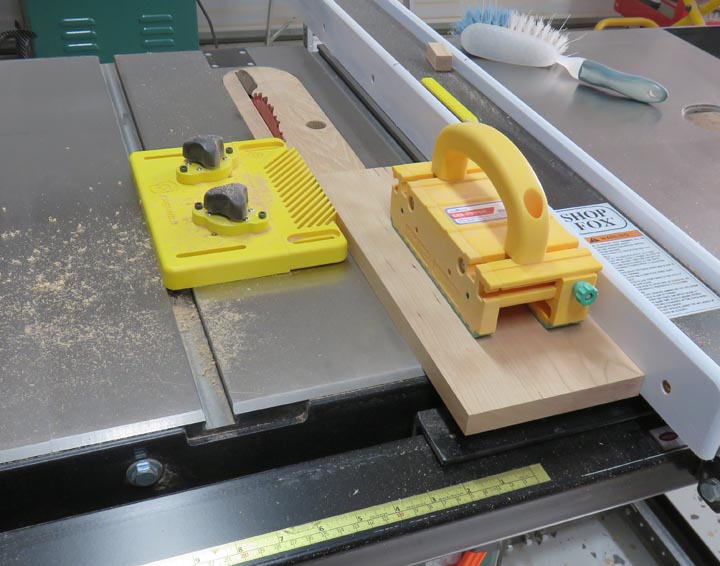
I'm cutting these pieces to 3 1/2"
wide but they will be used on only one bowl. The other bowl will get a
different size.
|
|
 |
|
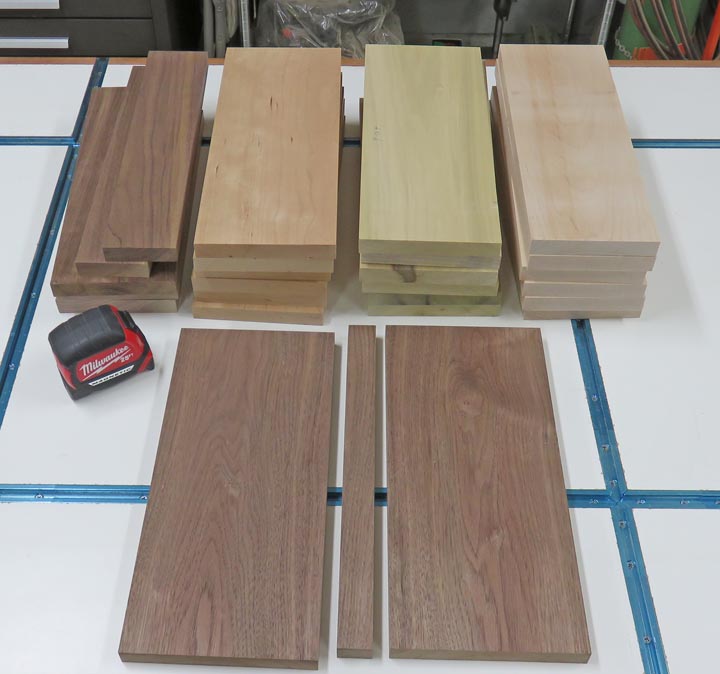
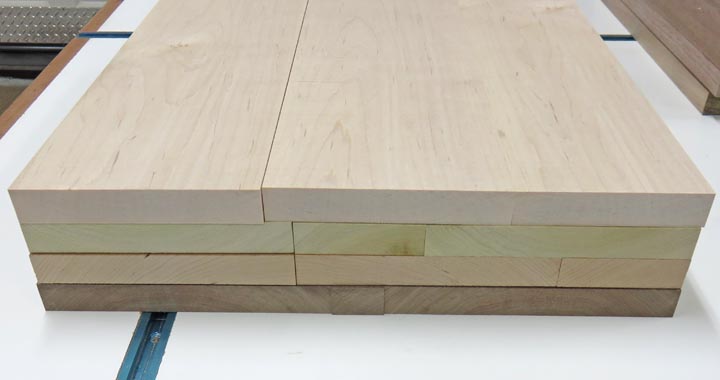
One bowl will have a pattern going from dark-to-light
(side to side) like you see below. But the other will be light-to-dark
from the top-to-bottom. Keep reading and you'll see what I mean soon enough.
|
|
 |
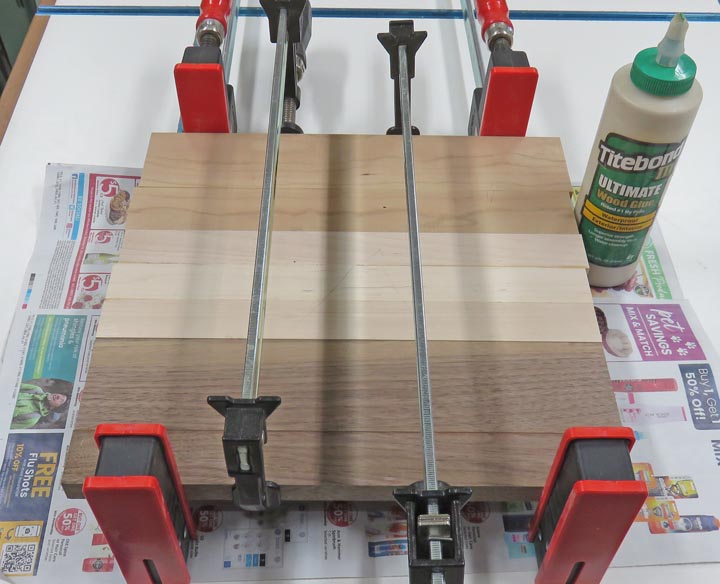
Here I'm gluing three separate pieces together, but there's no glue
between the different species. This saves time while doing my glue-up.
|
|
 |
All of these have been sanded and are almost ready to be glued.
|
|
 |
Here you can see the light-to-dark theme (from top to bottom).
|
|
 |
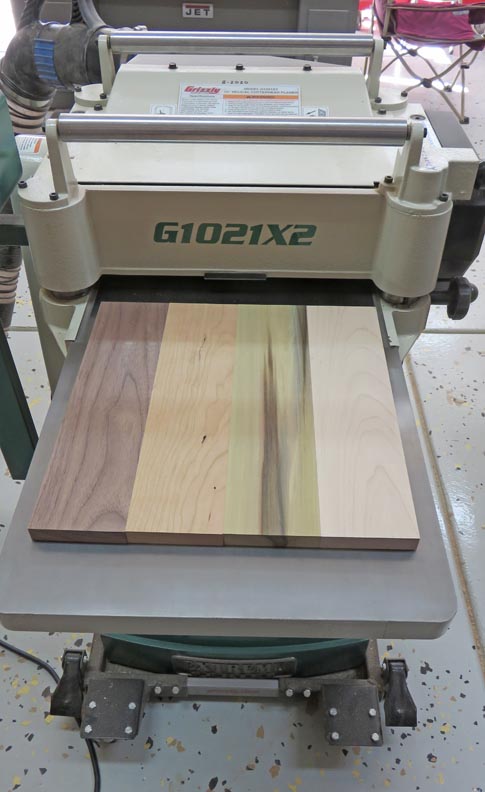
And here you can see all the pieces glued together from above and ready for the
planer.
|
|
 |
The same goes for these as well.
|
|
 |
This planer makes quick work of whatever I let it eat.
|
|
 |
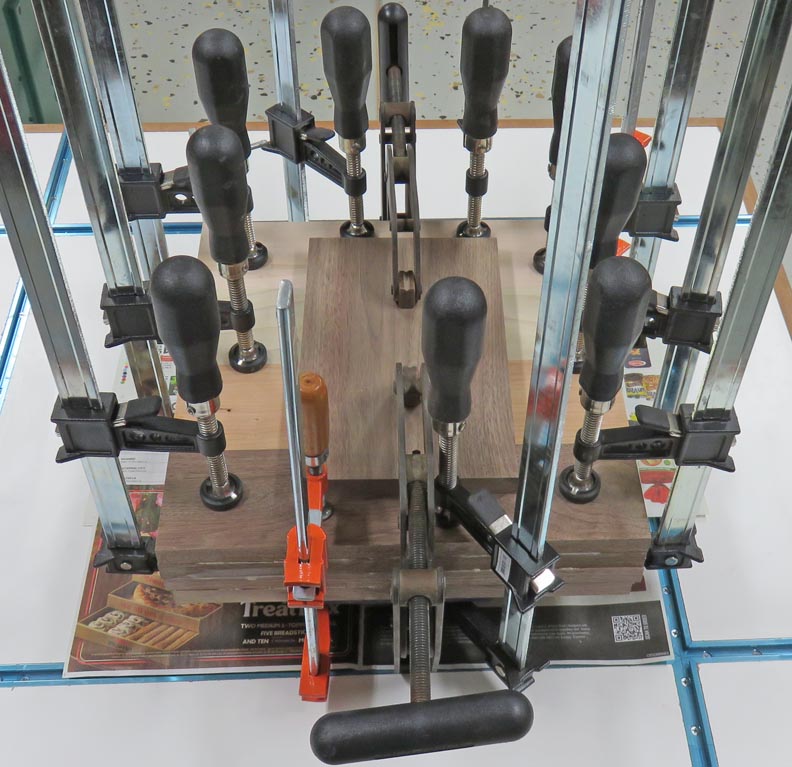
I used almost all of my clamps here. Note the scrap piece in the center
which is to distribute the clamping pressure more evenly in the middle.
|
|
 |
|
1
2
3
4
5
6
7 |