Spice Rack  1                                                9-2023


I'm going to make two spice racks, one for my daughter Tracey and one for her best friend that she went to school with. This is going to be a big project with lots of pieces and some nice looking hard wood.

Now one nice thing about this project is that Tracey is designing it to what she's been wanting. This helps me greatly because when I make someone a gift, sometimes I'm not sure if they really like or not. But this time it's exactly what she wants, which is a good thing.

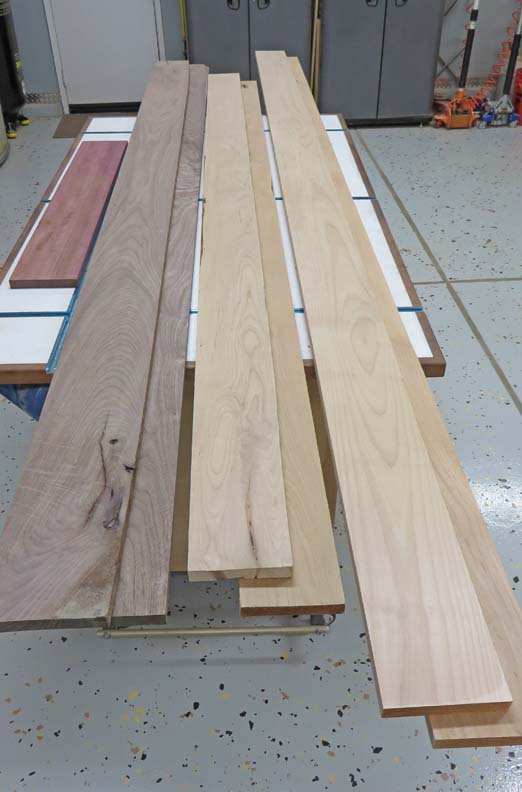
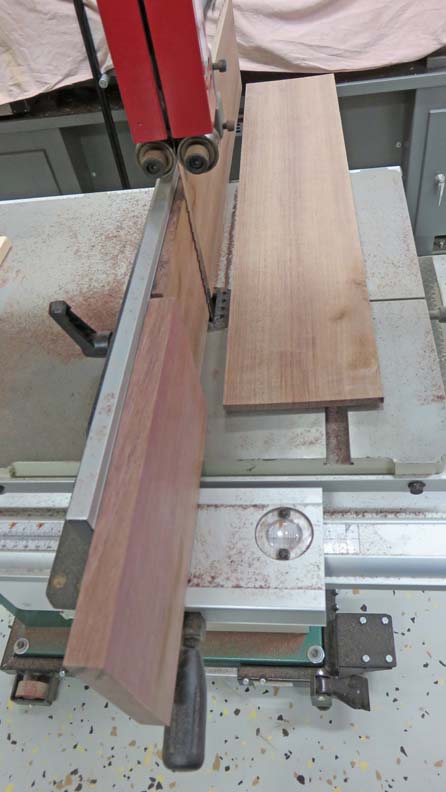
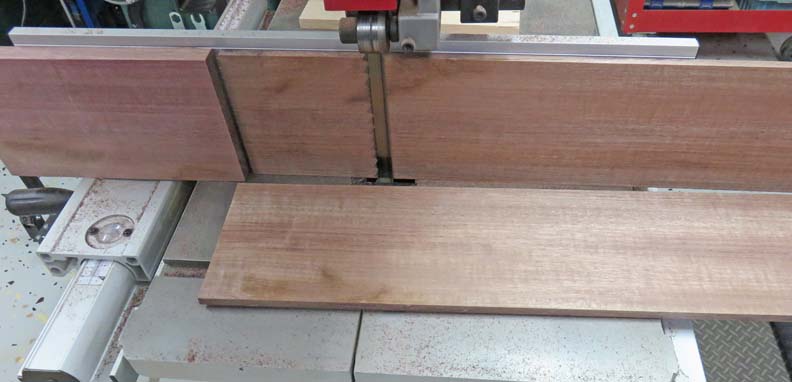
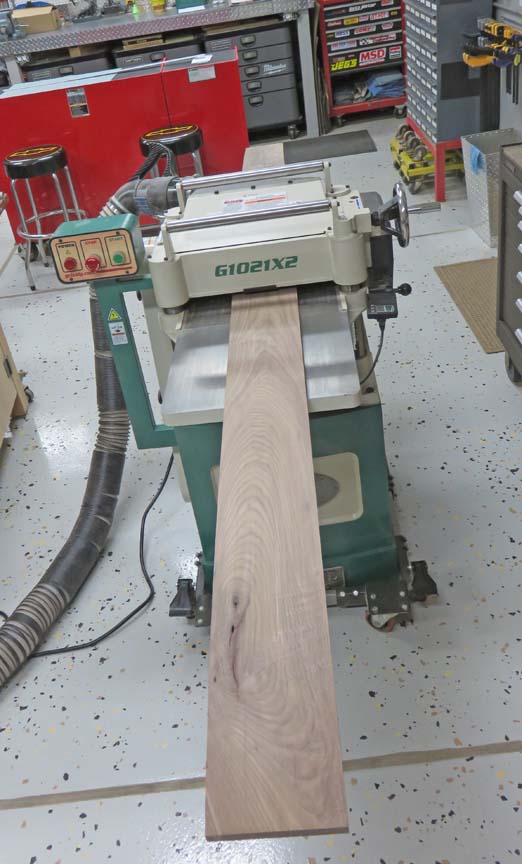
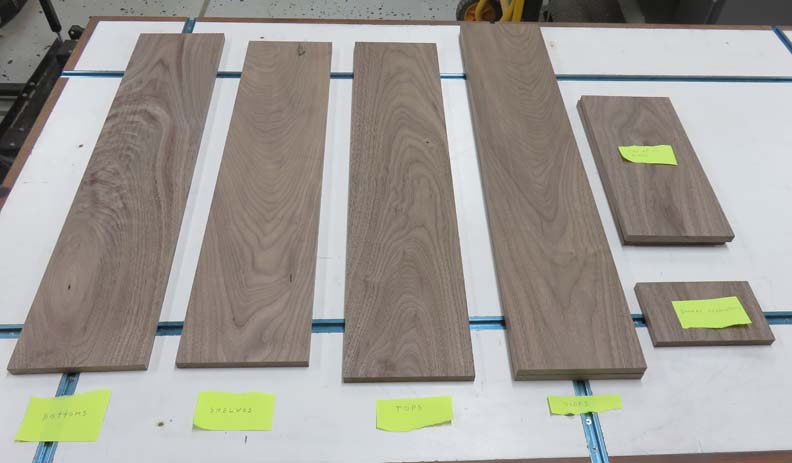
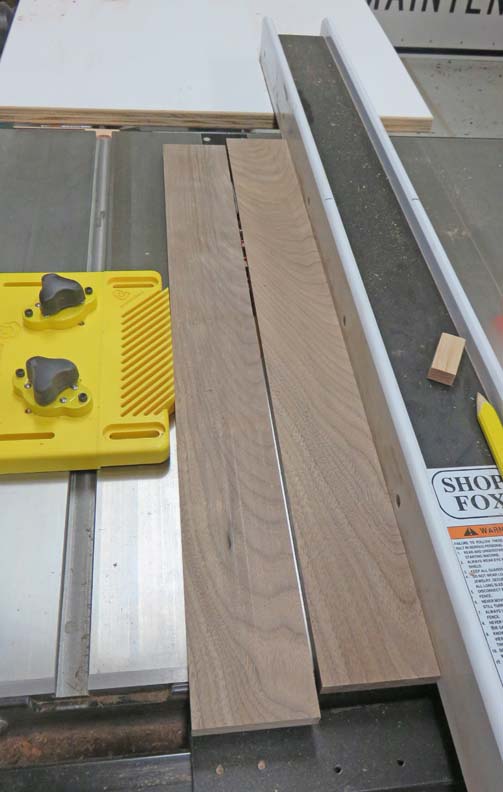
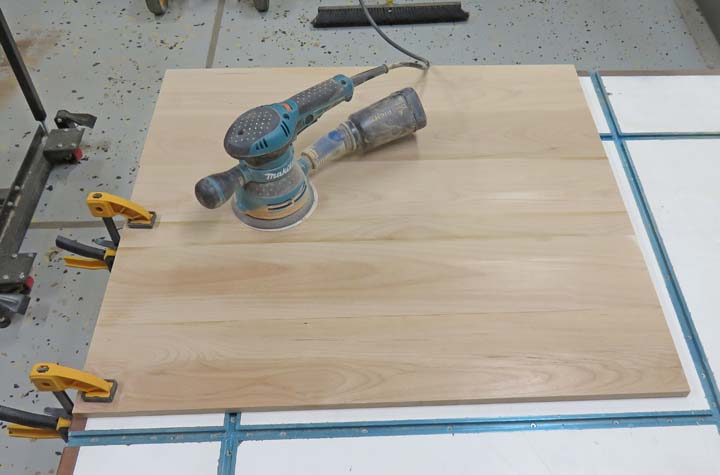
I'll be using alder, black walnut and purple heart for the species, which should look nice together. Oh, and the size is going to be approximately, 28 1/2" tall X 26 1/2" wide X 3 1/2" deep. Yes, it's big, but it's what my daughter wanted. And I hope her girlfriend is okay with this size because this won't fit in a small kitchen.

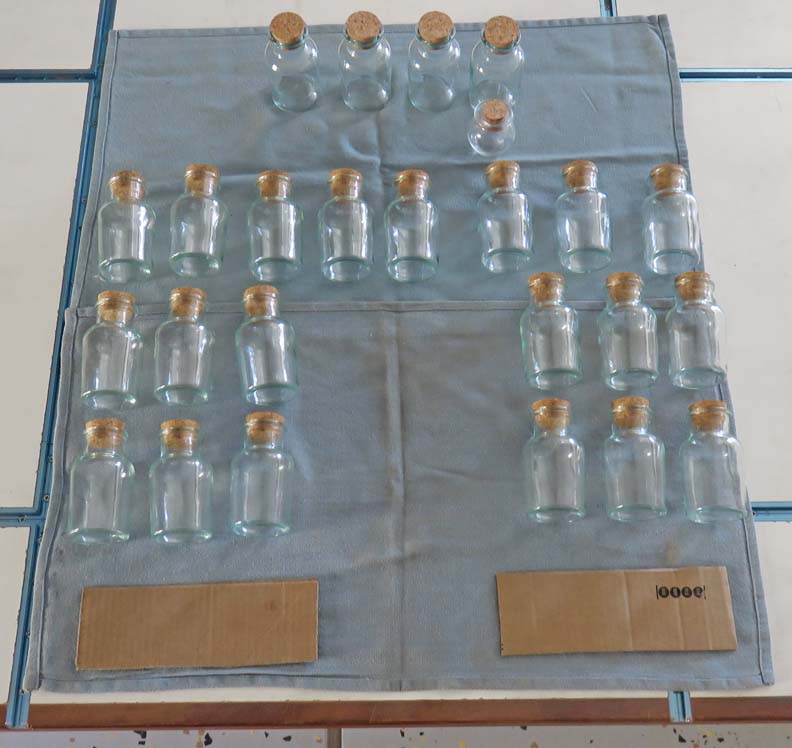
Tracey bought a few different bottles to choose from and once she found the one's she liked, she bought a box of 24. Knowing that she wanted 20 of these bottles incorporated into this rack, I placed them on my work bench to see how it might look.

Note the one smaller bottle at the top. This area in the top/middle will have eight of those smaller ones, and on either side of those will be cubby-holes. Now at the bottom will be two drawers, which is represented by the cardboard. And in the center will be three larger oil bottles that will sit on a shelf. Now that you know what I'll be doing this time, let's get started because this is going to take awhile. Oh, one more thing, keep an eye on the dates (usually at the top of the page) because this project took about four months to complete.


Working With Wood

Tracey and I took a trip to Reel Lumber in Riverside, CA. to pick out most of the wood that I'll be using. Reel Lumber has a nice selection of hardwoods, along with lots of sheet goods as well. Once she saw the purple heart she just had to have some, which will be used for the drawers and one other place that I'll show you later.

Now Tracey likes the look of darker woods, like black walnut (so do I) but in her mind to save some money, we tried putting different stains on some of the alder trying to match the black walnut the best we could. And after a few tries we were successful so that's the plan and I had plenty of stain for this project.


This is alder, which is a nice stable wood and the more I use it, the better I like it. I plan on using this for the back of the spice rack and everything else will attach to it. I first ran the uncut boards through my thickness planer to a size of 1/2" and now I'm cutting pieces that are about 3/4" longer than I need. Later I'll trim them to length after my glue-up.


Next I jointed all the pieces on my table saw, sanded the cut surfaces and then used all my parallel clamps (and two pipe clamps) to glue the boards. I may have to buy two more parallel clamps because those pipe clamps don't work that well, but it's all I had.


While the glue was drying, I re-sawed the purple heart in half so I'd have enough material for everything. This operation went very fast on my bandsaw.


I quickly found out that the color in the middle of the wood was different than the outside. That means I'll be using the more vivid colors for drawer fronts.


The thickness of all my pieces are going to be 1/2" (like the alder I mentioned earlier) so I made sure to plane all my boards before cutting them into smaller pieces.


Here I have some pieces labeled to keep track of everything.


Next I ran them all through my table saw to a width of about 3". I say 'about' because the actual size is 2.930". Why this size? It just worked out that way from the width of my lumber to get the maximum yield.


The next day I sanded the backs using my DA sander. I used 80 grit, 120 and then 180.


1     2     3      4      5      6      7      8      9     10     11     12     13     14     15     16     17     18     19