|
Working With Wood Continued
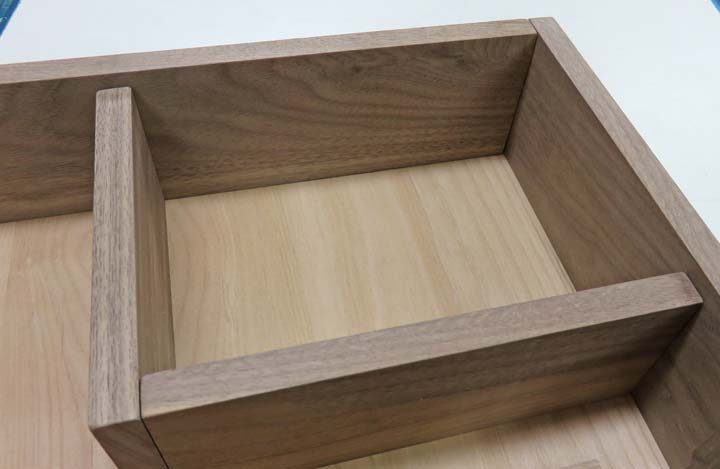
I wanted to make a small change to the height of
the cubby hole pieces along with the shelves for the smaller bottles, and after talking it over with my daughter, she gave me
the green light. I cut 1/4" off the top surface, producing a reveal. This was a
very simple change but one that looks even better than before, (at least
to me it does).
|
|
 |
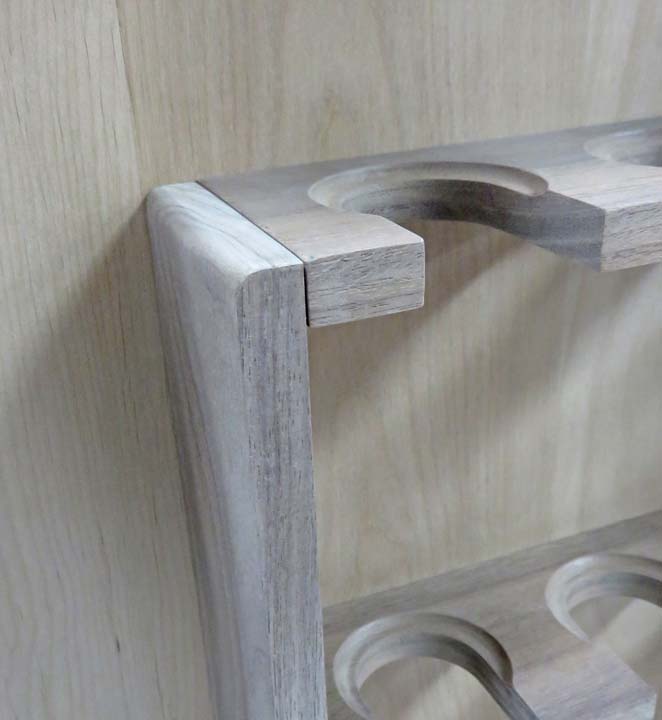
The next item I wanted to cut was this
shelf supports. I made it longer than I needed at the beginning and I
expected to trim to fit later. Well...now it's time.
|
|
 |
After cutting it to length, I added a 3/16" radius with my router.
And again, this
small change was given a thumbs up by my daughter as she has a tendency
to bump sharp edges.
|
|
 |
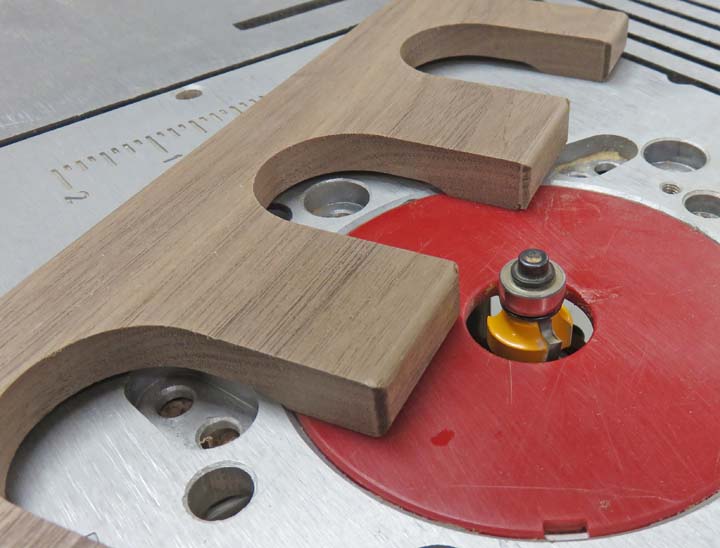
Speaking of sharp edges, I'm putting a 1/8" radius on the front edges of
all the shelves. This doesn't take long but the hand sanding does take a
minute to blend all the corners.
|
|
 |
|
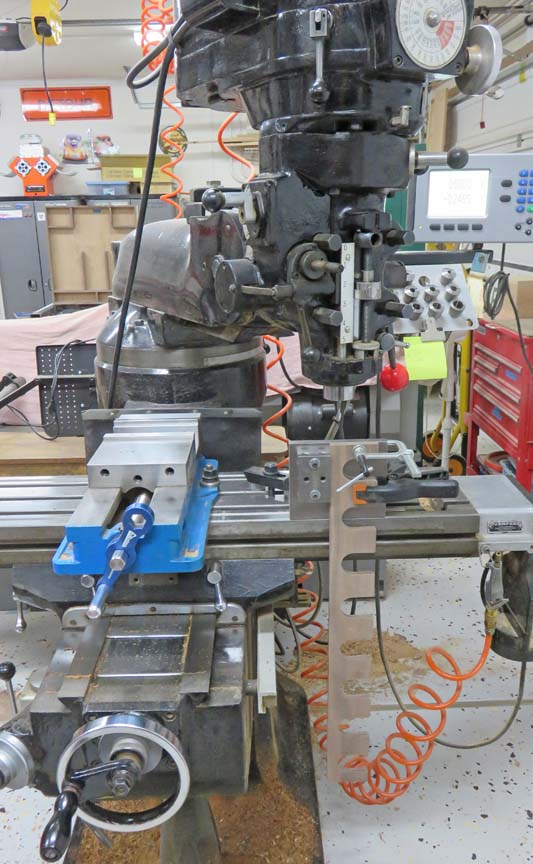
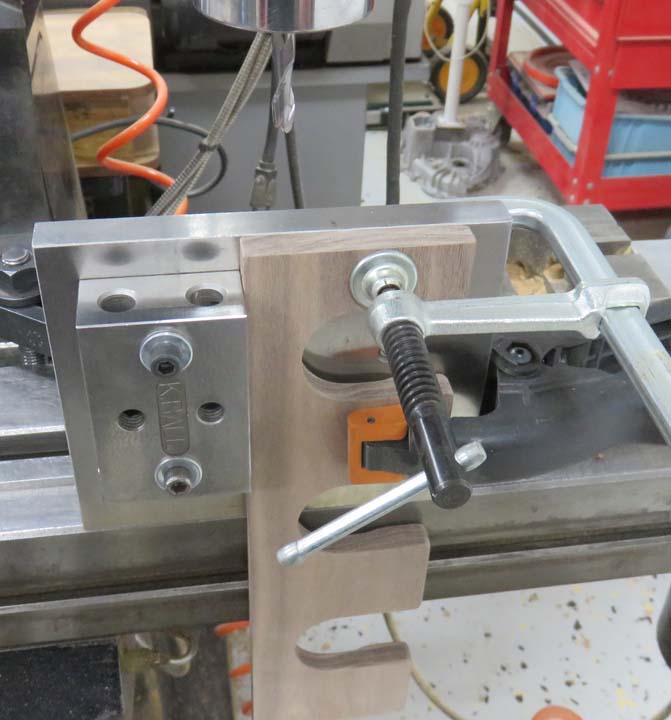
I waited to work on the dowel holes for the longer
shelves because it requires a different setup again. Here you can see I've
moved the column to the right and the ram is extended out as well (like
I did before). This is
so I can hang my work piece over the edge of the table to drill my
holes.
|
|
 |
|
I made my depth the same as the other pieces, just over
1/4". But with this setup I made sure to place the edge of my work
pieces flush with the top surface of my angle plate. This way all my
depths would be the same without picking up each one with my paper
slipped between the cutter and work piece. The 1 X 2 X 3 block is acting
as my work stop.
|
|
 |
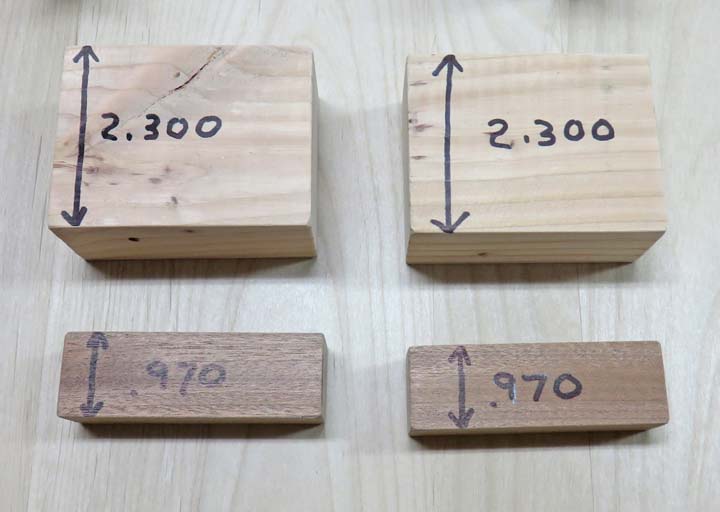
I made some spacers that will be placed between some of the shelves.
This gives me the exact distance between each one.
|
|
 |
|
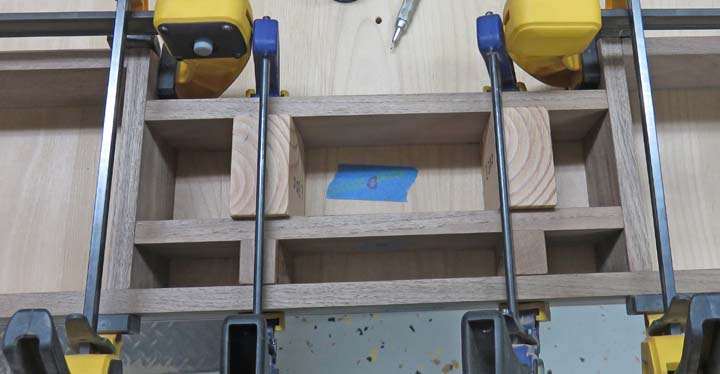
Here you can see my spacers being used on the shelves
for the smaller bottles. This worked out great and once I had everything
in place, I marked my edges with my pencil for my dowel holes like I did
before. Now it's time to work on the shelves for the smaller bottles.
|
|
 |
|
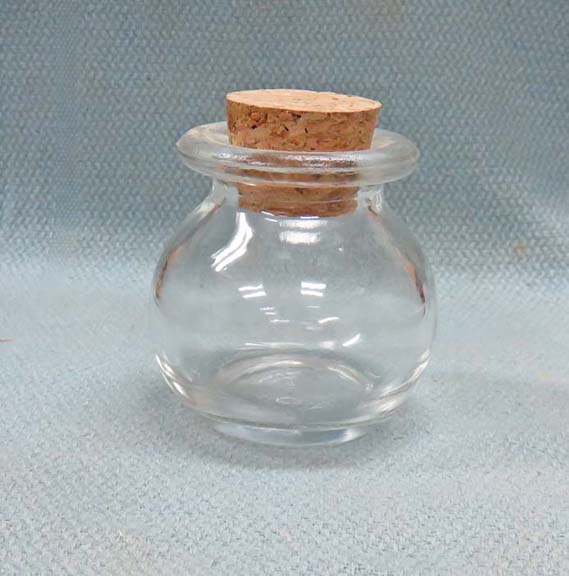
Here is the smaller bottle, and as you can see the shape
is much different than the other one. That means the shelf will need to
be made differently and will require a new router fixture to make this
happen. The size of this bottle is 2.300" tall (which includes the cork)
X 2 1/16" in diameter (in the middle). I'm going to hold these bottles
in the neck area, like I did the others, but the shape of the shelf slot
will have to be made accordingly.
|
|
|
Another Router Fixture
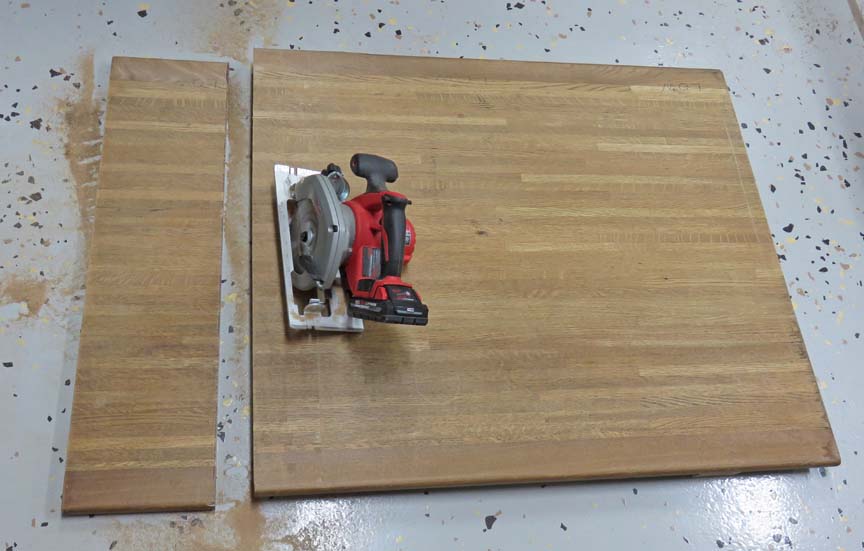
I'm getting ready to put in the slots for the smaller
bottles and in order to do that, I'll needed another router fixture. I ran
out of the MDF that I made the other two out of so I'm using the
top of an old oak desk that I've had
laying around for a few years. It's the perfect thickness for this,
(just over one inch) so I won't have to add a piece to the top like I
did before.
Now I'll still be able to use the bottom portion of my
router fixture, I just need a new top piece. And I'm going to make two
of these while I'm at it because it's easier to make two of them now in place of
making another single one later.
|
|
 |
|
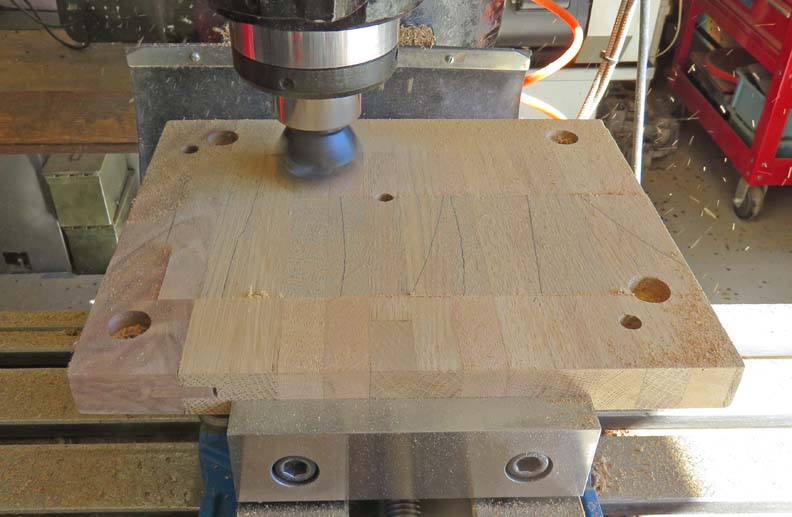
These two pieces had a bow in them so again, I'm cutting
them both flat using my milling machine. And as you can see, I've
already put in my 3/8" dowel holes and the four 1/4" hold-down holes,
complete with counterbores for the bolts and washers. In case you're
wondering why I counterbored these holes, it was necessary because the new pieces are
1/4" thicker than my other ones.
|
|
 |
|
1
2
3
4
5
6
7
8
9
10
11
12
13
14
15
16
17
18
19 |