|
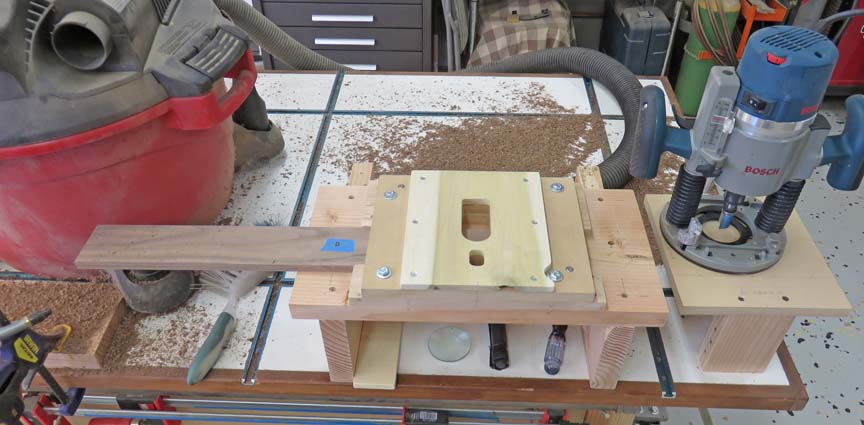
Okay, what you see here is just about everything I need to work on
the
shelf pieces now.
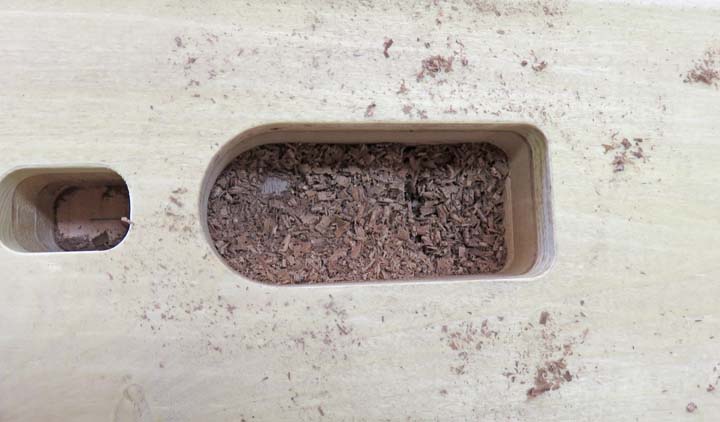
After doing some testing I found out that I needed to
clear the waste after every cut. My shop-vac made quick work of those
wood chips, which I have to do four times, once for each depth of cut.
Also note the air hose. This works great to clear out any residue that
remains once my work piece is removed. And to make life easier, I've
got the cord to my router plugged in above my head to the right of me so
it's out of the way.
|
|
Working With Wood....Again!
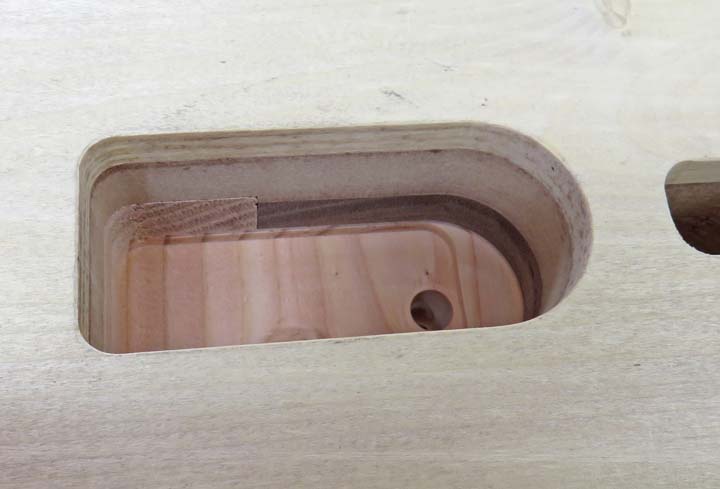
Well, it took awhile to get here but I think you'll
agree that it was worth it. The consistency of each slot is exact and
the distance between each one is almost on the money. That means my
layout lines and my sighting system worked out good too. I'm very happy
with the results, but then again, this is what I was aiming for from the
beginning.
|
|
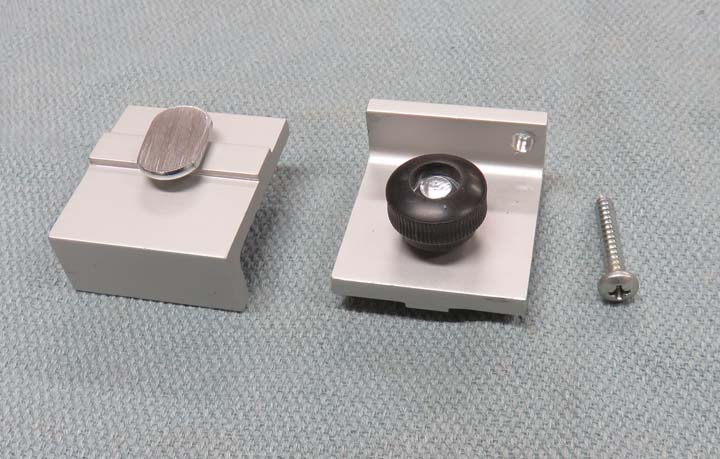
As you can see I've added a stand for my router to sit
on, making that much easier for me to work with. It takes four depth of cuts to make
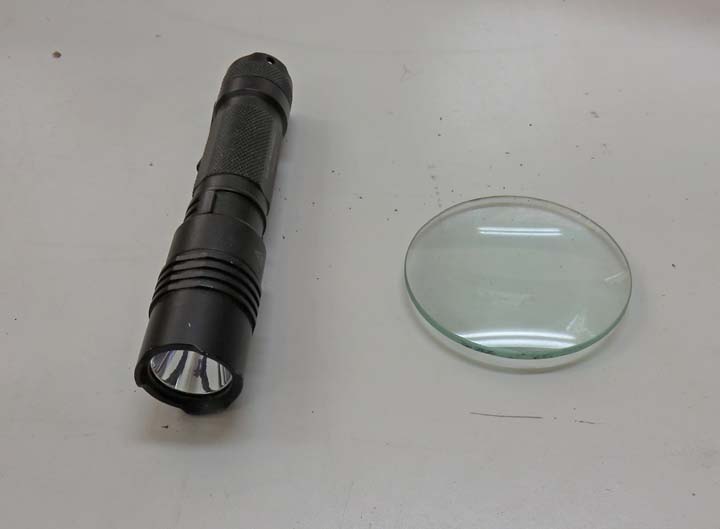
my slot. And note the nut-driver, flashlight, magnifying glass and a
piece of wood that I used to push the short shelves through my fixture.
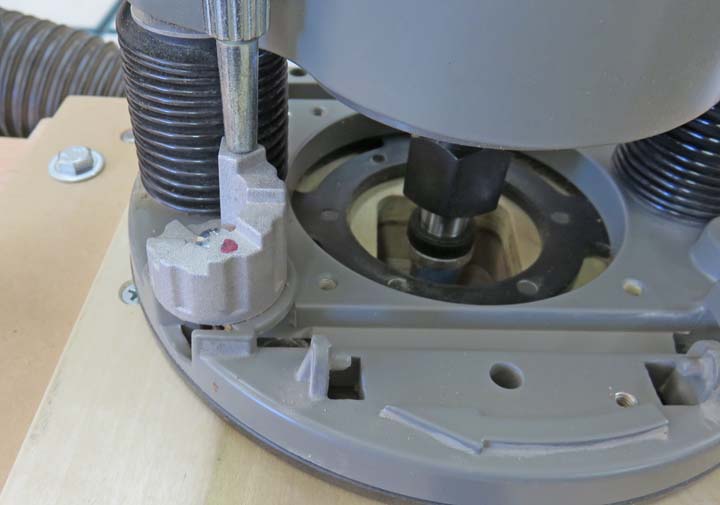
Here is the procedure to make each depth of cut: move the
router on top of my fixture, plunge to my depth in the area that I
showed you earlier away from my work piece,
turn on my router, make a roughing pass that doesn't make contact with
the sides of the fixture, then make a second pass with the template
bearing making contact with the fixture, turn off the router, release
the plunge feature of the router, move it to the stand out of the way,
turn on my shop-vac and remove the waste and then turn off,
rotate my depth stop one notch, place it back on my fixture and
repeat this three more times.
Yes, it took awhile but it worked out great and I don't
regret making this fixture one bit. The work piece that you see below is
one of the longer shelves that will hold eight bottles.
|