|
Drawer Assembly
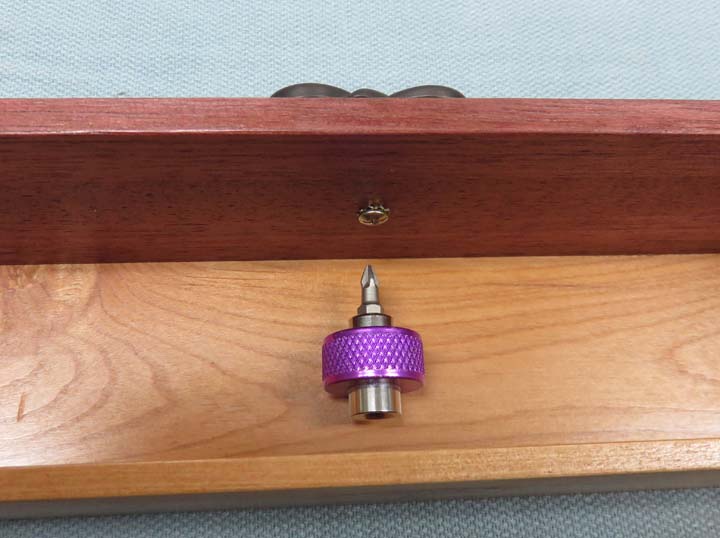
This little tool worked out great and fit inside the
drawer easily. However, as I was talking to Tracey about this special
device it hit me that she might want to use a different drawer pull at a later
date. That would mean she would need something like this to tighten the
screws again. Then I had the idea of using a different type of screw so
it would make changing this much easier.
|
|
 |
|
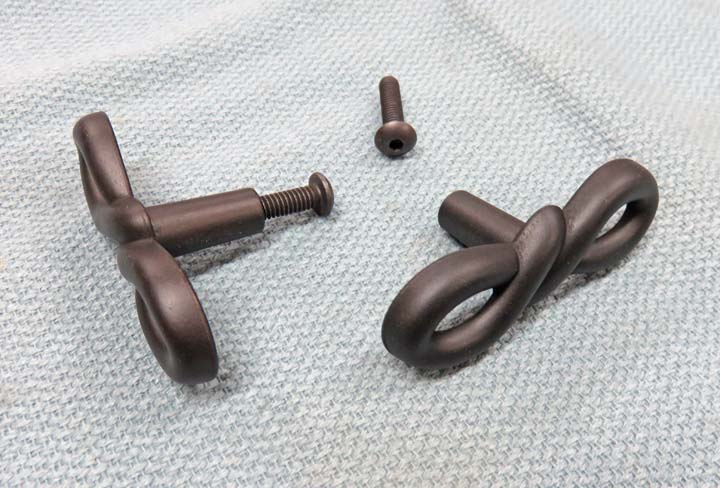
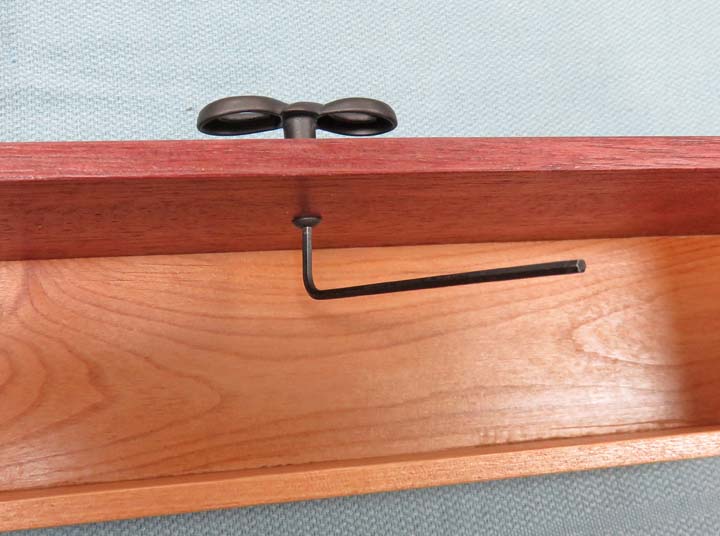
I bought some button head cap screws to use in place of
the Philips head ones that came with pulls. This will make it a breeze
to change them with a hex wrench.
|
|
 |
|
With the larger head of the button head, there's no need
for a washer either so this worked out great. I'll provide a hex wrench
with each spice rack just in case someone wants to swap the drawer pulls
out.
|
|
 |
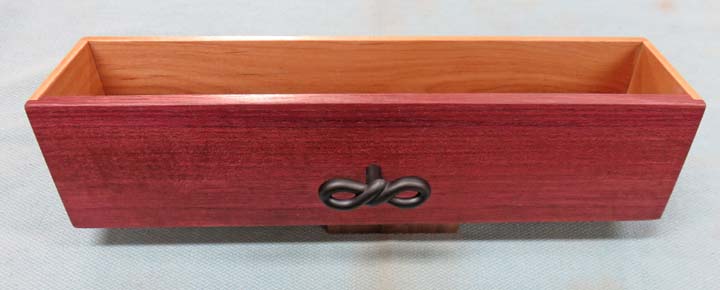
I sent a picture of the finished look to my daughter and she really
liked it. In turn, Tracey sent this same picture to her friend and she
liked them as well. So I ordered another set the next day.
|
|
 |
|
Packaging
Normally I don't talk about shipping or boxing something
up that I'll be sending, but this time it's a little different. Now I've
sent my daughter many things in the mail before but nothing as large and
as time
consuming as this project. With that being said, I wanted to make
sure the contents arrived safely and undamaged during the
journey from California to Pennsylvania so I bought some
shipping supplies to package it with.
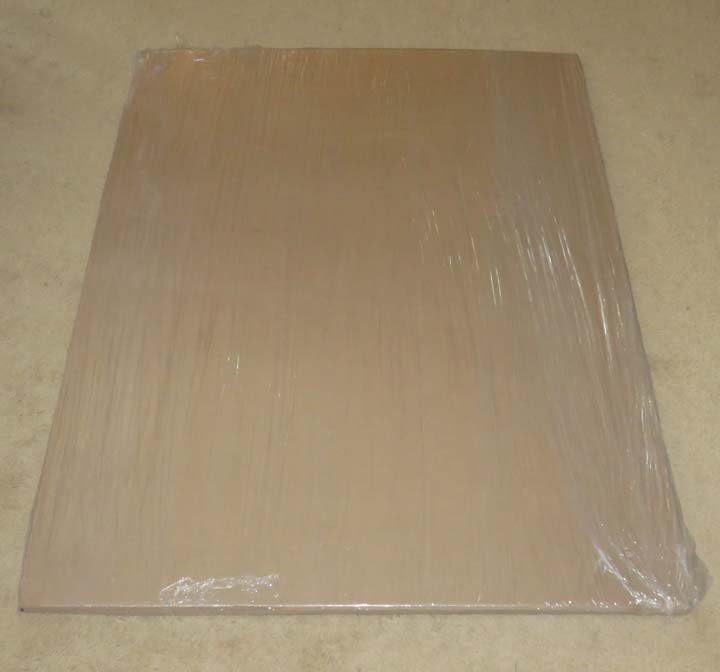
The cardboard below measures 36" X 48" and comes in a
five pack, which should be more then enough. However, I always
over-engineer my shipping container because somehow (and it doesn't
matter what delivery company I use) finds a way to tear-up or beat-up
the shipping box.
|
|
 |
|
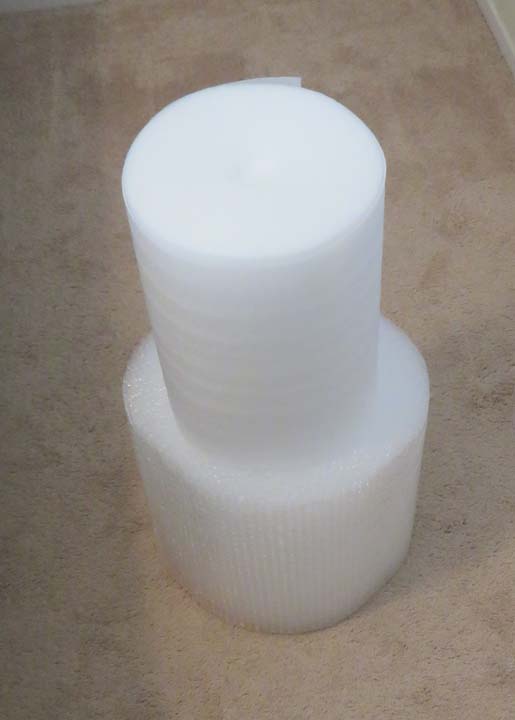
I also bought some packing material to protect my
project with. The top roll is Poly Foam and is about 1/16" thick X 12"
wide and will placed against the wood surface because it's very soft.
The bottom roll is Bubble Wrap, which is about 1/2" thick X 12" wide and will be used over the first layer to make sure
everything is protected as well I as I can.
|
|
 |
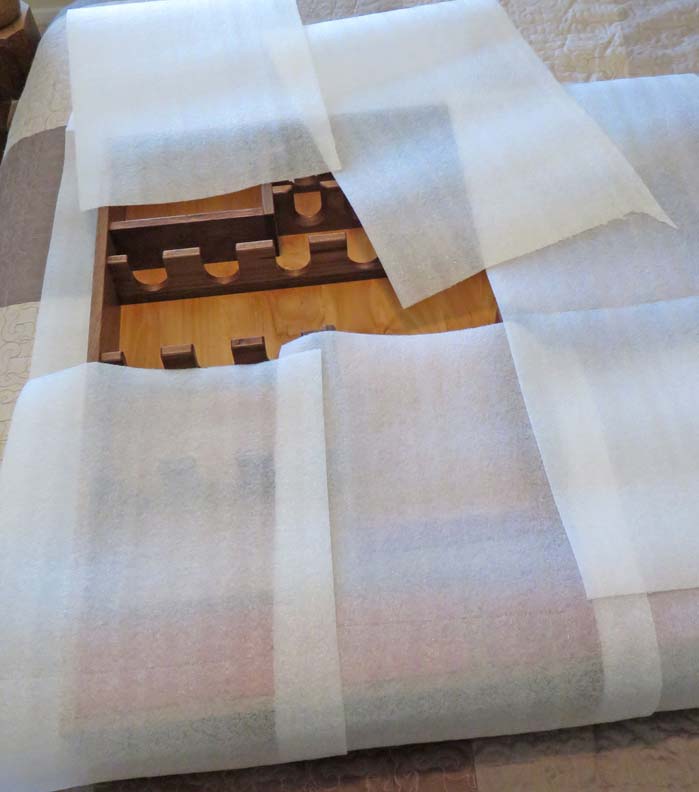
Here you can see I'm using a few layers to cover the wood first. Then I
used packaging tape to make sure it stayed in place.
|
|
 |
|
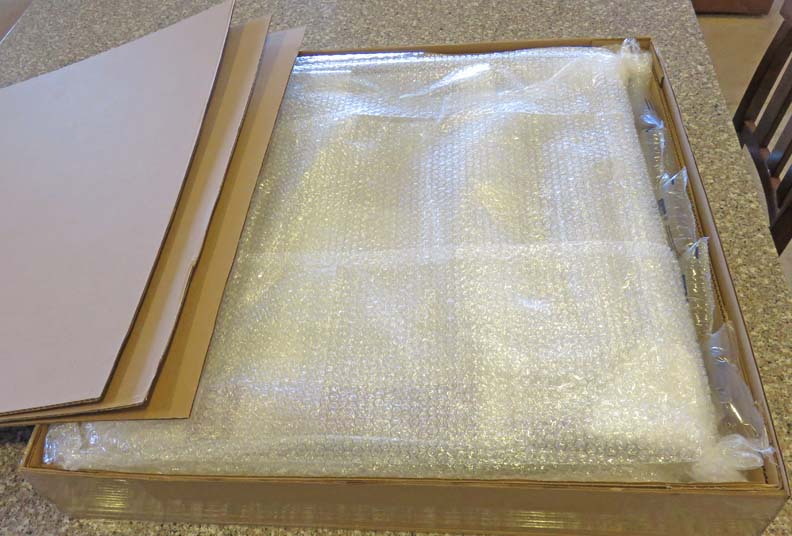
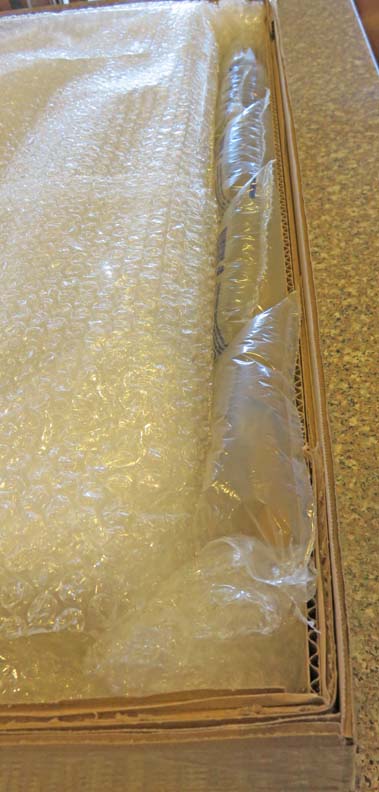
Next I used two layers of bubble-wrap over the soft layer and again more packaging tape. I made the box with about 2"
of room all around it to give me the best chance of protecting my
project. And I used three layers of cardboard on all six sides.
|
|
 |
Here you can see some of the cardboard layers along with extra thick
bubble pieces at the corners. The larger air bags are something I've
saved from other packages just in case I needed them.
|
|
 |
|
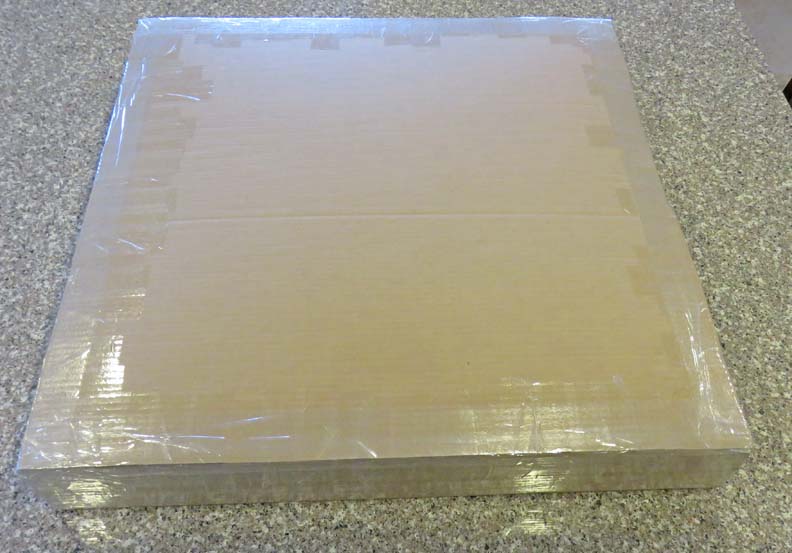
I ended up using all of the cardboard except for about
half a sheet, and then I used a lot of packaging tape to make sure everything
stayed together well. Total weight was 23 pounds and I used USPS as my
shipping company. Why? Because I've had much better luck with these guys
than UPS or FedX. However, it wasn't cheep to send because of it was
oversize, heavy and the distance it needed to travel.
|
|
 |
|
1
2
3
4
5
6
7
8
9
10
11
12
13
14
15
16
17
18
19 |