|
Working With Wood Continued
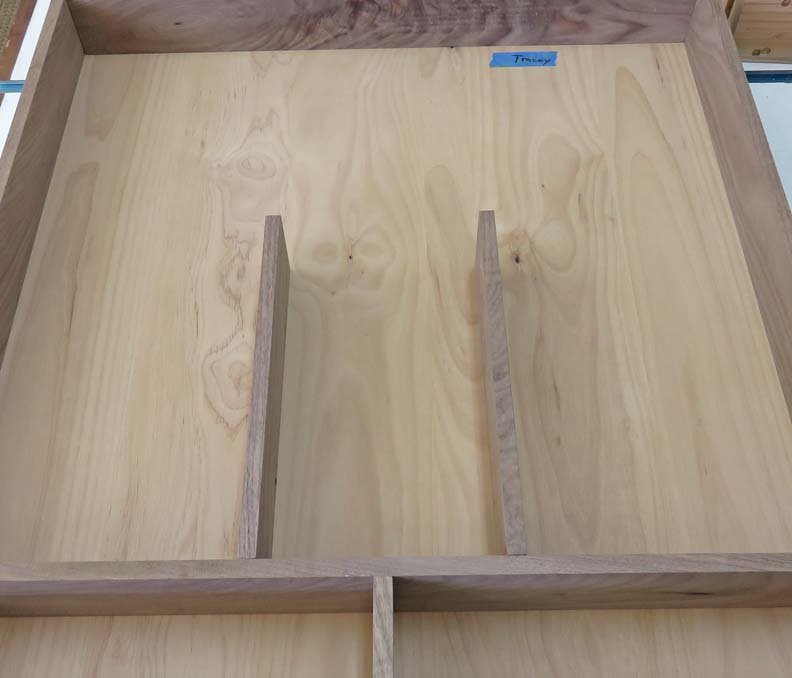
Here are the two vertical pieces fastened in place. Now I don't have
the oil bottles yet but I left these pieces slightly long just in case I
needed the extra length. Side note: these kinda look like goal posts...
|
|
 |
|
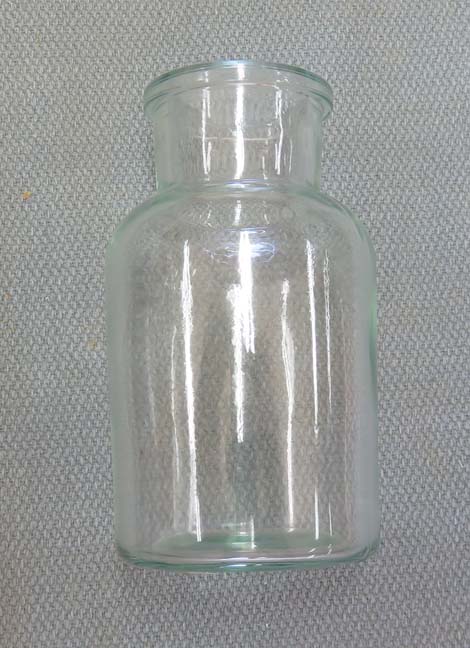
Anyways,here is one of the two bottles that my daughter picked out.
Now this one is 4.4" tall (which includes the cork) and is 2 5/16"
diameter. The neck area is just under 1 1/2" diameter, which is the
area that I'm
going to hang them by. What I'm going to do next is make
a bunch of shelves to hold them, all 20 of them, per spice rack, times
two (2 spice racks = 40 bottles).
|
|
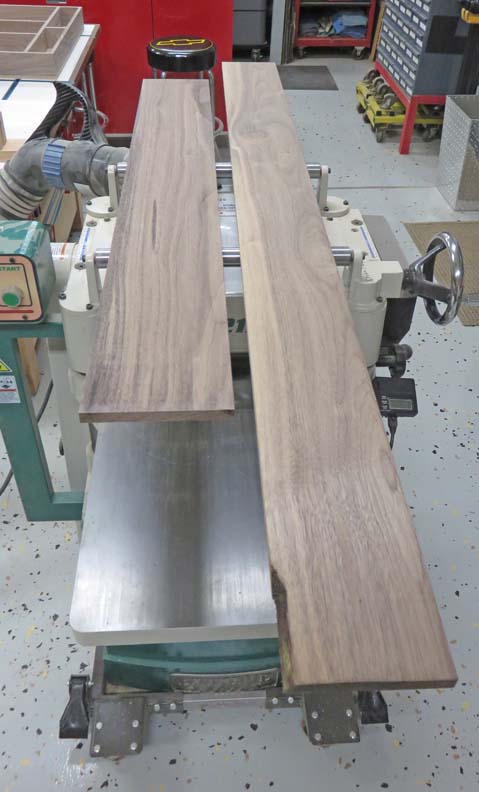
Time to run more black walnut through my
planer. I'll be making many shelves to hold all the larger bottles.
These shelves will be 1/2" thick just like the sides.
|
|
 |
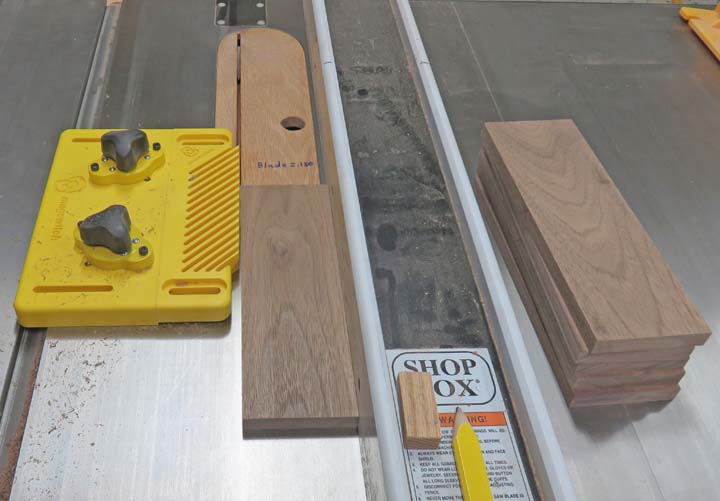
Here I'm ripping all the shelves to my final width, which is the same as
all the other pieces.
|
|
 |
|
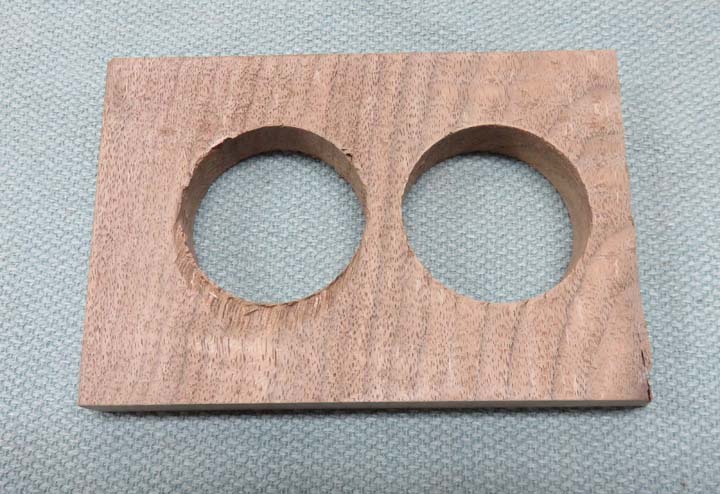
I'm experimenting with a hole-saw here because I need
to make some U shaped slots in the shelves to hold all the bottles. My
plan was to first use 1 3/8" diameter hole-saw to rough out the holes.
Second I'd bore each hole on my milling machine to 1 1/2" exactly. Third
I'd layout some lines and use my bandsaw to rough out all the slots. And
last I'd come back and use my milling machine again to bring all those
slots to size.
As you can see the one on the left has a bunch of
tear-out. But the one on the right had a scrap piece below it, which
produced almost no tear-out. However, after thinking about all this, and
all the work I'd have to do on my milling machine, I started rethinking
this entire operation.
|
|
 |
|
Plan B: Making A Router Fixture
I'm going to make some tooling to help me produce the U
shaped slots using my router. This tooling, or fixture will be overkill but it will
get the job done accurately, which is all I care about.
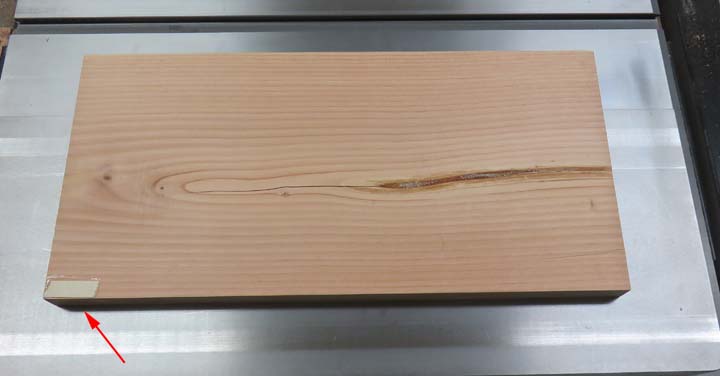
The base (below) will be made out of 2" X 12" that I had
from another project and should work great for this once it's flat. But
after running it through my planer it still wasn't flat. What I did was
epoxy a thin wooden shim to one low spot (arrow) and then ran it through
my planer again.
|
|
 |
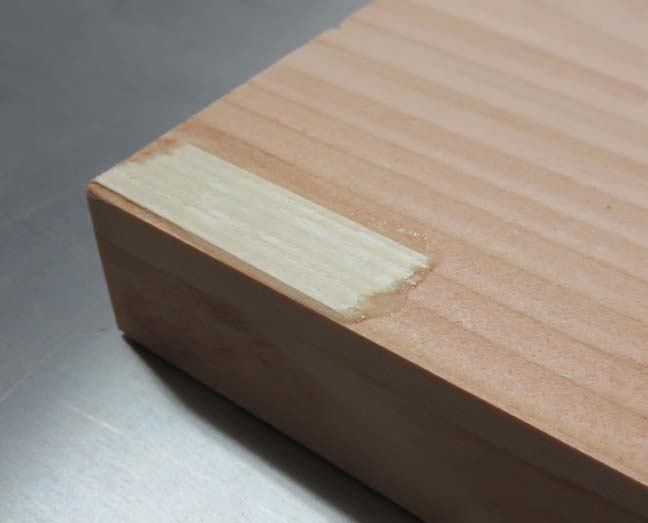
This worked out great and my piece of wood is nice and flat now. Then I
turned the board over and cleaned up the side with the shim.
|
|
 |
|
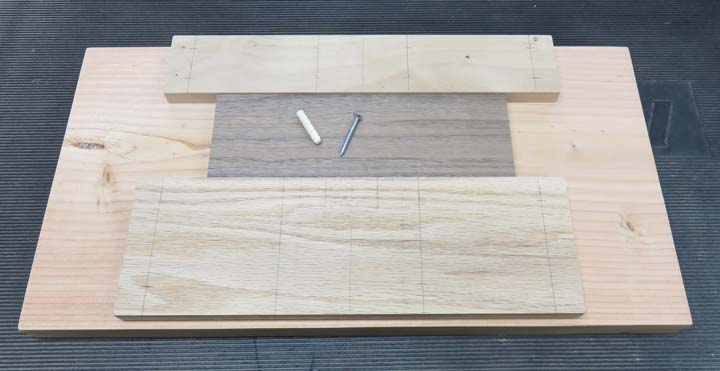
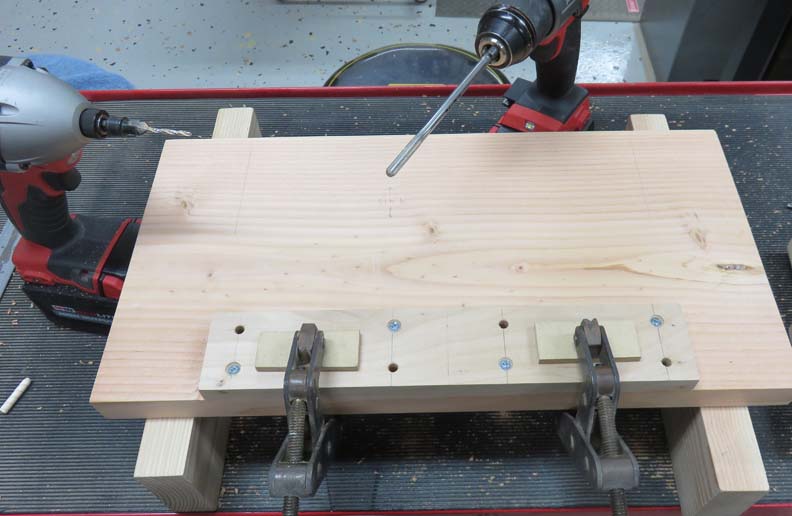
I'm laying out for some screws and dowels on these two
hardwood rails that I made special for this fixture (top and bottom
pieces). As you can see my
shelf (black walnut) is between them. My plan is to slid my shelf
between those rails, trapping it so it doesn't move in the top-to-bottom
direction (Y axis).
|
|
 |
|
Here I'm drilling holes for some screws and some wood
dowels. The reason I'm using four screws and four dowels here is because
I thought about cutting the rails in two pieces. Then with screws and
dowels in both pieces, I would know they wouldn't move out of position
after cutting them in half. I did this same procedure for the other
rail.
|
|
 |
|
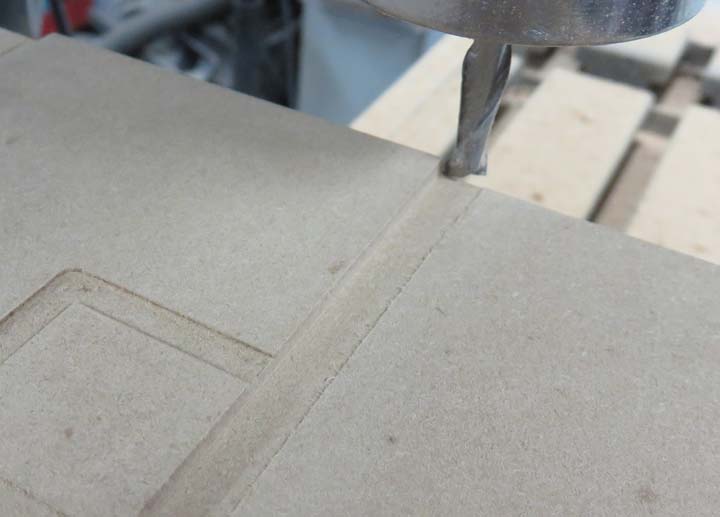
Pay no attention to those weird slots and holes that you
see below because this piece of MDF was used on another project.
Anyways, I'm making a clamp plate to hold my shelf (work
piece) in
place while I'm using my router. The arrows are pointing to the width of
the clamping area, which will actually put downward pressure on my work
piece. The remainder of the clamp plate is just clearance.
|
|
 |
|
I'm using a 1/4" endmill to make a nice clean edge along
the entire clamping area of my clamp plate. Also notice the small groove
I made with the endmill. This groove will also provide clearance so
these nice straight edges don't come in contact with anything they
shouldn't. This is an old machinist trick that is common in the
industry.
|
|
 |
|
1
2
3
4
5
6
7
8
9
10
11
12
13
14
15
16
17
18
19 |