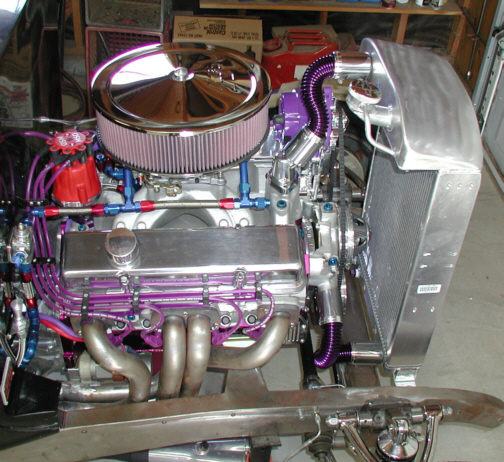
Yeah....they're purple...what else!!
The color is very close to what I was looking for and I'm happy with
them. I even had some left over when I was through in case I need to
make another in the future.
|
|
|
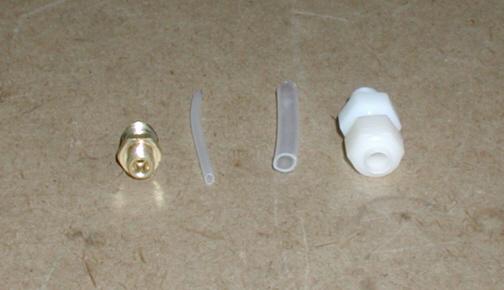
While I'm working with my hose....er....a....I
mean....hoses, I decided to change the one that would be used for my oil
pressure gauge. The one on the left is the one that came with it and I
installed it awhile back. Then I came across the other one and had to
have it. The old one is 1/8" on the outside diameter and the new
one is 1/4" on the inside diameter. What a difference there is
between the two. The small stuff kinks very easily but this new stuff if
very thick and tough. I also bought some connectors for it that are made
out of plastic. The old and new connectors use compression fitting which
is a good thing. The nice thing about the new connectors are that the feral
(the part the goes inside the nut and forms to the hose so it won't
leak) is locked into the nut so it doesn't fall out or get lost. All you
do is slide the nut over the hose and connect it to the fitting. By
using larger diameter tubing to an oil pressure gauge, you can really see
what's going on with the engine. It's very quick to respond to any
change compared to the smaller stuff. Try it the next time you install
an oil pressure gauge and you'll see a big difference.
|
|
|
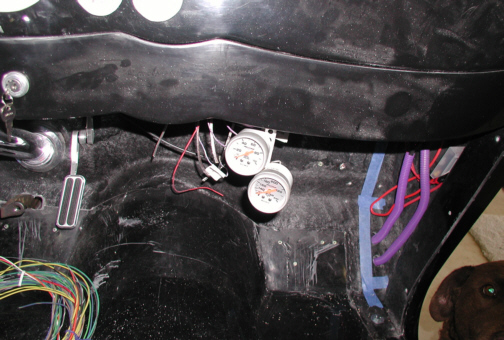
Now I know you want me to install some
gages for after seeing how I mounted mine. This is just a temporary
setup for these two gages which are oil pressure and water temp. I'm
getting very close to starting the engine and these are the only ones I
need for that. After I get the engine running, I can see about mounting
them in the dash.
|
|
|
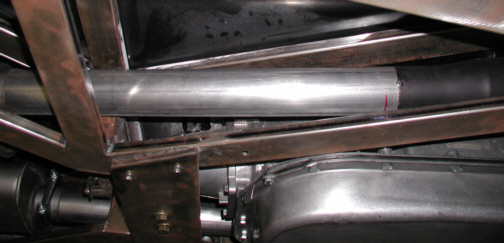
With the gages temporarily in place,
the exhaust was next. I bought some 2 1/2" diameter aluminized
exhaust tubing and started cutting and welding it to my slip-on
reducers. Notice these are tack welds and not full welds on the tube. This is
because I'll need to grind these welds off later so I can still use the
reducers.
|
|
|
|
1 2
3 4
5 6
7 8
9 10
11 12
13 14
15 16
17 18
19 20
21 22
23 24
25 26 |
|
27
28 29
30 31
32 33
34 35
36 37
38 39
40
|