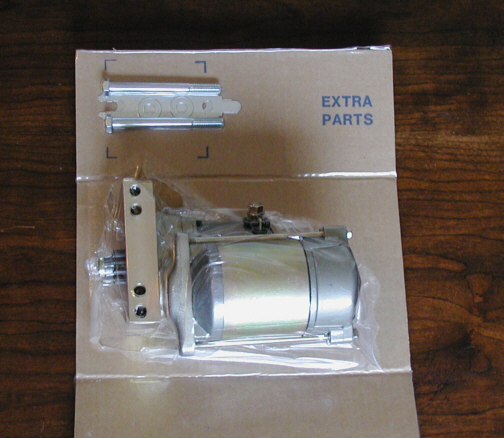
| This is my starter which is a
high-torque type. I've already talked about this piece in the engine
section so I won't bore you with all the details again. Let's get to the
install part of this thing. |
|
|
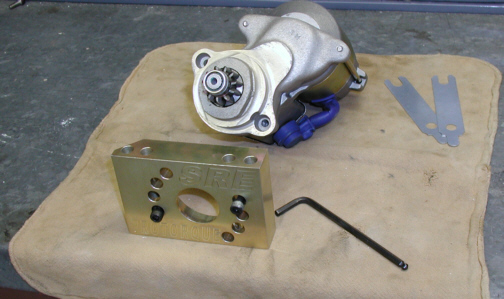
The gold nose piece can position the
main body of the starter in eight different positions according to your
setup. I bolted it up like it came out of the box to see how things
looked. Not liking the way it was placed, I planned on a quick change.
All you do to change the existing position is to remove two bolts, index
the nose piece to a different set of holes and then bolt the main body
back up.
|
|
|
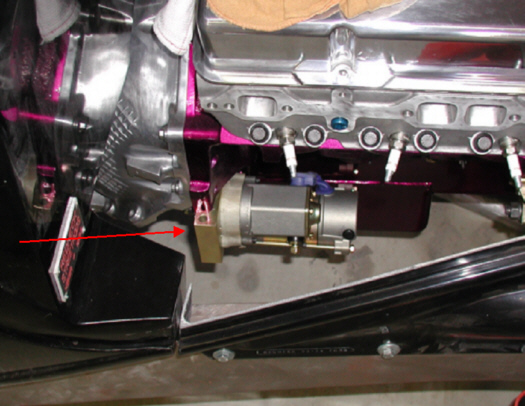
Now that the position is how I like
it, I had one thing I didn't like. I am going to need every inch of
clearance between the engine and chassis. Notice the red arrow pointing
to the nose piece sticking out. I plan to remove this section of the
nose piece because this hole doesn't get used and it will give me an
added 3/4" of clearance.
|
|
|
|
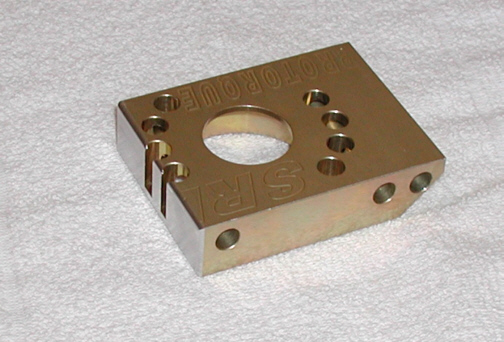
Here you can see the nose piece
without four holes anymore. I milled away the unwanted area and gave the
edges a 1/8 radius.
|
|
|
|
1 2
3 4
5 6
7 8
9 10
11 12
13 14
15 16
17 18
19 20
21 22
23 24
25 26 |
|
27
28 29
30 31
32 33
34 35
36 37
38 39
40
|