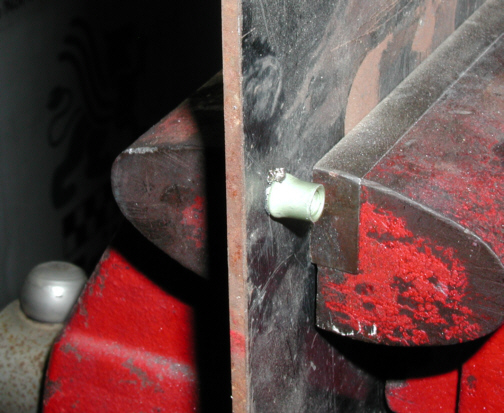
Here you can see how they work a
little better. This is a scrap piece of 1/8" thick steel which is
the same thickness of my chassis. Notice how the body is squeezed which
is what you want to happen. If you squeezed to much, you would end up
wiping out the threaded area and not be able to use it. This is why you
only need two or three turns when installing them. This is a very handy
way of mounting things to thin material and it's strong.
|
|
|
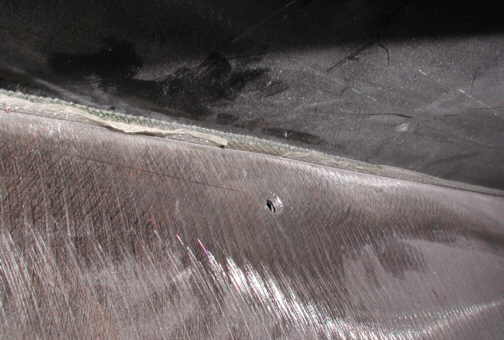
I am working under the car and this is
the drivers side main frame rail under the front door. I've drilled a
.250" diameter hole and now I'm ready to install the Riv-nut.
|
|
|
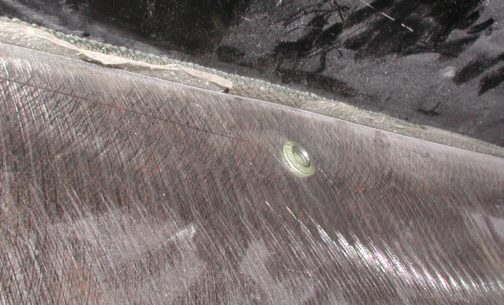
Here we have the Riv-nut installed
awaiting something to screw into it. I plan to use this for one of my
ground wires. The one that will be here goes back to the terminal strip.
This way whenever anything is hooked to it, it will be grounded.
|
|
|
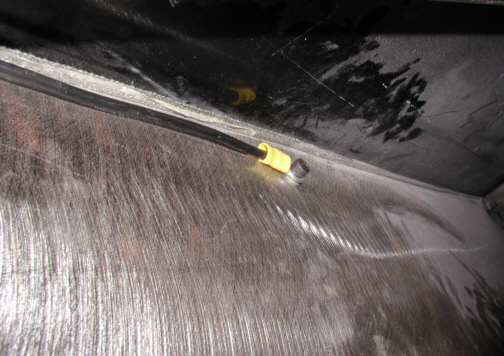
This is a number 12 wire with a solder-less
terminal crimped on it. I'll be using more of these throughout the car
when needed. This ends up being a nice clean way to go because it's
under the car and not exposed. Sometimes "less" is more.
|
|
|
|
1
2
3 4
5 6
7 8
9 10
11 12 13
14 15
16 17
18 19
20 21
22 23
24 25
26 27
28 |
|
29 30
31 32
33 34
35 36
37
38 39
40 41 |