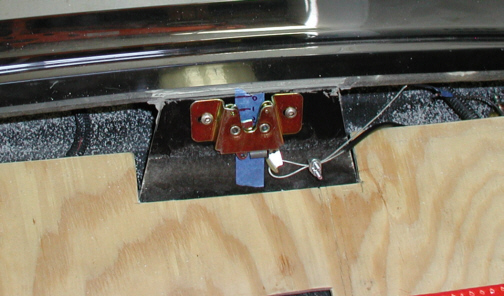
After trial fitting the trunk lid a
few times, I needed to move the latch down a little so I slotted the
holes with my Dremel so I could have some adjustment. Here you see the
cable from the solenoid attached to the latch with a small cable clamp
that I picked up at the hardware store. The kit came with cable-ferules
but I'm not going to use them till after I get the car painted.
|
|
|
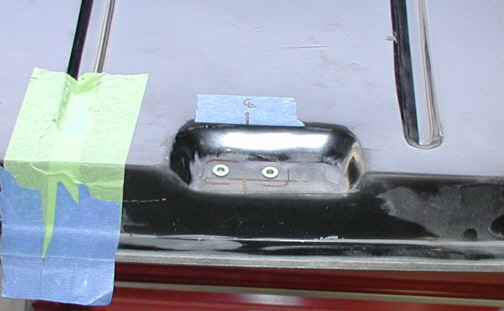
Here you can see that I used two 10-32
Riv-nuts to hold the upper part of the trunk latch in place. I thought
about slotting the bottom area, then sliding in some bolts and then
fiber-glassing the slot back in. I think this will hold just fine the
way I have it though.
|
|
|
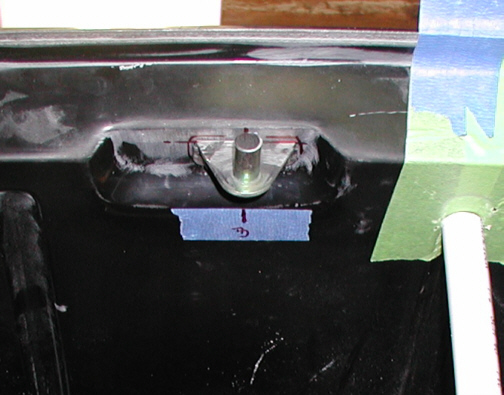
This is what it looks like bolted up
and finished. I'll be plating or painting this piece later. I also cut
off the shoulder that was on the end because it was to long. After I get
the rubber molding installed, I'll have to adjust the trunk for fit.
|
|
|
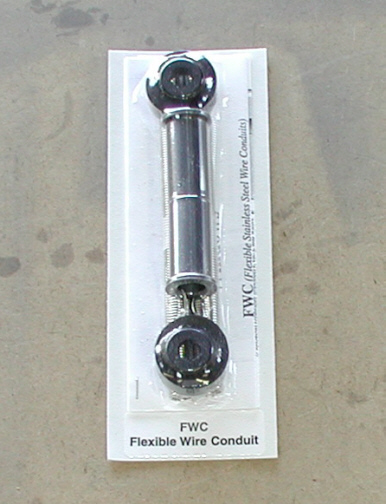
To run the wires into my doors, I'm
going to use this flexible wire conduit kit made by
Specialty
Power Windows. This kit allows you pass wires from your door jam
into the door itself without damaging your wires and looks good
too.
|
|
|
|
1 2
3 4
5 6
7 8
9 10
11 12
13 14
15 16
17 18
19 20
21
22
23 24
25 26
27 28 |
|
29 30 31
32 33
34 35 |