|
Working With Aluminum Continued
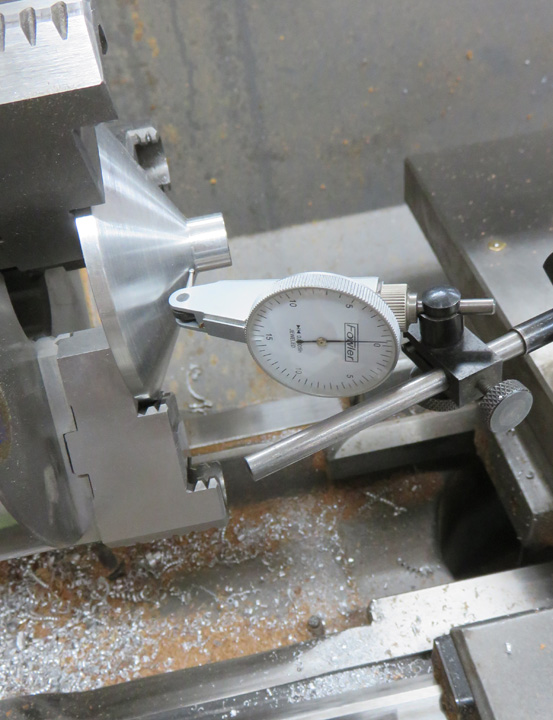
Here I'm indicating my 30 degree angle to make sure it's
the same as what I had previously. The reason I'm doing this is because I
had to move my compound (the part of the lathe that turns to do any
degree that you want) to make sure it's exactly the same as what I
machined earlier.
|
|
 |
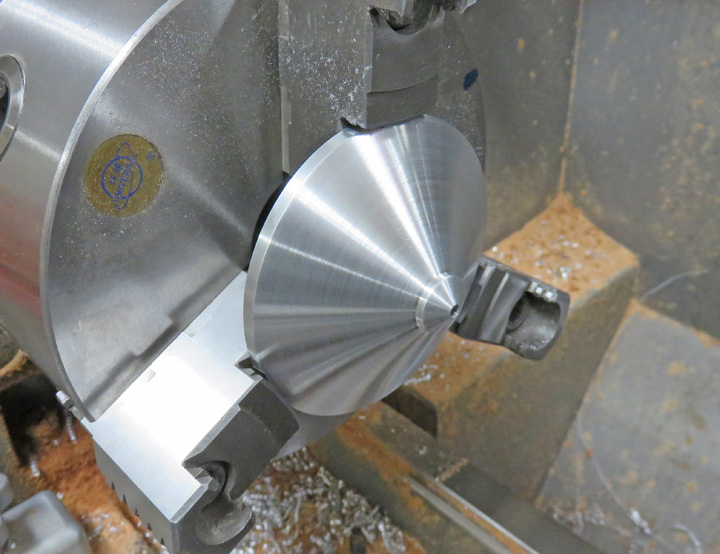
As I was getting closer to making this all
blend in and come to a point, I stopped and turned off my lathe. And the more I stared at
it, the more I liked what I had at this point.
|
|
 |
I got out some sandpaper, gave it a quick shine and called it good
because I liked the look of it like this.
|
|
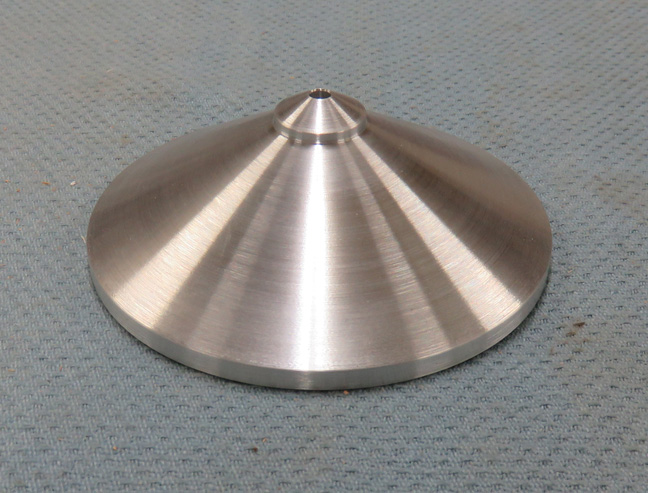 |
I didn't plan on having the top of the roof look like this but I really
like it. So, now it's time to make a single screw to hold the roof on.
|
|
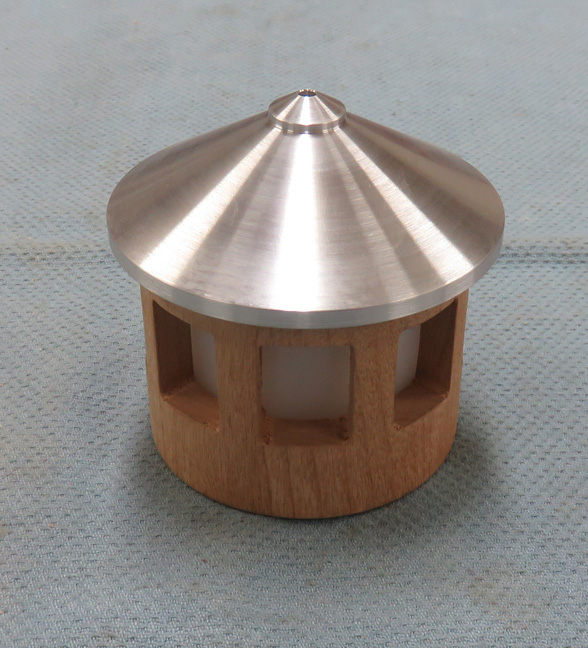 |
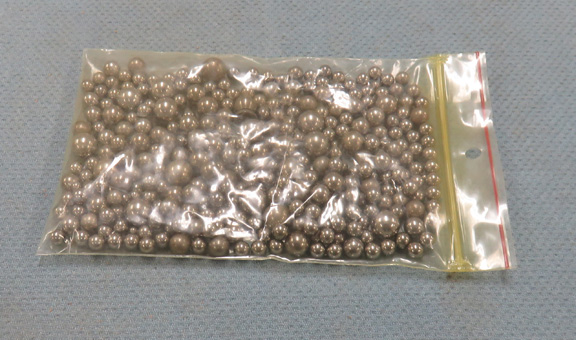
Speaking of plans, I want the top of the roof to have a small sphere on
it, so
I'm going to use a ball bearing for that.
|
|
 |
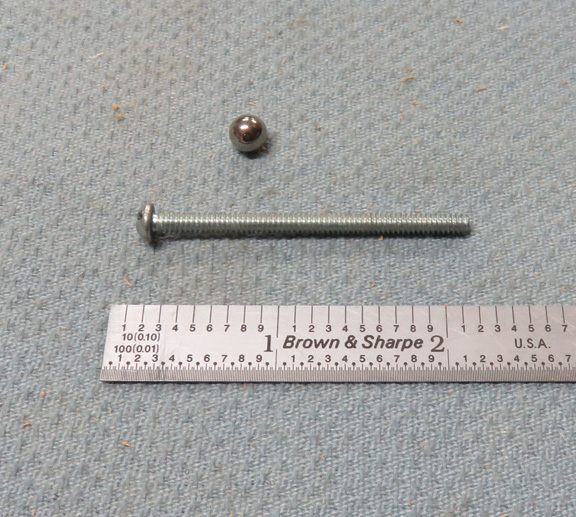
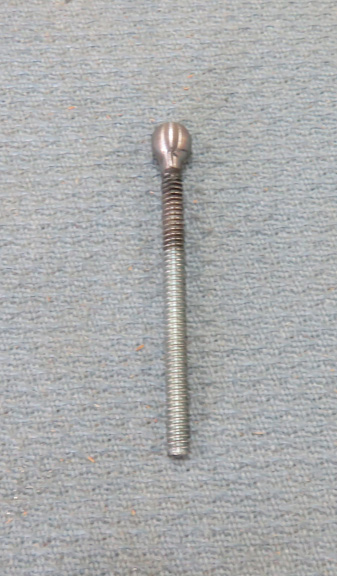
I found one that is 5/16" diameter that I'm going to weld to this #8
screw after I remove the screw head.
|
|
 |
|
Making More Tooling
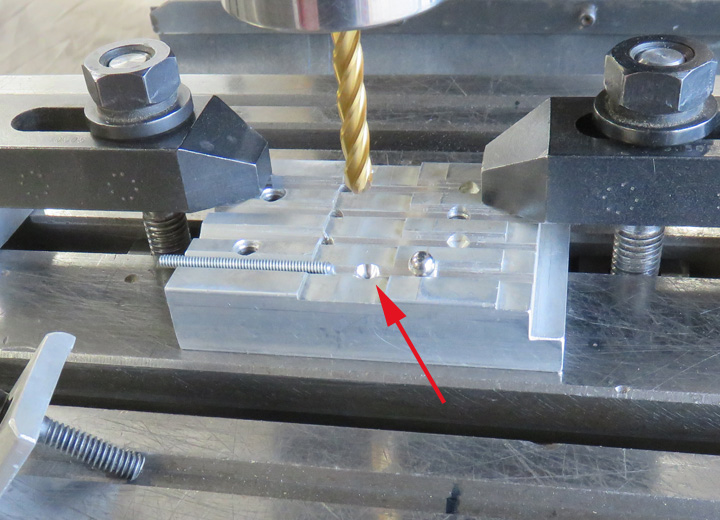
I'm modifying my welding fixture to locate my ball
bearing in exactly the right spot. The arrow is pointing to the spot I
made a dimple using a 5/16" ball endmill. This dimple is where the
ball bearing will rest in.
The depth of this dimple now places the ball bearing in the center of my
screw.
|
|
 |
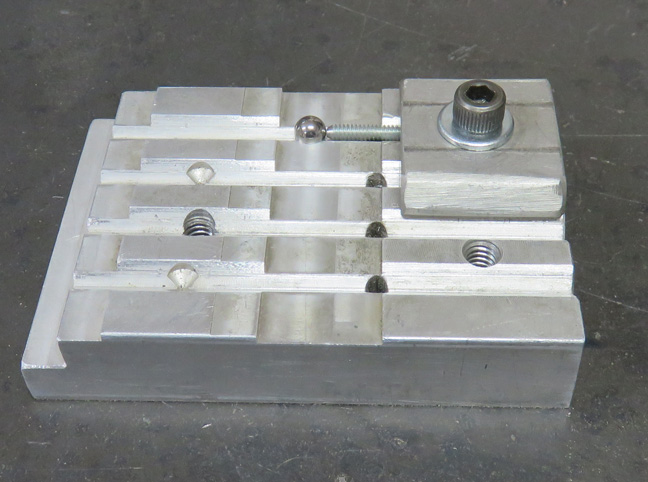
It's time to do some welding.
|
|
 |
|
Welding
I basically tack-welded this in three spots and then
sanded away what I didn't need. The funny looking area under the ball
will be hidden inside the hole in the roof. Now let's make a way to
thread this into the adapter plate.
|
|
 |
|
Working With Thread Inserts
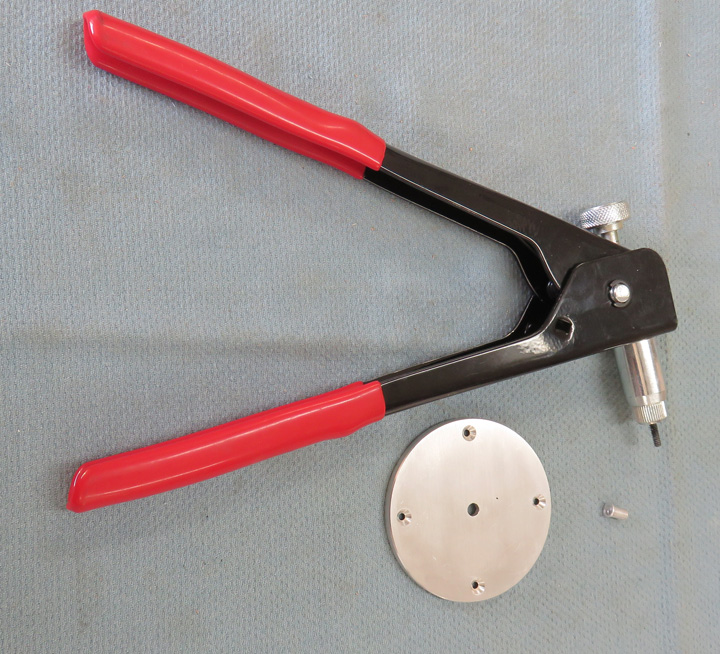
I'm going to use a rivet nut or riv-nut for short, in my adapter
plate. This is a simple process that I've used my times while building
my 33 Ford Coupe. Riv-nuts come in all different thread sizes and I'm
using a 8-32 for my application. All you do is thread the riv-nut onto
the threaded piece sticking out of the gun, insert the riv-nut through
the hole, gently squeeze the handle and it will deform the underside keeping
it in place. Then you just unscrew the gun using that knob on top and
you're finished.
|
|
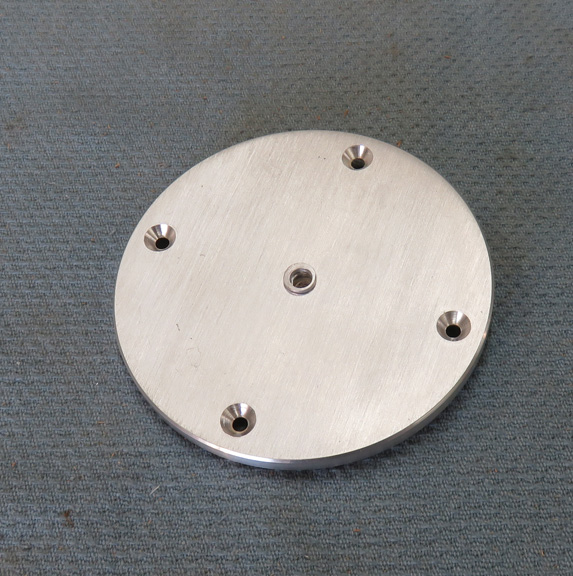
This is what it looks like on the top surface. Very simple and they work
great.
|
 |
|
1
2
3
4
5
6
7
8
9
10
11
12
13
14
15
16 |

