|
Working With Wood Continued
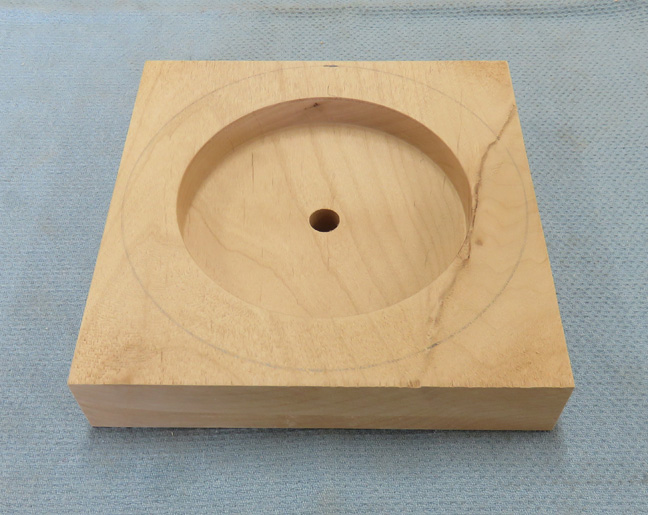
I removed my work piece from the lathe, and drew a 6" circle for
reference. Now it's time to use my bandsaw again.
|
|
 |
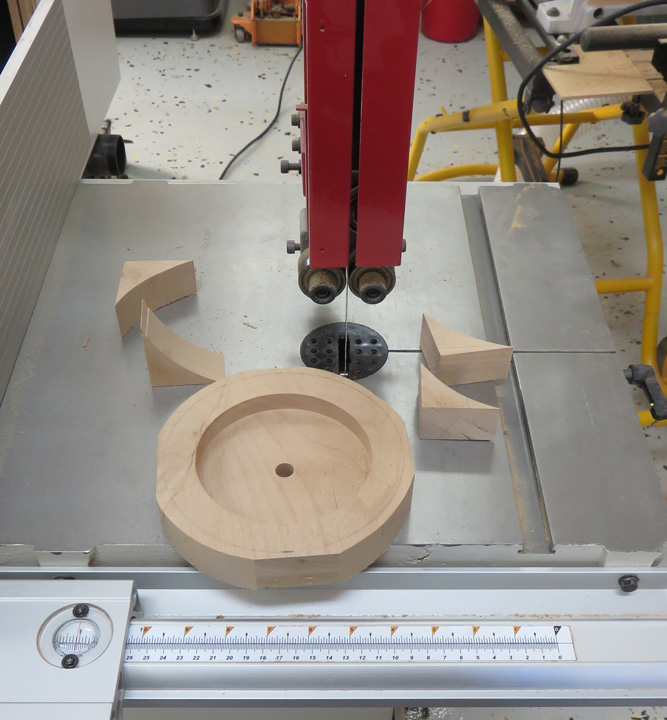
I removed the corners to make it easier to
turn on my lathe.
|
|
 |
I switched to my three jaw chuck again so I could turn the outside diameter.
|
|
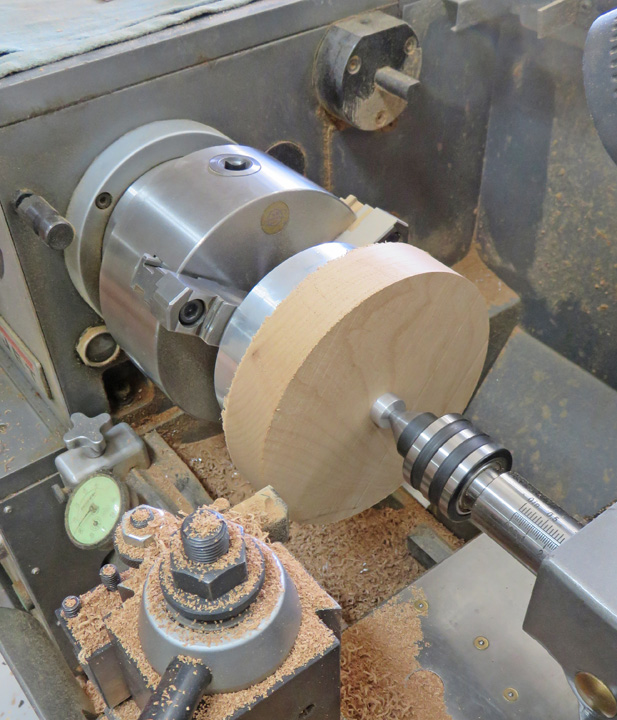 |
I'm using an aluminum spacer between my chuck and work piece. This
spacer gives me room to cut the outside diameter without running into my
chuck.
|
|
 |
|
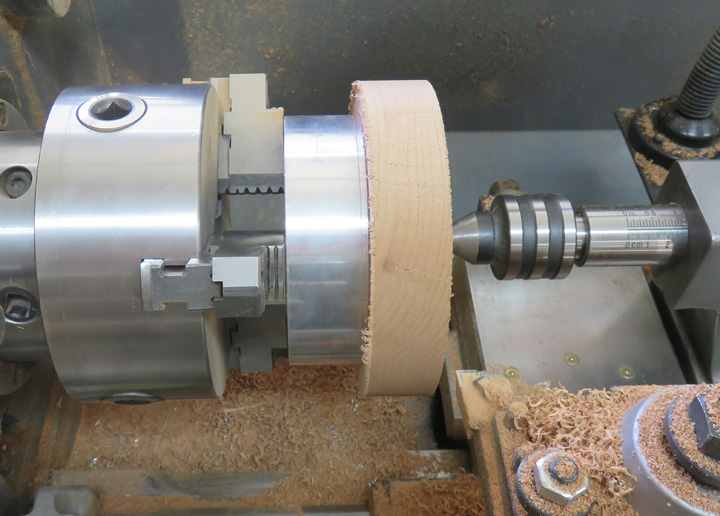
A few minutes later I finished my 6" diameter.
Now I plan on cutting some slots that go from the outside to the inside,
(which will be on the other side). These slots will resemble what the
top of some castles have, giving this lighthouse a medieval kind of
look. However, when cutting through an area like this, it tends to split
or tear-out when your cutting tool exits so it's time to make something to prevent
that.
|
|
 |
|
Making More Tooling
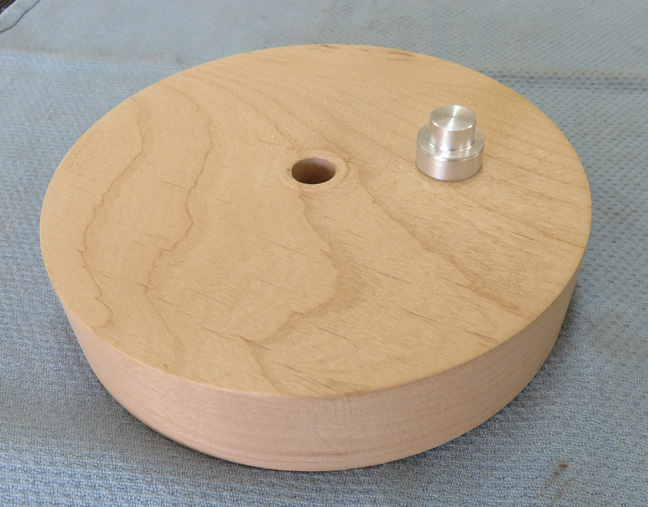
What you see here is the bottom of the base that I cut
off earlier which I'll be using for some tooling. I turned the O.D.
(outside diameter) to 4
1/2" and now I'm using my parting tool to cut off at 1 1/2" long.
|
|
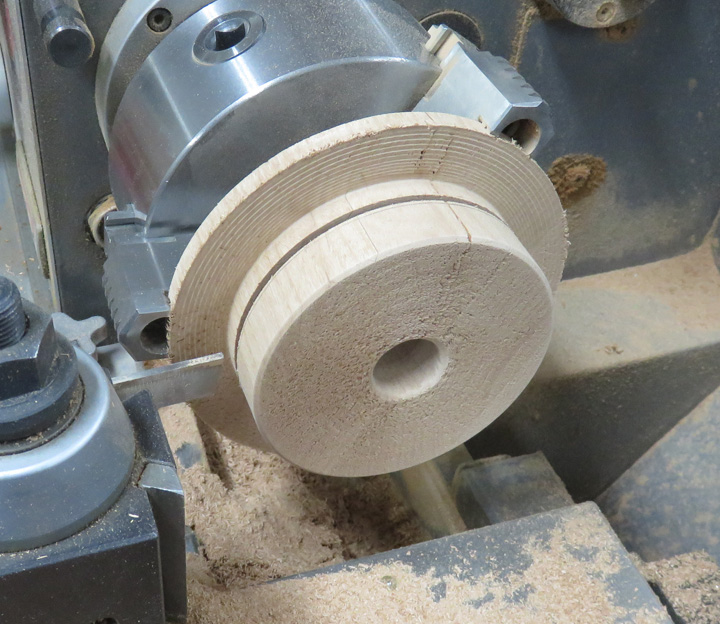 |
I turned a second piece on my lathe to be used on the outside of my
platform. Then I used my jigsaw to cut out the center to about 5 1/2".
This leaves me about 1/2" of stock.
|
|
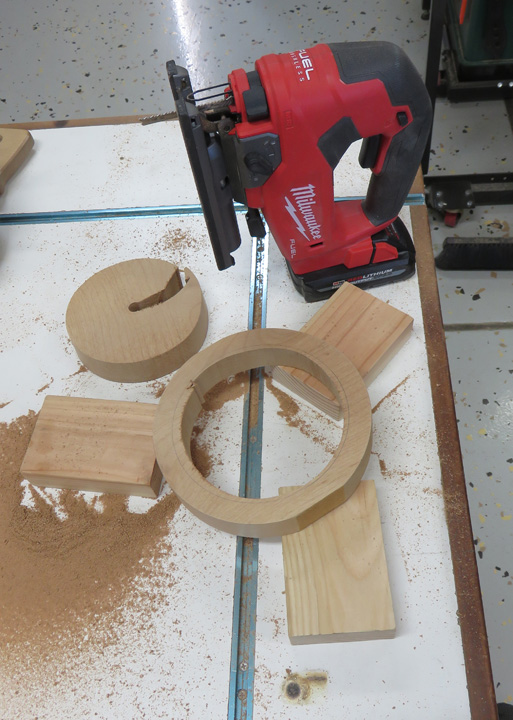 |
I'm machining the inside diameter to 6", which is the same size as my
platform piece.
|
|
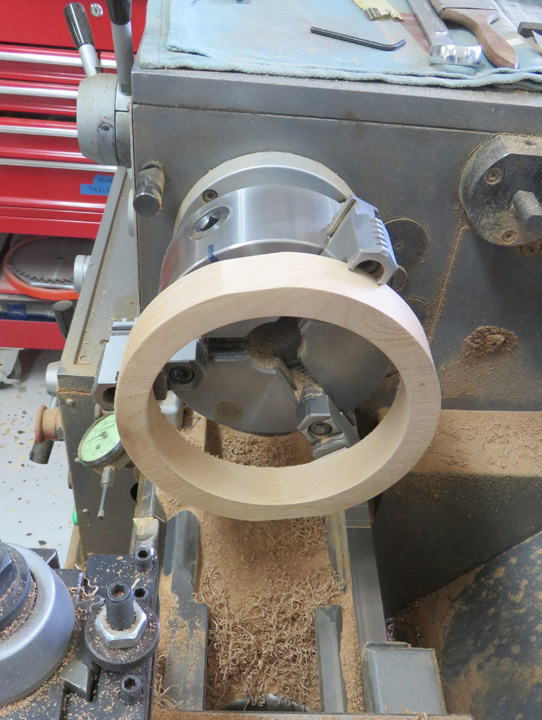 |
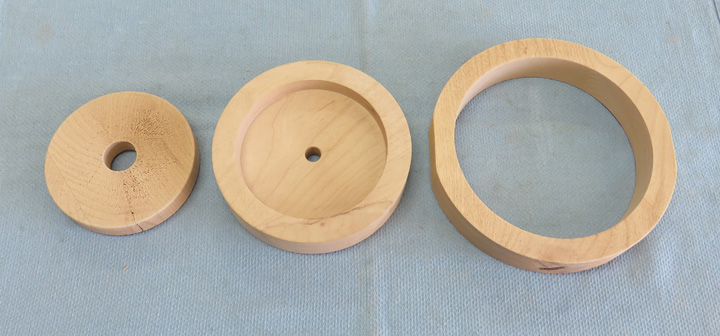
My platform piece is in the middle, with my tooling pieces that will go
on the inside and outside of it. Once this is all put together, it will
help prevent any tear-out while machining it.
|
|
 |
|
Working With Wood Again Before I start machining the slots on my platform piece,
I'm going to drill and ream some 1/4" holes that will aid me in making
sure I have my work piece in the correct orientation. What I plan on
doing is placing two dowel pins, opposite of each other to indicate
from. Once those two pins are in alignment, I'm ready to machine two of
the 10 slots. And once those slots are finished, I can loosen the bolt
in the center, turn my work piece, indicate the next two dowel pins,
tighten down my bolt and
then repeat the process.
|
|
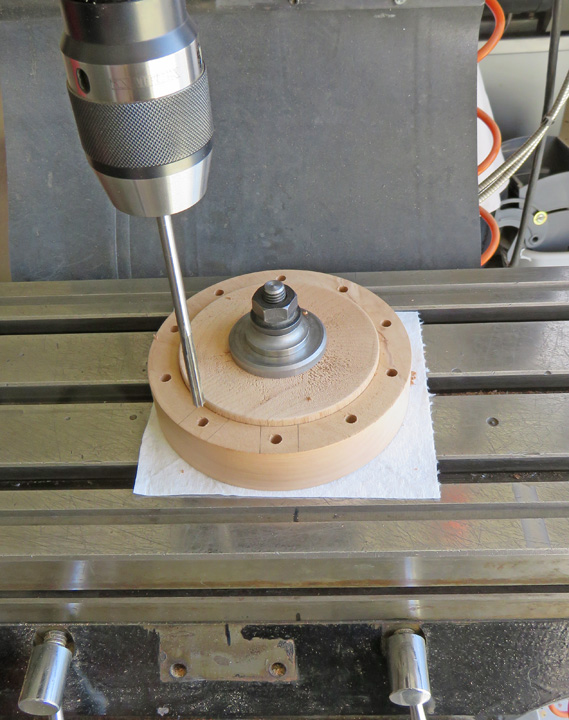 |
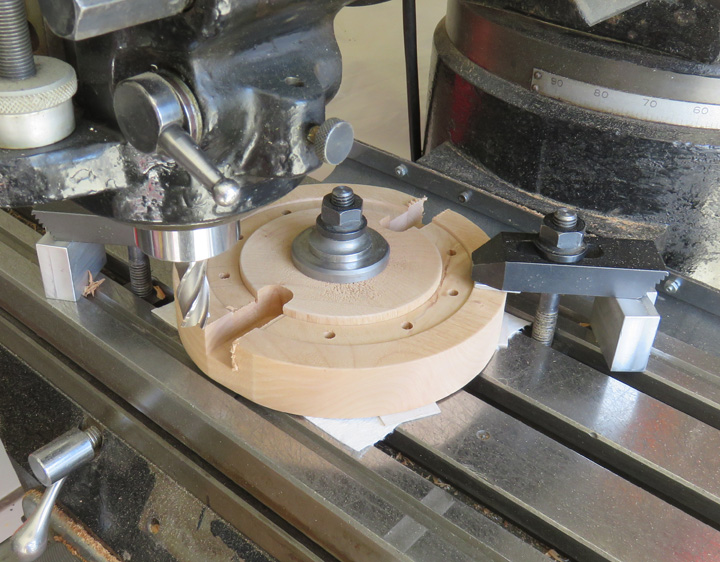
Here is what all three pieces look like assembled and clamped down. I'm
using a 5/8" diameter end mill and making my slots 3/4" wide when
finished.
|
|
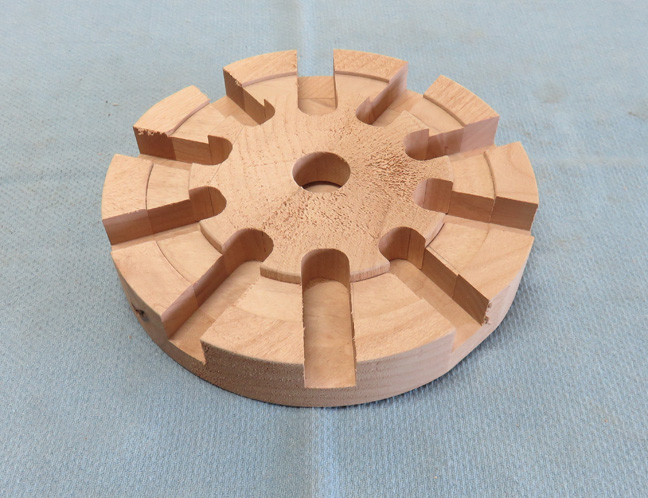
Here is what it looks like after machining. Now it's time to separate
all my pieces.
|
 |
|
1
2
3
4
5
6
7
8
9
10
11
12
13
14
15
16 |

