|
Working With Thread Inserts Continued
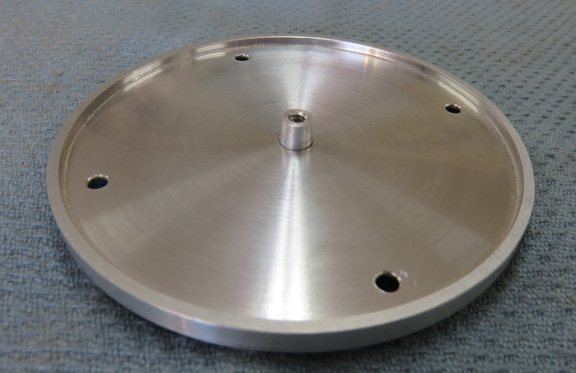
This is the underside and it might be hard to tell but
the outside diameter of the riv-nut has been deformed or squished
slightly, expanding it so it stays tightly in place. Normally I'd just
put threads in my work piece but the wall thickness of my adapter plate
was only .075" which would only equate to 2 1/2 threads.
|
|
 |
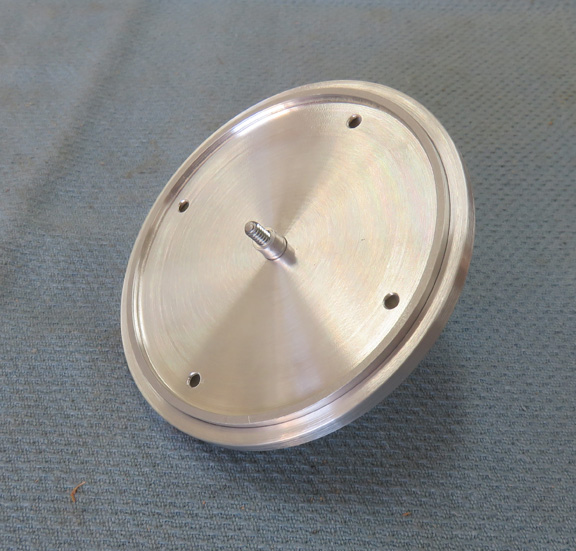
This will make this assembly much stronger
now and should last a long time.
|
|
 |
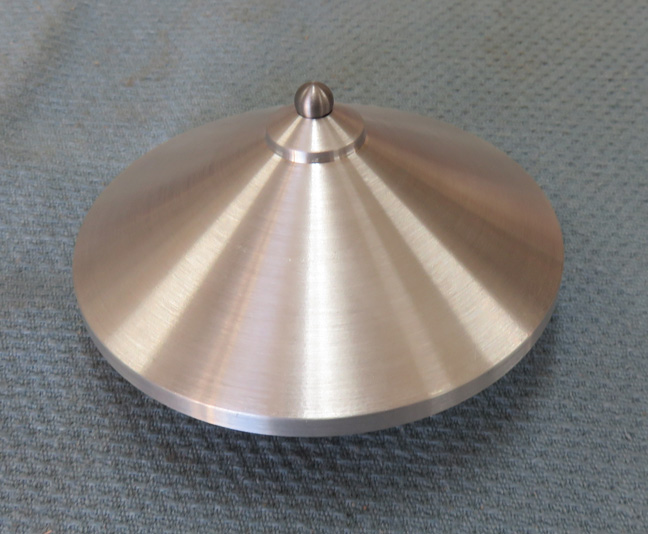
Once I cleaned up the ball bearing after welding, it looks pretty good
now. At this point, it's time to work with more lighting.
|
|
 |
|
Working With Lighting
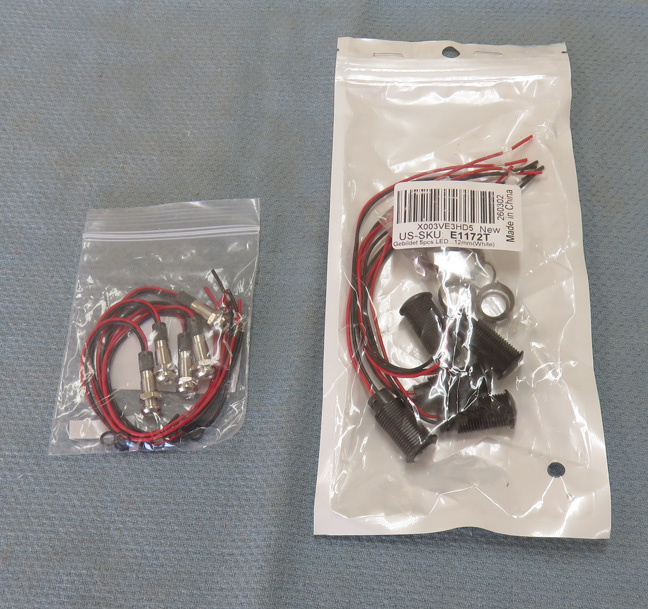
I bought two different types of LED lighting to put into the base. After playing with both of them, I liked the one on the right much
better because it was brighter, and then I sent the other back.
|
|
 |
|
Making More Tooling
I'm going to add two of those LED's to the base and make
the same size windows like I did for the lantern room. But in order to work on the
base now, it's much harder to do so with the 3 degree taper that it has.
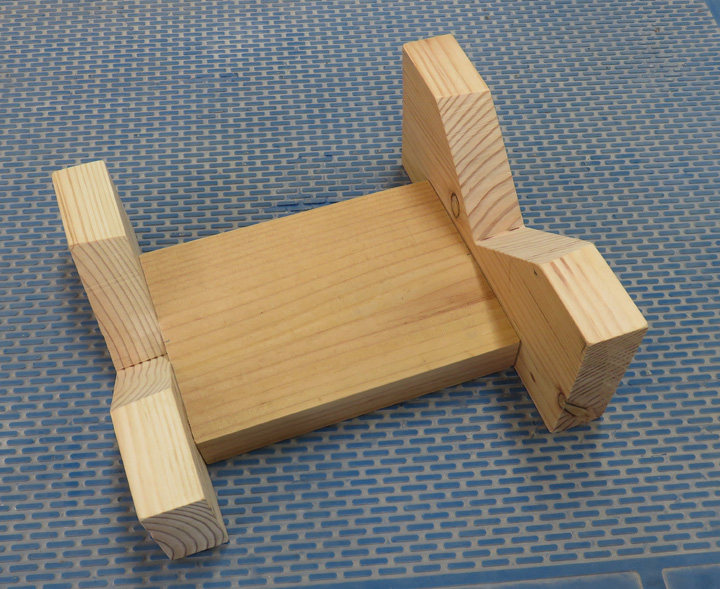
This is where making a fixture to hold the base parallel comes in.
|
|
 |
|
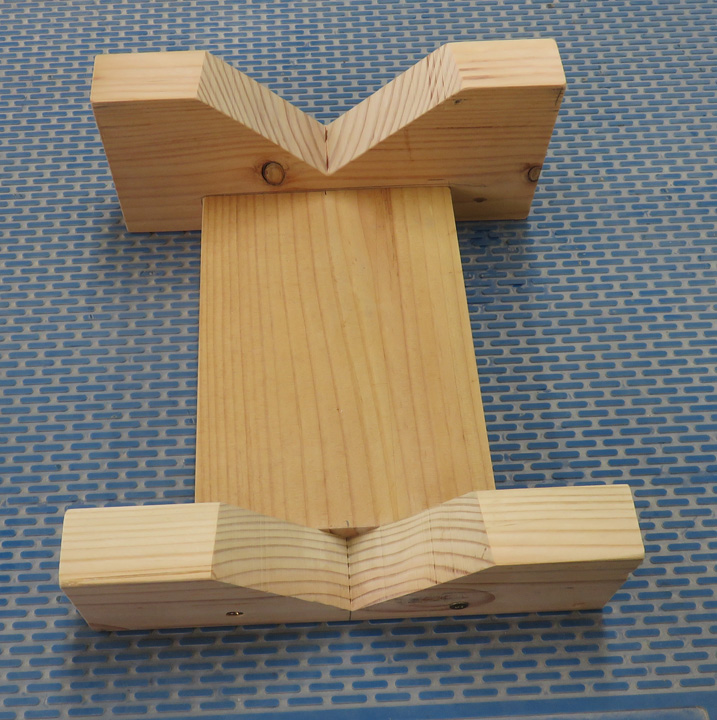
If you look close, you'll see that the V on both ends
look funny or wrong. That's because I machined the top and bottom
surface of the fixture at 6 degrees so the fixture would sit correctly.
This way
I'm able to clamp on the top surface of the base because it now sits parallel to the
bottom surface.
|
|
 |
|
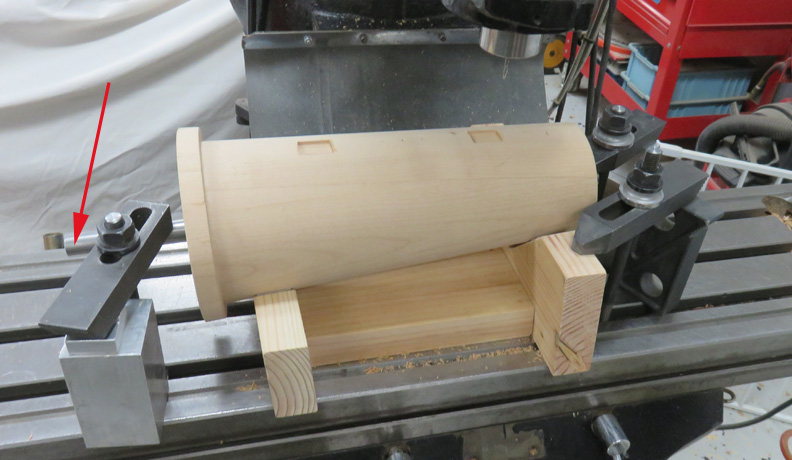
I clamped my fixture to my milling machine in two
spots (one of the clamps is behind the base out of sight). The base is
being clamped by a long piece of 3/4" diameter bar stock that goes all
the way through the base (arrow).
|
|
 |
|
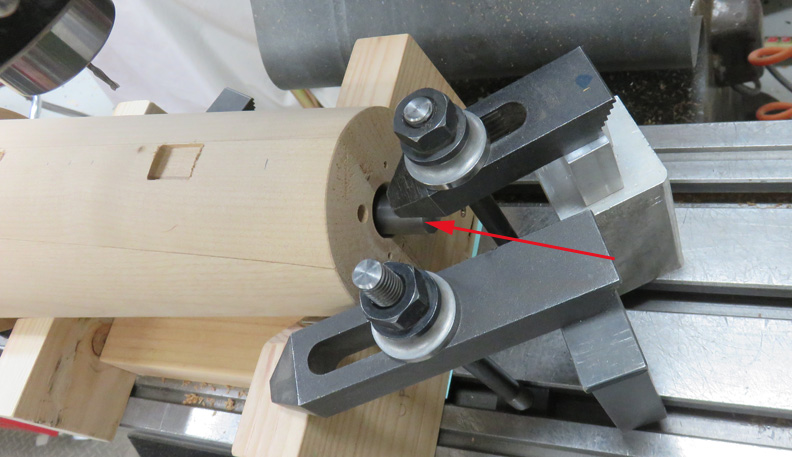
Here is a shot of the right hand side so you can see the
clamp and bar stock a little better (arrow). However, I did not tighten those
clamps that are on the bar stock very tight because the last thing I
need is for something to crack or break.
I used the same two end mills here like I did for the
other windows. This worked out great and now I'll need
to drill two different size holes for each light.
|
|
 |
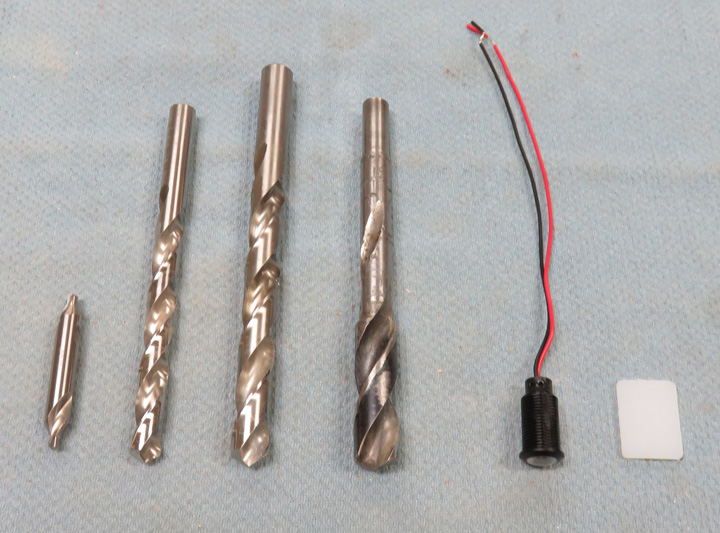
Here are the tools I'll be using to make my holes for the lights. And
the piece to the right is one of my windows for the base.
|
|
 |
|
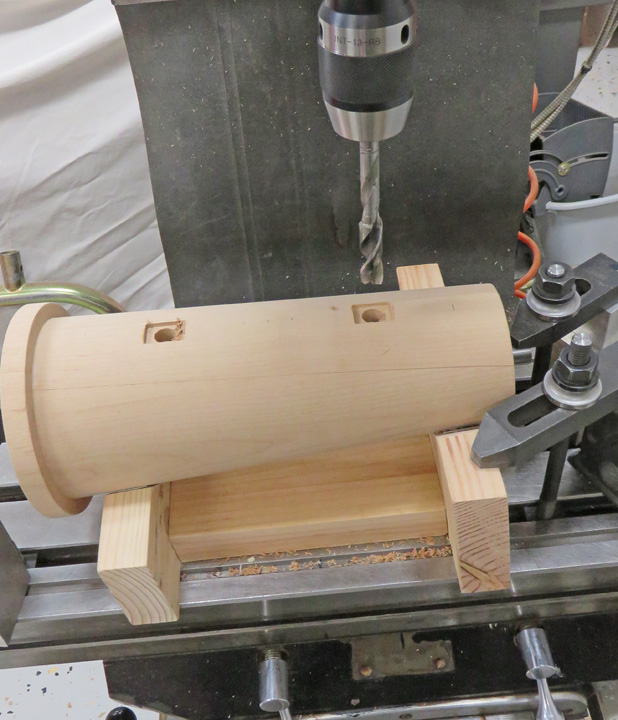
This larger drill doesn't go into the one
inch diameter through hole like
the others. This is because the larger diameter on these lights
are going to rest on this area that the drill leaves, giving the lights
a positive stop.
|
|
 |
|
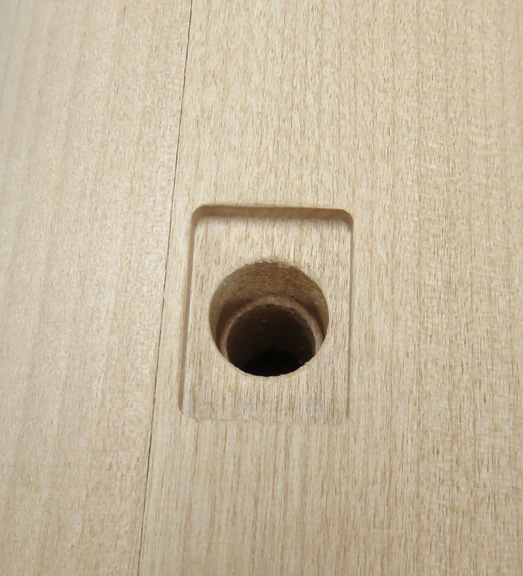
Here is a better look to give you an idea what I'm talking about. The
round step inside the hole is where the LED light will sit. Now I tried
different depths on a scrap piece of wood before I drilled my base. This
was to see what the light looked like near the plastic. As I went deeper
with my light, the better it looked because I could see the actual round
portion of the LED if it was too close the plastic. But once I got to
this depth, everything looked much better.
So far, so good.
Let's work on some steel bands now.
|
|
|
Working With Sheet Steel
I'm going to wrap three bands of steel around the base,
one at the top, middle and bottom. These bands will be 1 1/4 wide and be
made out of 22 gage steel. These bands of steel will have small screws
holding them and placed about 1 1/2" apart going all the way around
it. This sounds easy but with the base not being the same diameter
through-out its length (cone shaped), this will make it more of a challenge.
With a tapered part like I have, these bands will have
to be shaped like a 'smiley face'. But if I had a true cylinder, the sides of
the bands would be parallel, making it easy. What I'm trying to figure out below is the
exact size of the radius that I need for these bands.
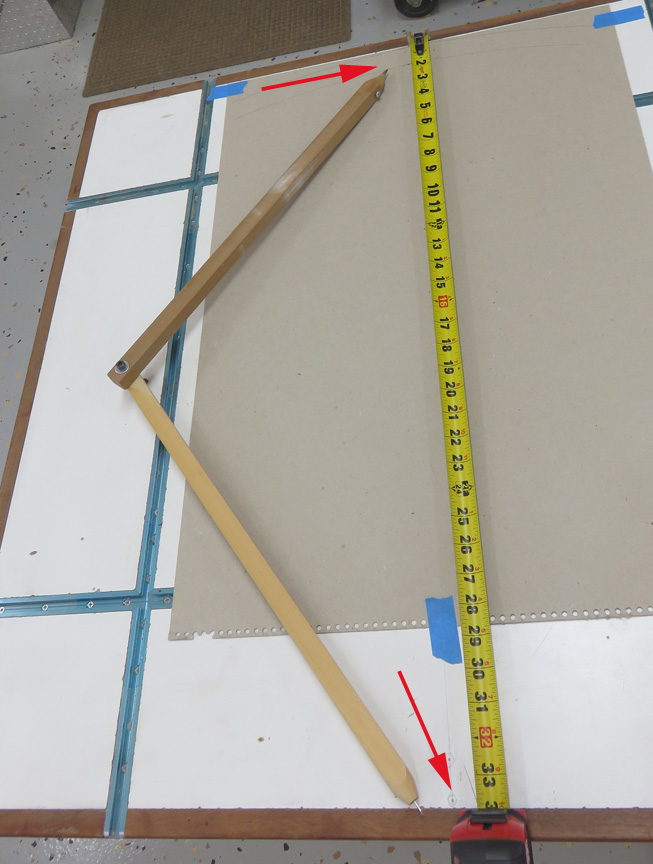
I'm using cardboard to experiment on because this
stuff is easy to work with. If you look at the bottom arrow, you will
see a circle around a dot. This dot is my pivot point for my large compass.
The arrow on top is pointing to a line that I drew that is very close to
the size I need. The size of this radius for the outside of my band,
which is 33 1/2". And the inside radius will be 32 1/4". Yes I know, the
size of these radii are very big and just about maxed out my compass.
|
 |
|
1
2
3
4
5
6
7
8
9
10
11
12
13
14
15
16 |

