|
Working With Sheet Steel Continued
If you look close at the pencil lines, this is the pattern that I'll be using.
|
|
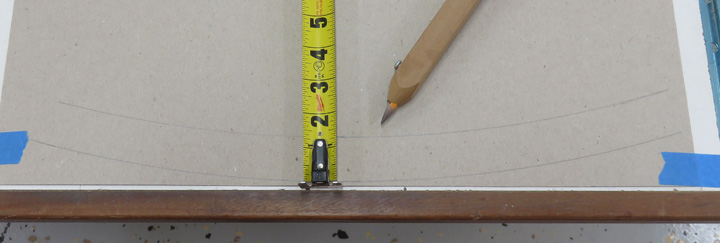 |
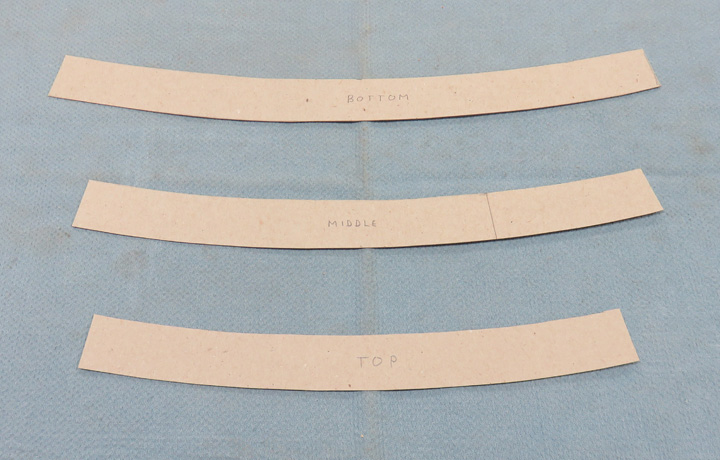
I labeled each one and was very careful
cutting them out. I also left each one slightly long. And like I said,
they look like smiley faces.
|
|
 |
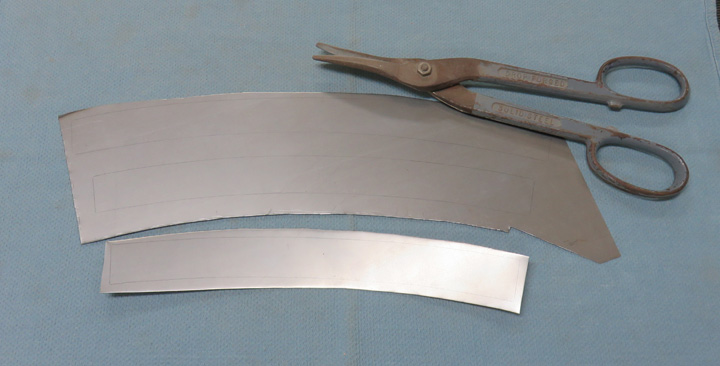
Next I traced around each pattern with a pencil onto my sheet metal.
Then I rough cut each one out.
|
|
 |
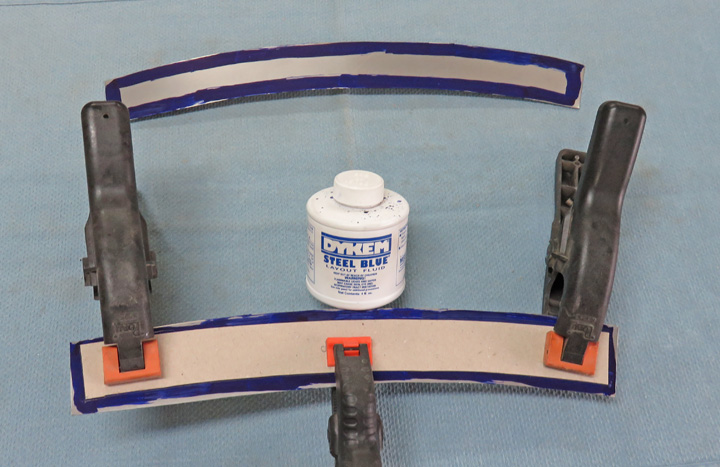
I used some layout dye, or Dykem, and painted each piece of metal.
Once the layout dye was dry, I clamped my pattern in place.
|
|
 |
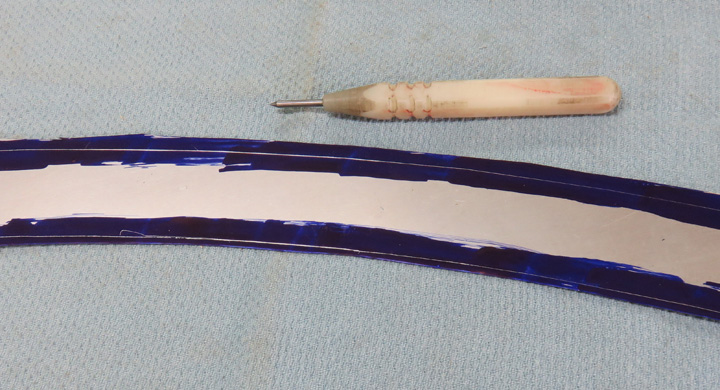
Then I traced around each pattern with a scribe, making a nice clear
line to work with.
|
|
 |
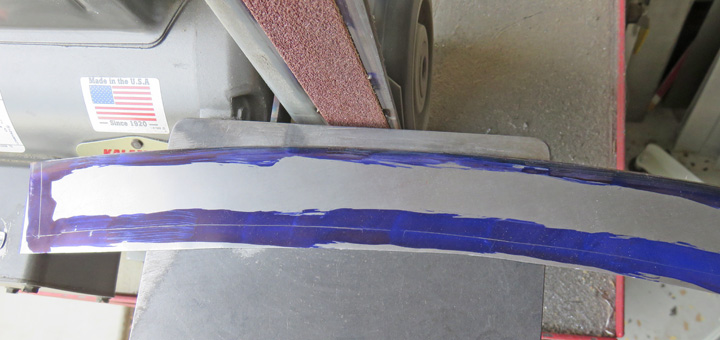
Next I used my belt sander to sand right up to the line on each piece. I
also measured each one with my calipers making sure my 1 1/4" size was
correct as I was working.
|
|
 |
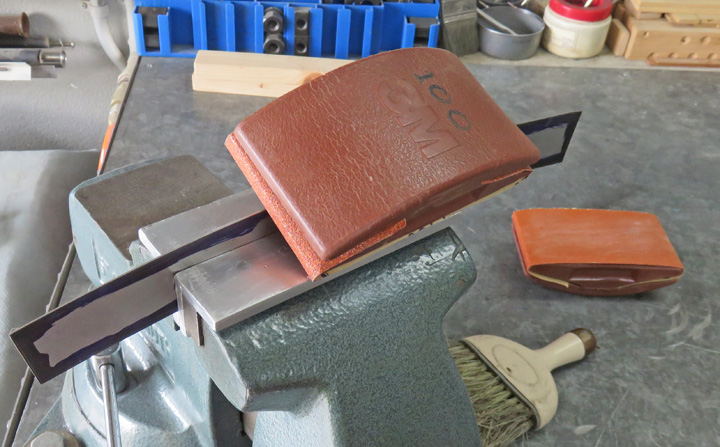
And last I used my sanding block to even out all the high and low spots.
This didn't take that long but it sure does look better when I was done.
|
|
 |
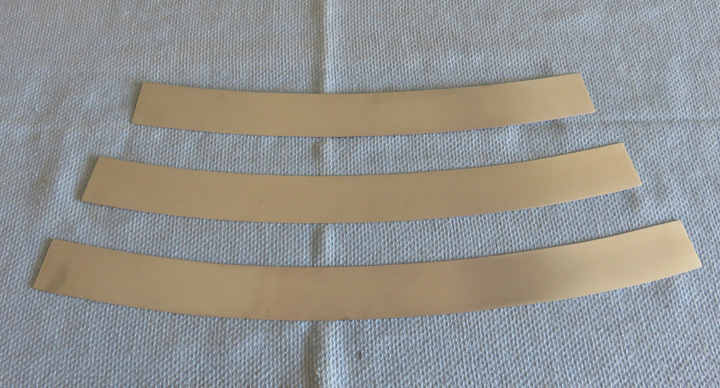
There we go, all my bands are to size on the width. But like I said
earlier, the length is still a little bit long and I'll trim those to
size at the assembly.
|
|
 |
|
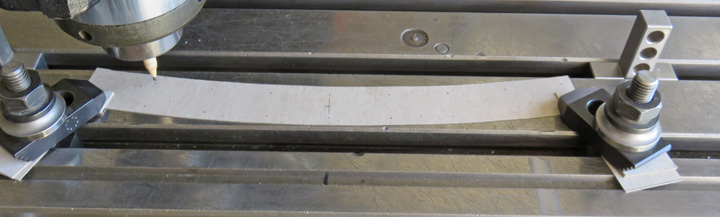
I'm going to put holes in all the bands for some #2
screws. But to make sure all the holes looked right and were in the
correct spot, I going to use my cardboard template to proof that out.
|
|
 |
|
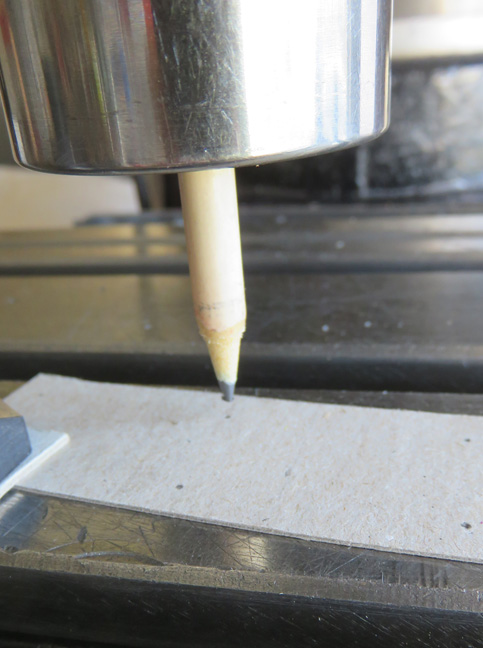
I put a pencil in my milling machine spindle and then
worked on
my hole layout. Once I was at my location, I would bring down the quill,
lightly touch my pencil, spin it by hand and then move to the next spot.
The reason I'm doing this is because I've never done a pattern like this
and I didn't want to remake my bands.
|
|
 |
|
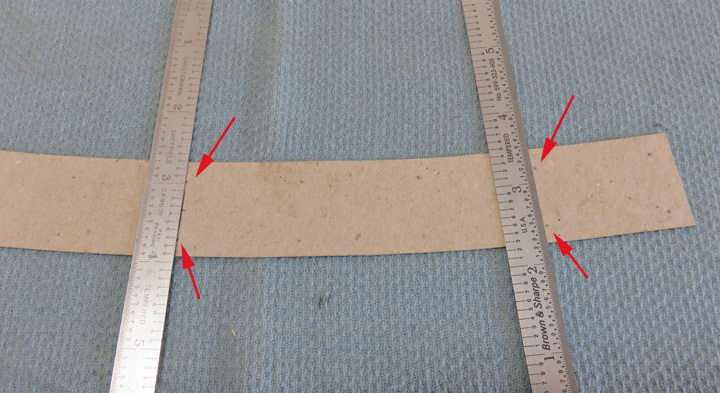
Everything looked great so far and I'm happy with the
results. One thing I wanted to show you is how the hole pattern looks
when the pattern is still flat. If you look close, you can see at each
arrow there is a dot from my pencil. Also notice the 6" scales and how they
are angled even though they are right next to the pencil dot. I know
this looks odd but when the bands are wrapped around the base, those
dots will end up being vertical.
|
|
|
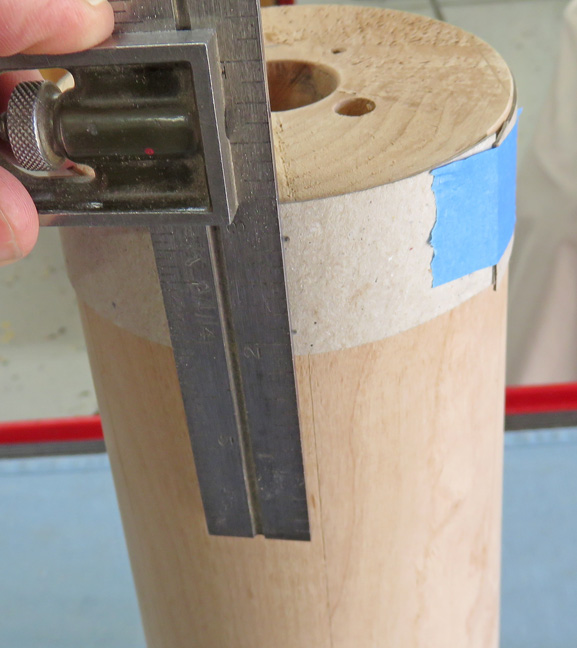
I taped the cardboard to the base to simulate what the
metal band would look like when it's fastened. Then I placed my
combination square on the end of the base to show you the pencil dots
are vertical now. This all worked like I wanted so now it's time to put
holes in my steel pieces.
|
 |
|
1
2
3
4
5
6
7
8
9
10
11
12
13
14
15
16 |

