|
Making More Tooling
I'm getting ready to bend my bands but I don't want to
use my finished base to form them with in fear of putting a dent or scratching
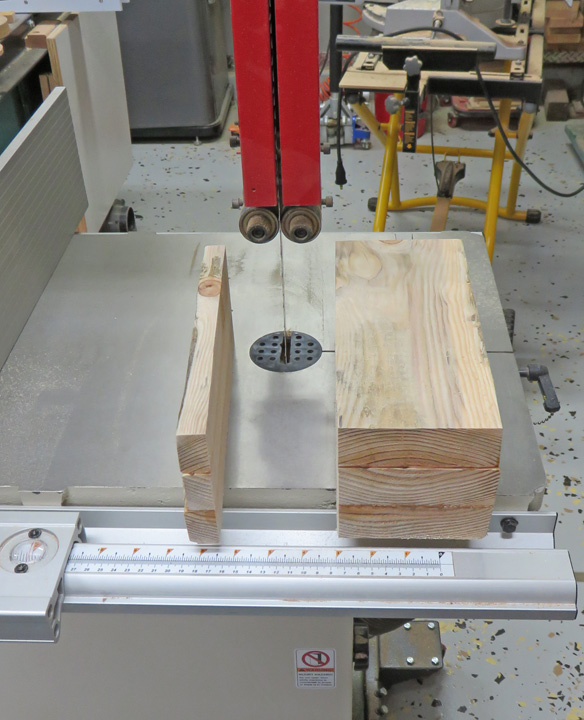
it. So I'm going to make a fixture that will be the same angle as my base, three
degrees. I'm using some 2" X 6"s that I glued together and I'm
cutting away a small amount before I put it in the lathe.
|
|
 |
|
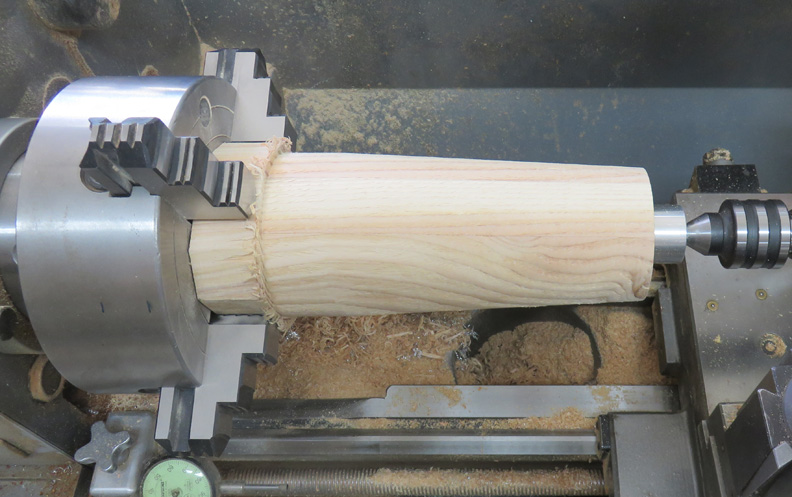
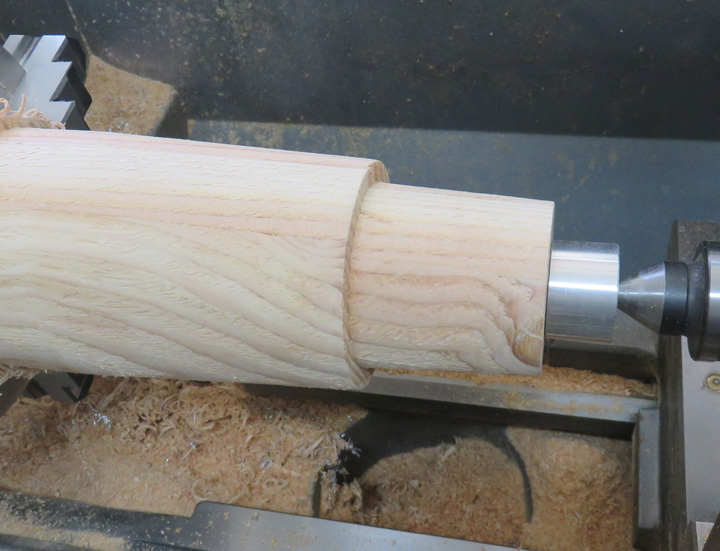
I pretty much did the same thing as before, I turned the
outside diameter first, but this time I made it five inches in diameter
instead of six inches. The reason it's
not six inches diameter is because the metal will want to spring back.
Knowing this is why I'm making this tooling smaller. Then I turned my three degree
angle.
|
|
 |
|
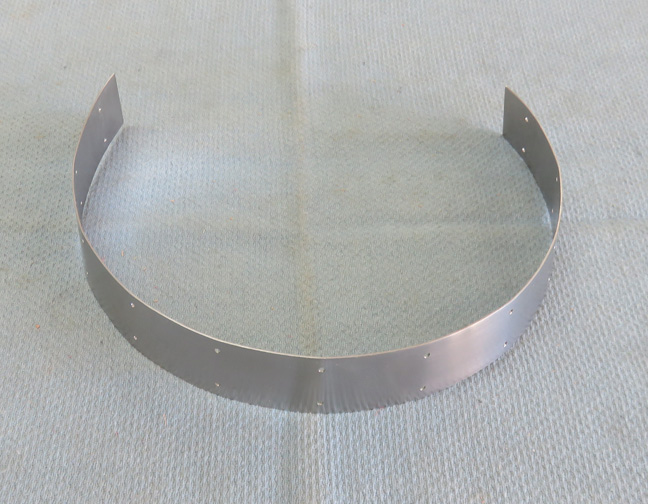
Working With Sheet Steal Again After a few minutes
of bending this piece (that will go at the bottom of the base), this is what I had.
Even though I bent this using the smaller diameter on my fixture, this
is all I could bend it because of the spring-back.
That means I'll need to machine my fixture a little more when it comes
time to form the other two smaller bands.
|
|
 |
|
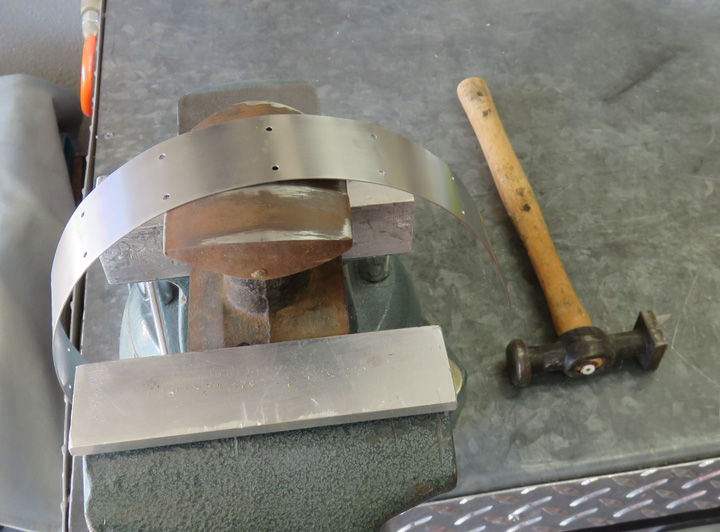
I noticed that while I was forming my bands, my work
piece was trying to bend at the least resistance place, which is across the screw holes. This
produced a slight bend at each set of holes instead of a uniform shape
that I was after. So I dug out some of my sheet metal tools and did a
little body work. This worked out fine and didn't take long.
|
|
 |
As you can see
I turned down a small section of my fixture to form the other two bands.
This smaller diameter worked much better for me.
|
|
 |
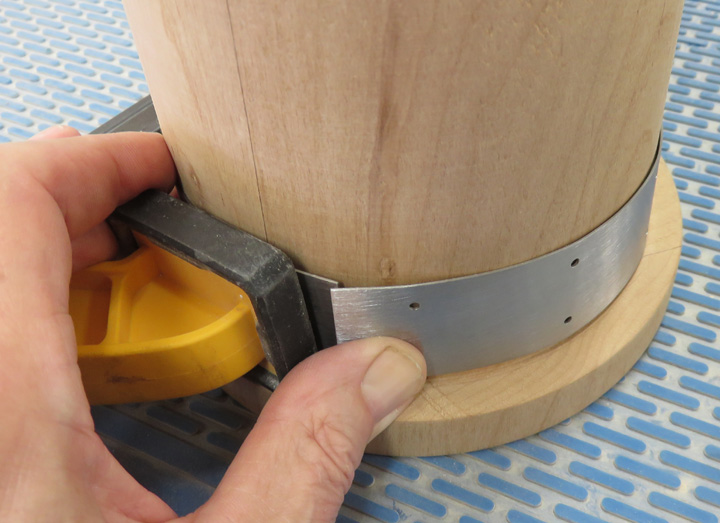
Here I'm fitting the larger band at the bottom. I'm using a clamp as my
third hand to hold the band in place while I mark it.
|
|
|
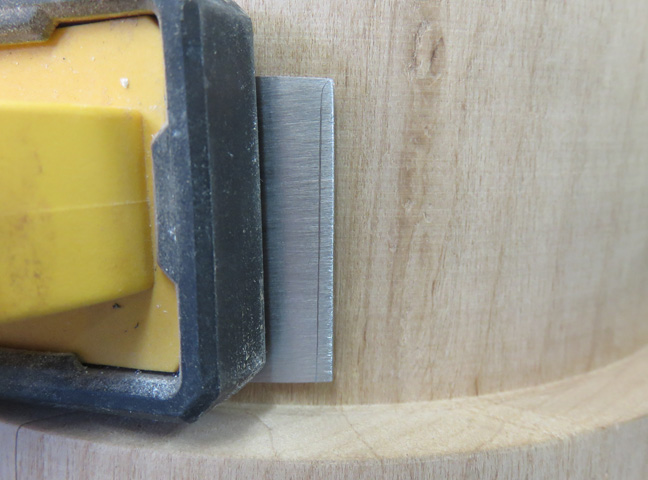
Remember earlier that I made these bands slightly longer
than I needed? It's because I didn't want them to be too short as that
would look really bad. It's pretty easy to make them shorter but not
longer. The scribed line is how much I need to remove to
make it fit perfect. I did this for all three bands which worked out
great.
|
|
|
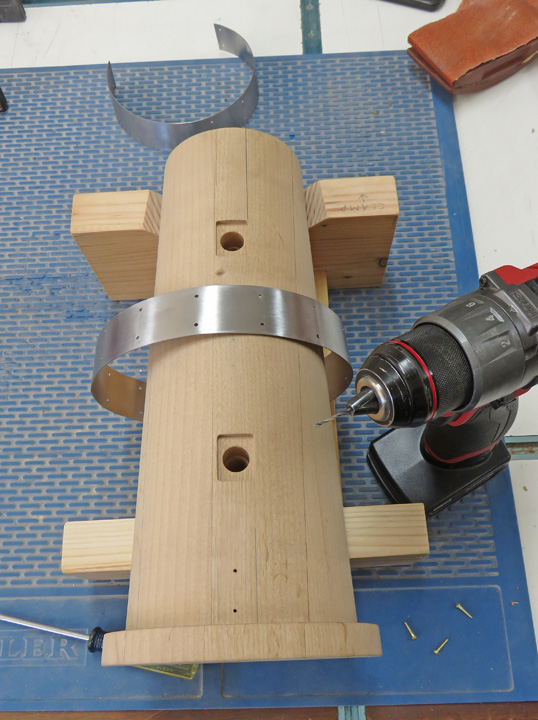
Now that the bands all fit, it's time to install them.
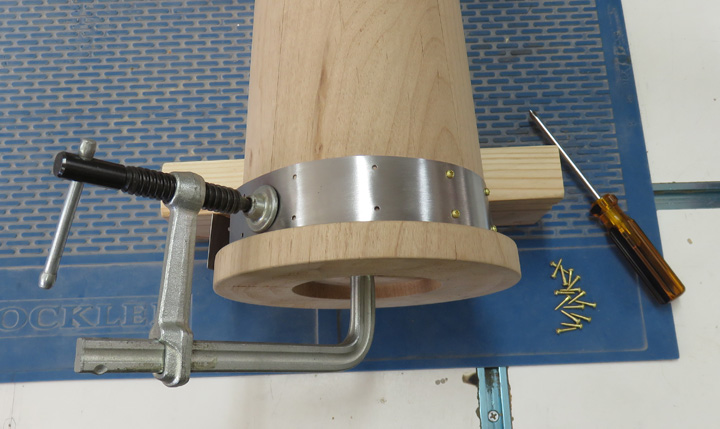
My fixture that I made earlier is going to do double-duty here, to help
me install my bands. I'm working with the larger band here and I started in the middle
set of holes when it was placed at
the bottom of the base (see the two pencil dots near the bottom). Then I drilled two pilot holes for my brass
screws.
|
|
|
Once those two screws were in place, I moved to the next
set of holes and repeated the process. The clamp is helping me keep the
band from getting out of control.
|
|
|
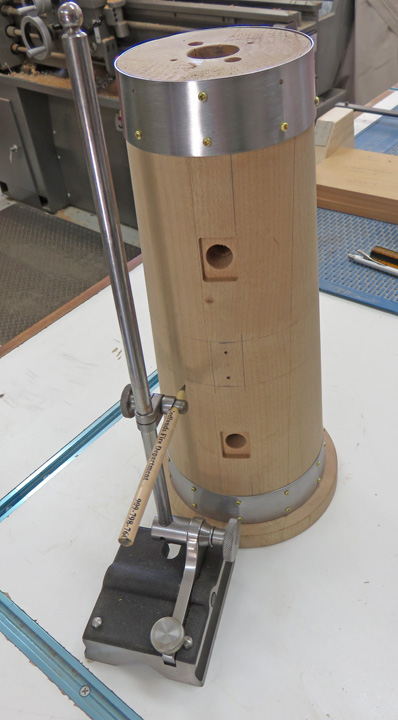
Once both ends were fastened in place, it was time to make sure
the middle band was in the exact center. Next I took some measurements and found
the center between my top and bottom bands. What I wanted to do for
reference is to put a pencil mark all the way around
the base. To do that I'm using what's called a 'surface gage' to hold a pencil
that I sanded down so it would fit in it. Whatever works...
|
|
|
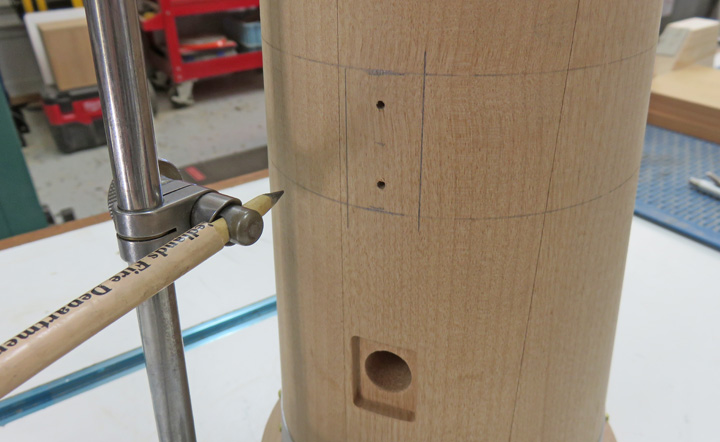
Here you can see the two pencil lines that I drew around
the base. These lines will help to guide me and keep the band were it
needs to be as I'm installing it. This method worked out great so now it's time to drill one
hole in the bottom of the base for a power cord.
|
|
|
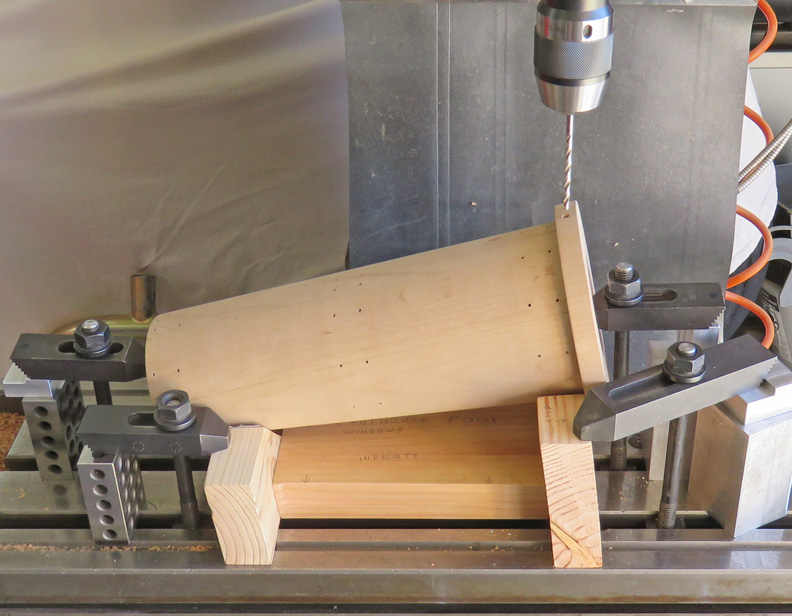
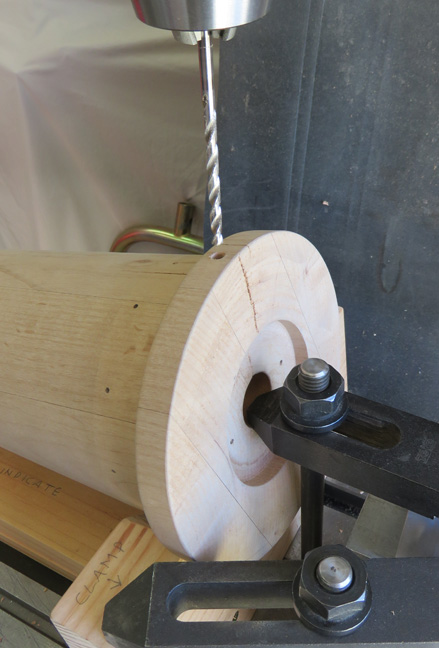
I'm getting ready to put a 3/16" hole through the very
bottom of the base for a wire that will power the lighthouse. Notice
that I have my fixture reversed so the hole goes through at an angle.
This was necessary to clear the pocket for the door at the bottom.
|
|
This was a simple operation and it was nice that I didn't have to make
more tooling.
|
 |
|
1
2
3
4
5
6
7
8
9
10
11
12
13
14
15
16 |

