|
Working With Plastic Continued
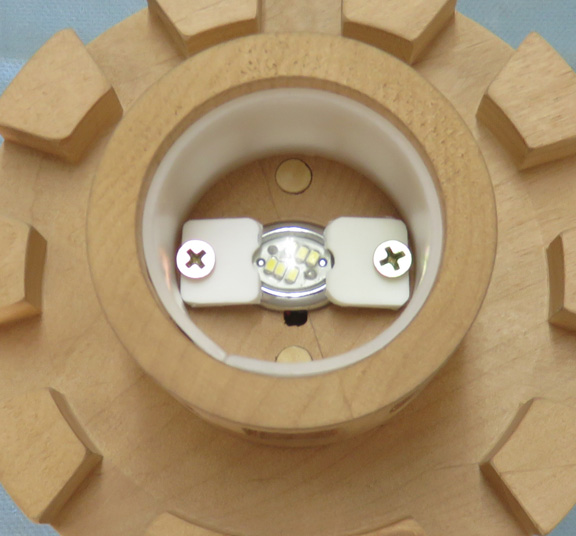
After a little belt sanding, this is what I came up
with. Those two screws are going to do double-duty: hold the lighthouse
together and keep the LED in place too. And as you can see the
clamps don't get in the way of the light either. Now it's time to make
an adapter plate for the roof.
|
|
 |
| Working With Aluminum
I've been thinking about how I was going to attach a
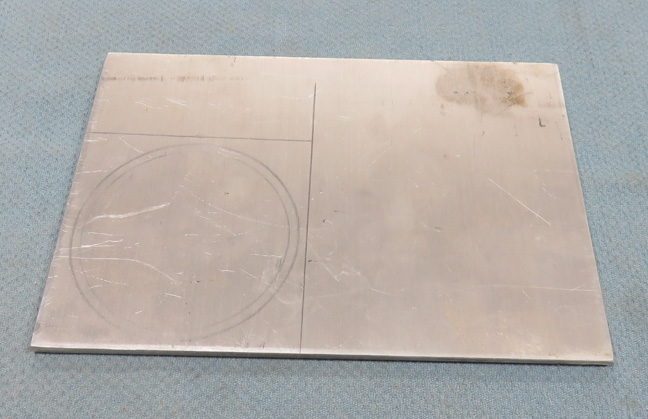
roof to this lighthouse. What I came up with is to make an adapter plate
first, and then the roof will attach to this plate. The material
thickness below is 3/16" and will be round as you can see by my layout
lines. I rough cut this
out on my bandsaw first and now it's time to work on the lathe again.
|
|
 |
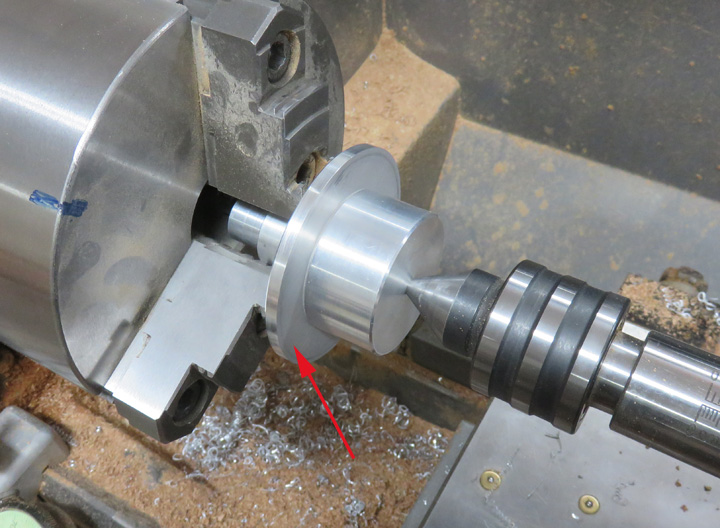
I'm using my live-center (on my tailstock) to keep pressure on that
2" aluminum spud. And in turn that spud is against my work piece (arrow)
that will become my adapter plate.
|
|
 |
|
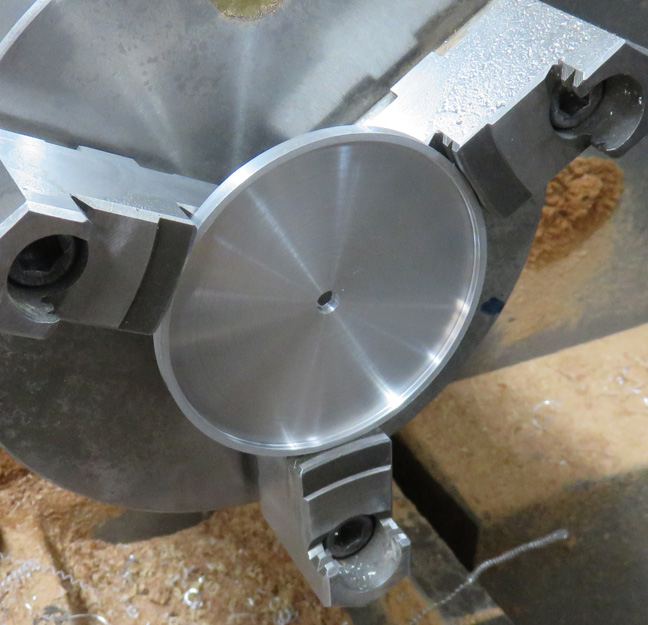
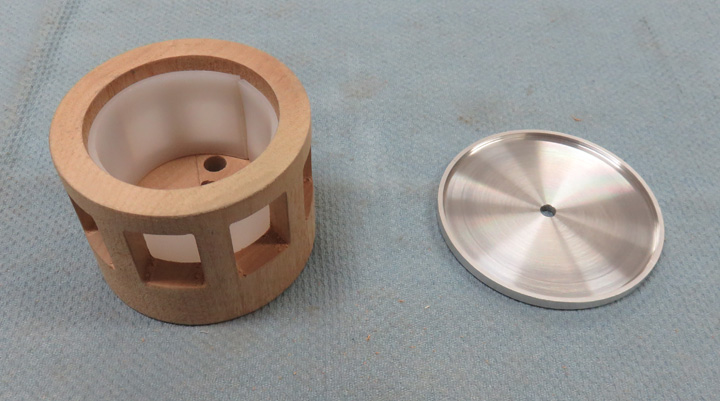
A few minutes later I now have most of my adapter plate
finished. This piece will go over the top of the lantern room,
which will fit that piece exactly. The hole is going to be for a
threaded fastener.
|
|
 |
This will go together.
|
|
 |
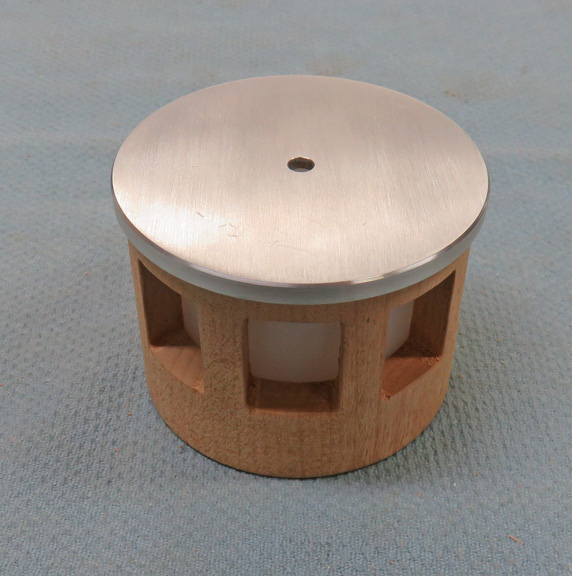
And this is what it looks like so far. Now it's time to add some screws
to hold it in place.
|
|
 |
|
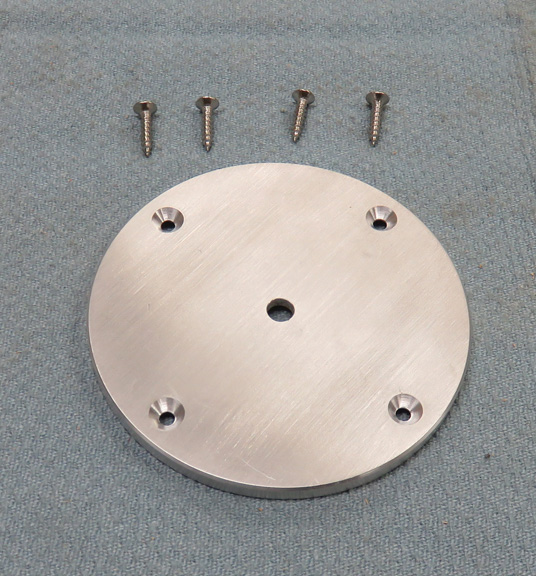
I'm using four # 6 screws to fasten it to the lantern
room. And I'll make sure to have all the screw holes in the lantern room go
between the windows where there is more material. Time to make a roof.
|
|
 |
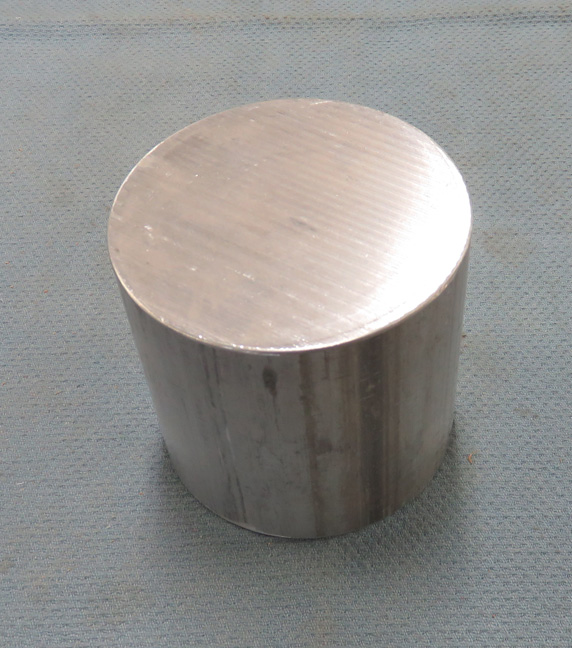
This is 3 1/2" diameter aluminum that I'll be making my roof out of. All
I have to do now it get it out of there :-] Machinist humor...
|
|
 |
|
First I machined the front so it fits over the adapter plate.
Now I'm working at roughing out the roof-top. This is a slow process
because I would remove some material, then cut the angle a small amount, then
go back to roughing again and repeat.
|
|
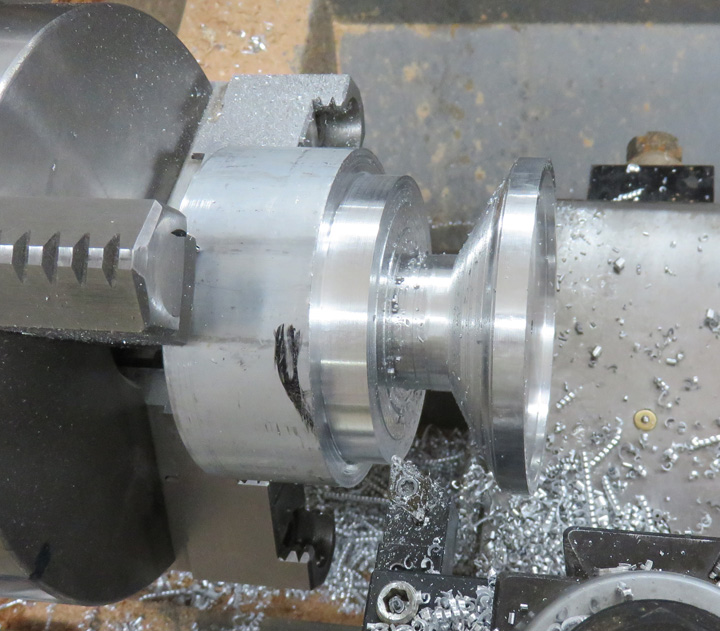 |
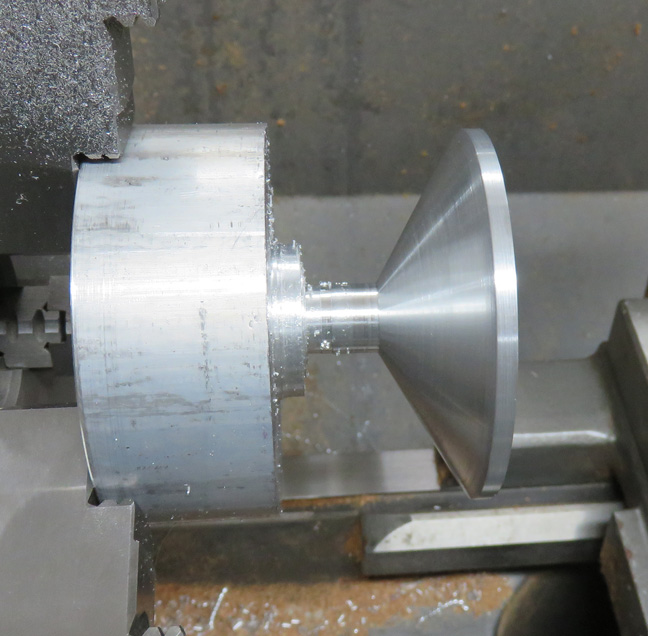
This took awhile but it's getting close. The angle is 30 degrees.
|
|
 |
|
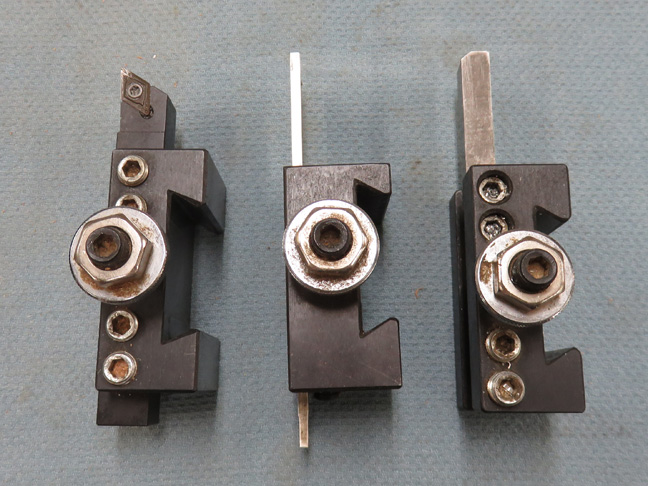
Here are the three cutting tools that I've been using.
The one in the middle is a parting tool or cutoff tool. I used this one
a bunch. The one on the right I was using to cut the 30 degree angle
with. And the other was used for roughing out material.
|
|
|
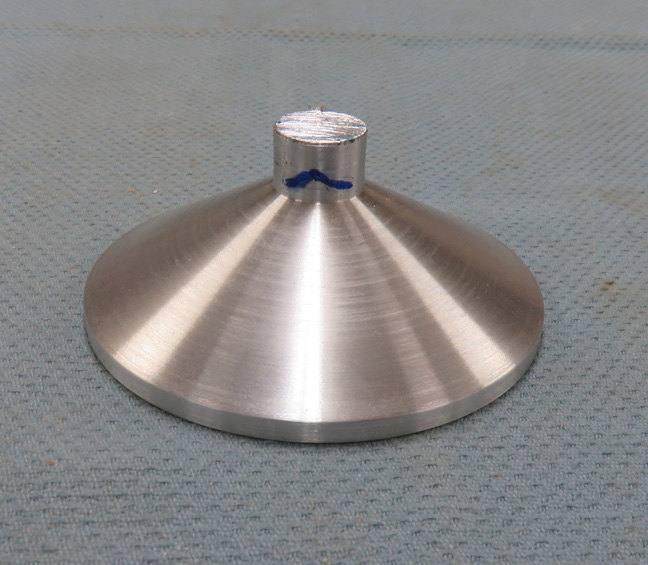
Once I got to this point, I had to decide if I wanted to
reduce that diameter even more before cutting it off and possibly risking it getting away from me
causing damage to it, or cutting it
off and playing it safe. As you can see, I played it safe and I'll turn
it around and machine away the extra.
|
 |
|
1
2
3
4
5
6
7
8
9
10
11
12
13
14
15
16 |

