|
My son-in-law, Jon, asked me if I'd help him make a
birthday present for my daughter, Tracey. He told me that he wanted to
know if I could make her a 'Lighthouse' that could be used as a lamp. He said they have
a symbol for each other about being a lighthouse to find their way. I
thought this was a great idea and jumped at this project.
He gave me some rough dimensions of 12" to 15" tall
and 4"
to 5" diameter at the base. He also said that they both loved the
combination of metal and wood that I've made for them on previous projects. And I'll be using some some kind of lighting
on it, which I think will look pretty good. With that information, I started
thinking about what I wanted to make and how to go about it.
I did some thinking and made a drawing to give myself
and idea of how this project might look. A day or two later I decided the total height of this project will be about 17",
but I plan on making it in more than one piece to make it easier for me
to build. Working With Wood
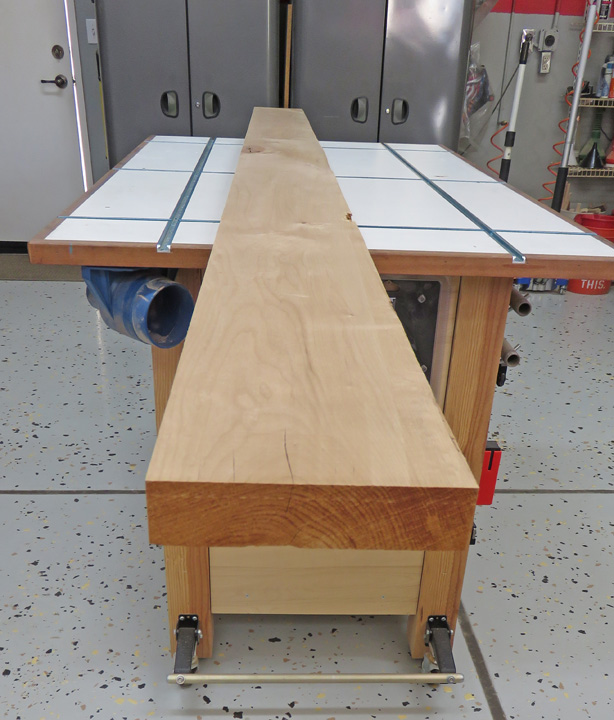
What you see below is a large piece of alder that is 7" wide X 1 3/4" thick X
10 feet long. This was the only piece that my favorite lumber yard,
Reel Lumber had that was
at least 7" wide so I bought it.
|
|
 |
|
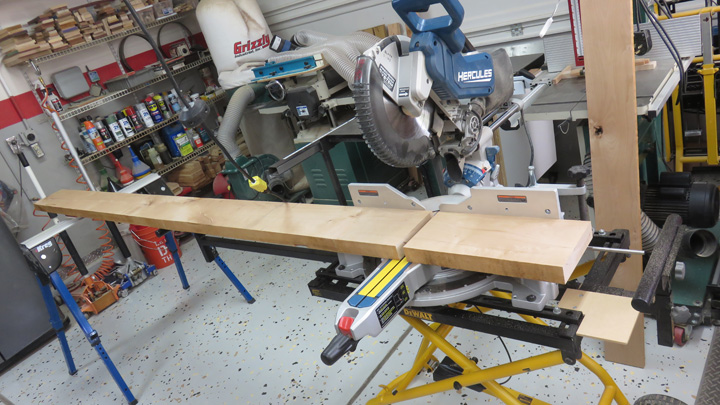
The pieces I'm cutting below will become the tapered base that
will be 12 5/8" long when finished. I'm cutting four pieces that are 16"
long that will be glued together. Why so much extra? Two reasons: one,
I'll be holding some of it in my lathe chuck and two, because you never
know what might happen along the way.
|
|
 |
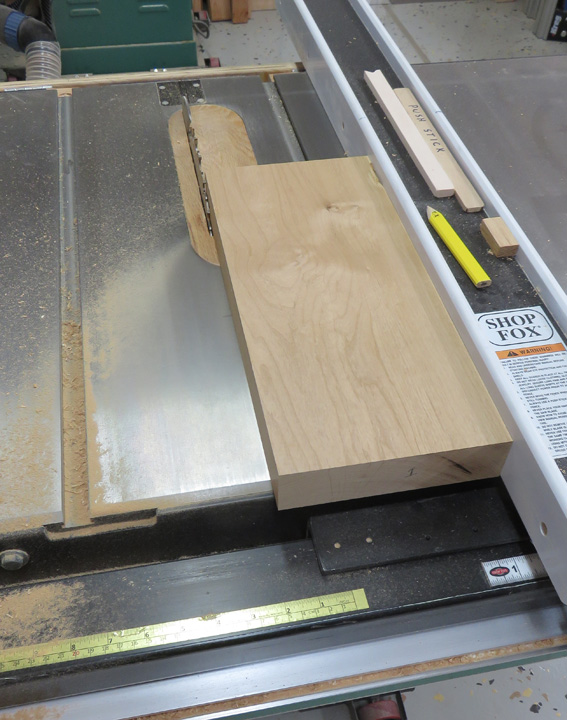
Next I jointed the sides on my table saw.
|
|
 |
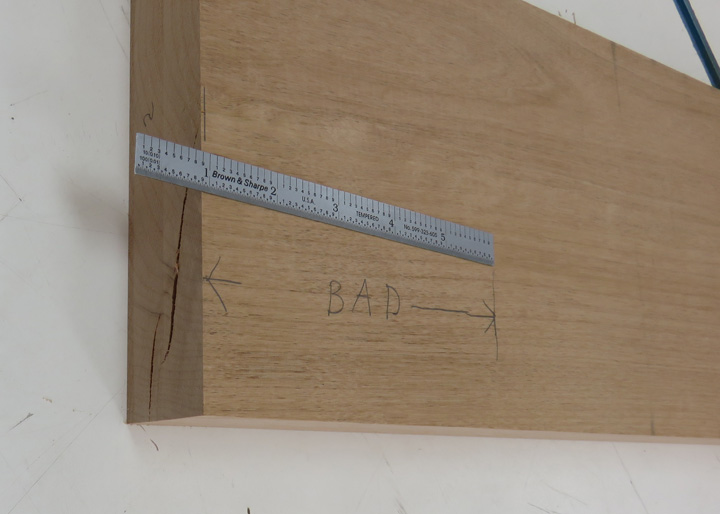
As I was cutting my four pieces, I noticed a crack in the middle
of one of them. Now I couldn't see this from the outside but once I
cut through it, WOW!
|
|
 |
|
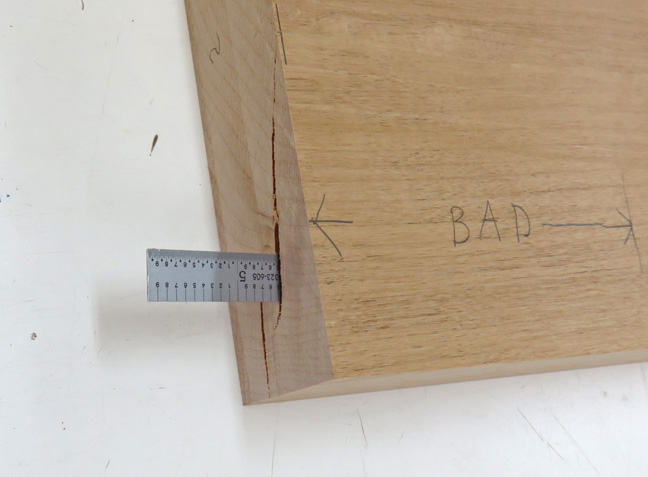
This is my six inch scale inserted into this crack to
show you what I'm working with (as I shake my head from side to side).
This was the last piece that I cut, and the other end of this bad area goes
even deeper on the mating piece. I had to sit down and think about my
options at this point.
|
|
 |
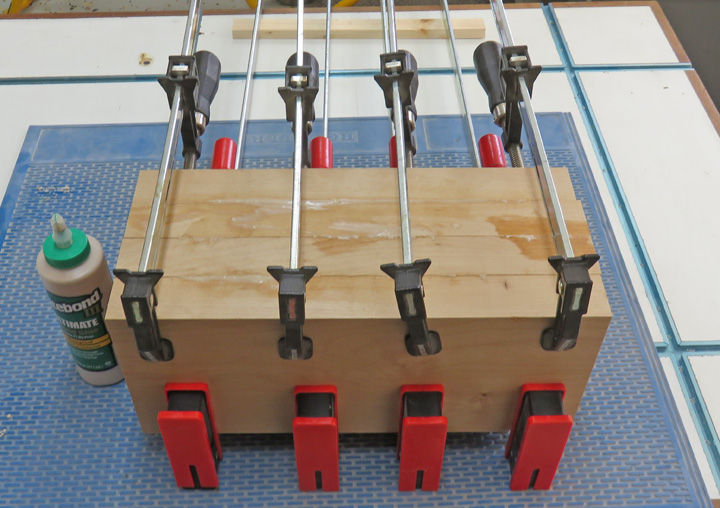
I decided to put my cracked piece towards the middle because I didn't
want to run into a big crack on the outside of my finished project. I
guess time will tell what I'll be dealing with.
|
|
 |
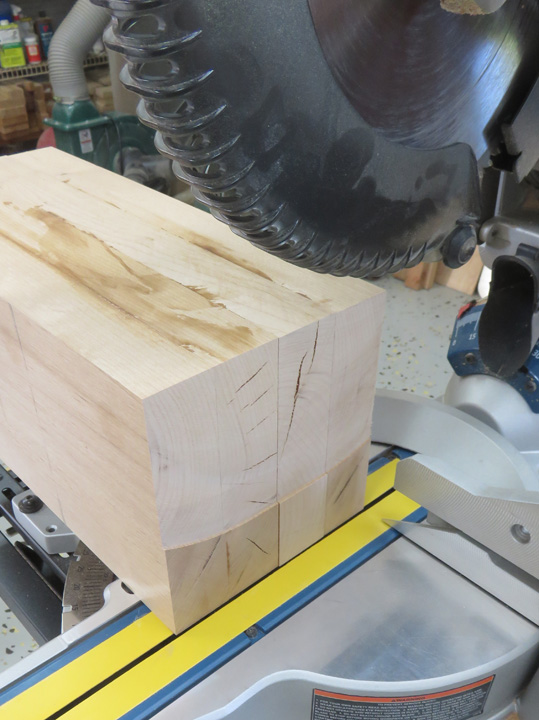
I used my miter saw to true up the ends. I could only do about 3/4 of it
and then flip my work piece and then cut the remainder.
|
|
 |
|
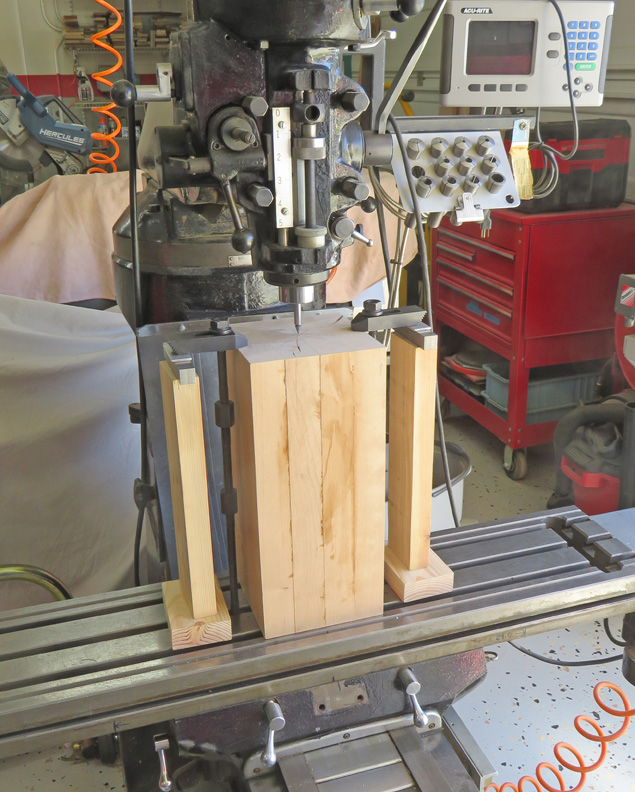
I mentioned that I'll be putting lighting in this
project, which means I'll need a hole that goes through this piece. I
decided to use my milling machine to get a hole started. Now what you
can't see here is that my mill table is at its lowest
point that it will go. This is going to make working on this large work
piece a challenge.
|
|
 |
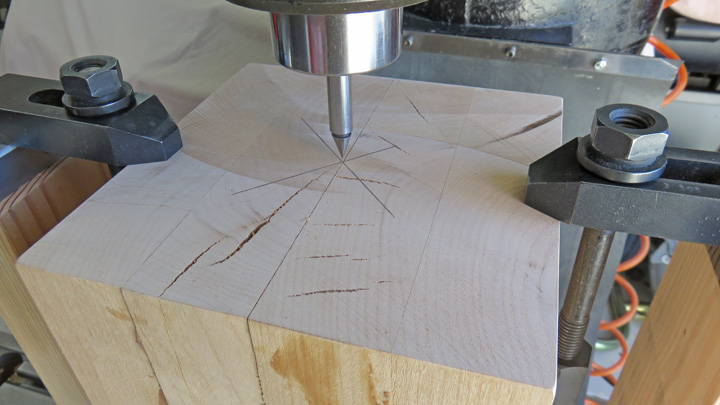
I used my center finder to pickup the center of my base.
|
|
 |
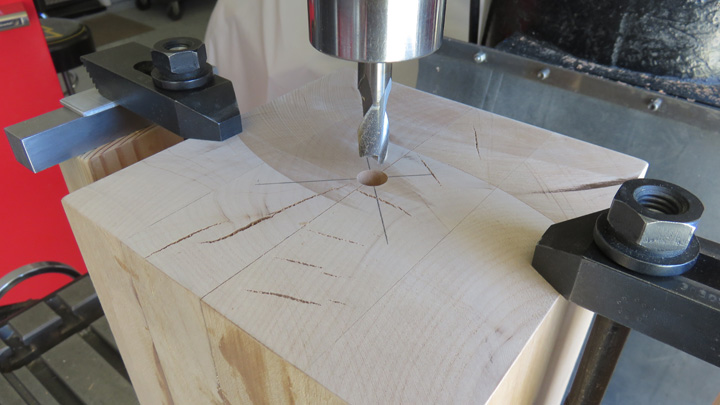
Then I used a 1/2" end mill to put a starter hole in.
|
|
 |
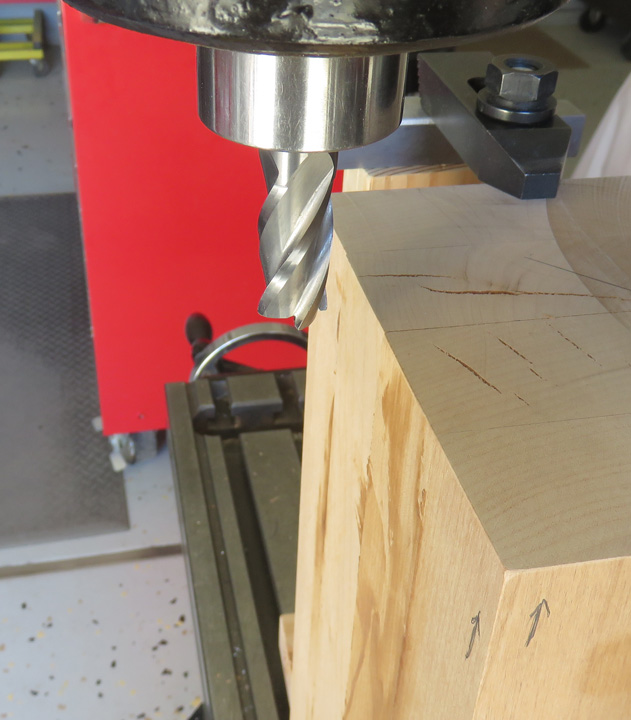
Next I followed up with a 3/4" end mill. But to get this larger cutter
into my machine, I had to move the table over to clear my work piece to
get the end mill into my collet.
|
|
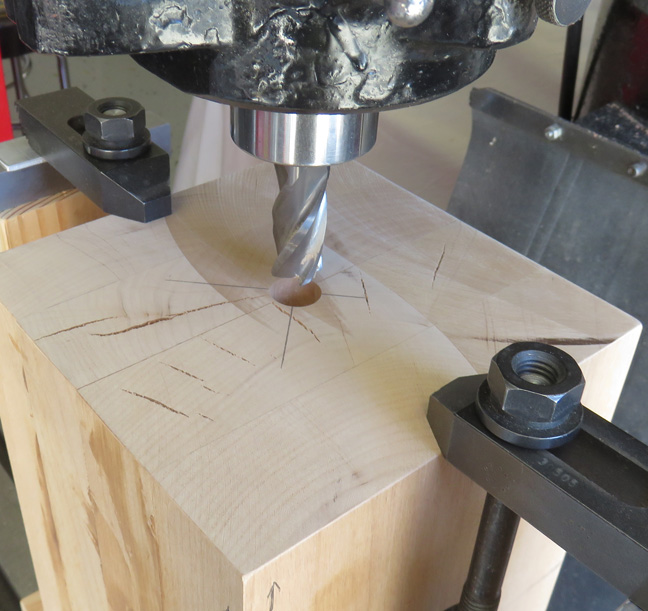
Then I moved the table back to my zero position and enlarged my hole.
This is the first time I've ever had to do something like this because
of how large my work piece was.
|
 |
|
1
2
3
4
5
6
7
8
9
10
11
12
13
14
15
16 |

