|
Working With Electrical Stuff Continued
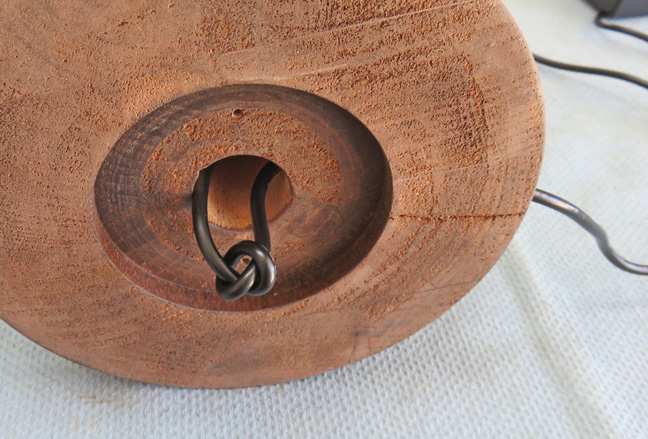
After inserting the wire through the base, I tied a knot in it, just
in case someone pulls on it so it doesn't disturb anything inside.
|
|
 |
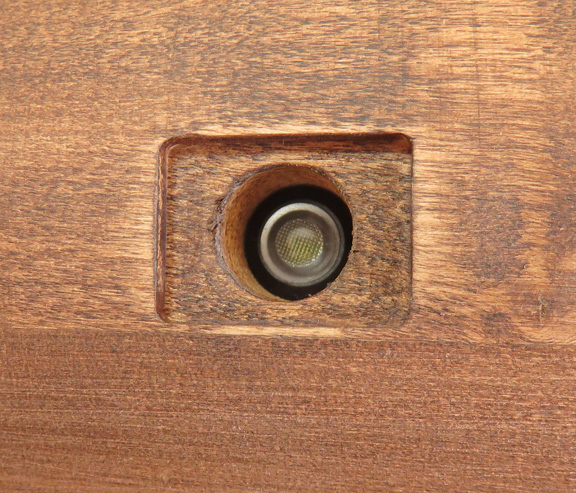
Here you can see how the small LED light
is recessed inside the base.
|
|
 |
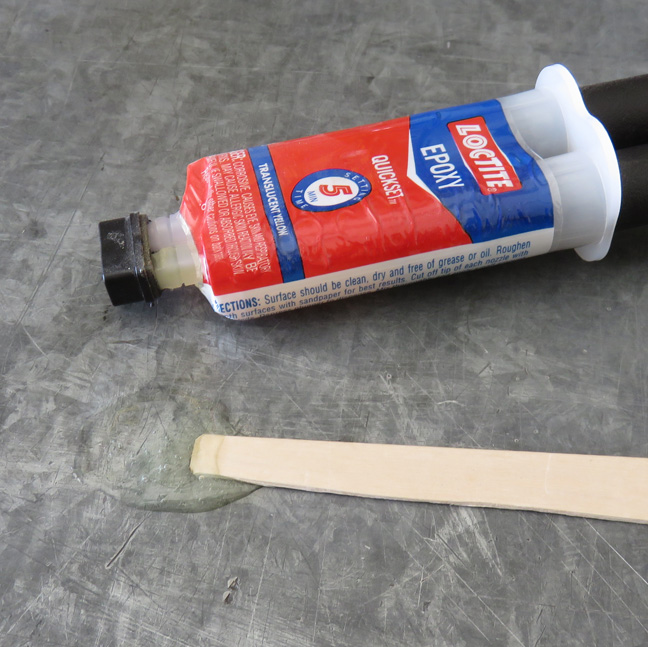
I'm using five minute epoxy to glue in the windows that cover these
small lights.
|
|
 |
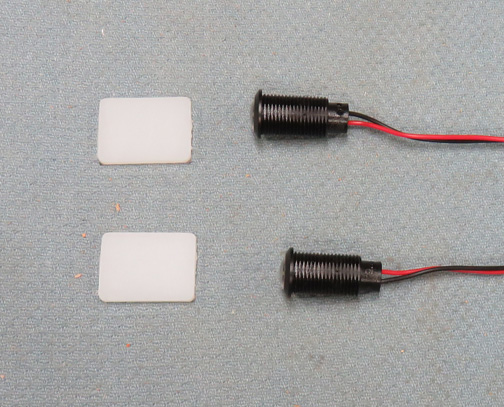
Here are the windows that I made.
|
|
 |
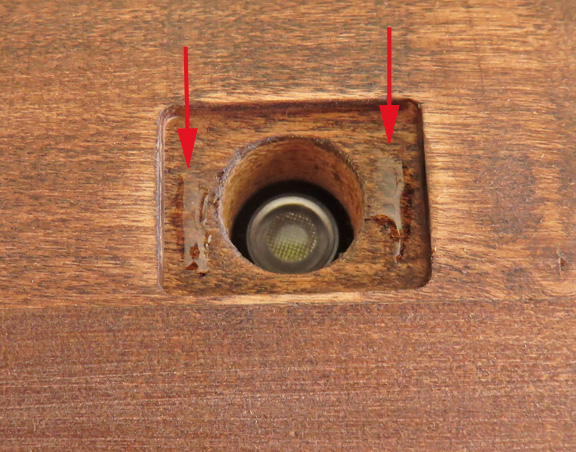
With the windows only 3/4" X 1", I don't need anymore than a dab to hold
them in place (arrows).
|
|
 |
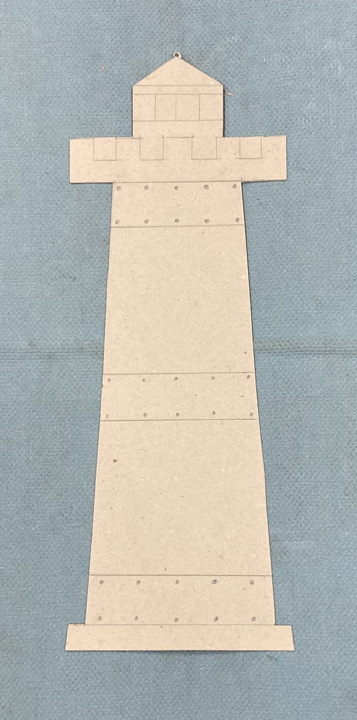
Here is what I made before I started this project. This would give me
the actual size to get an idea of what I wanted to do or change along
the way. I pretty much stayed true to this cardboard cutout.
|
|
|
It's Finished
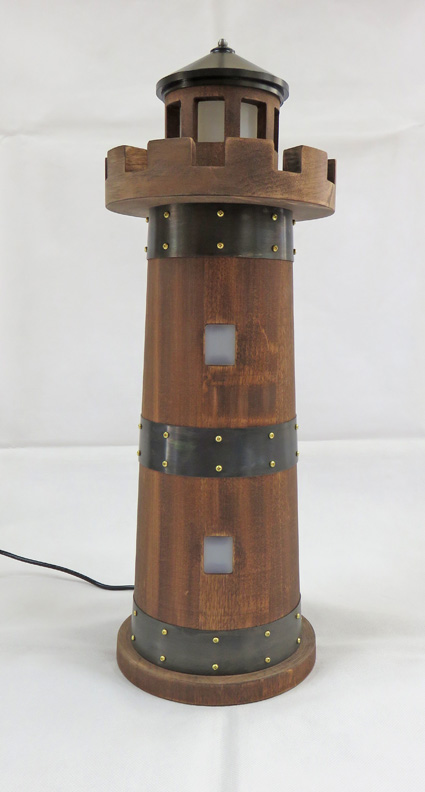
Here it is all finished.
|
|
 |
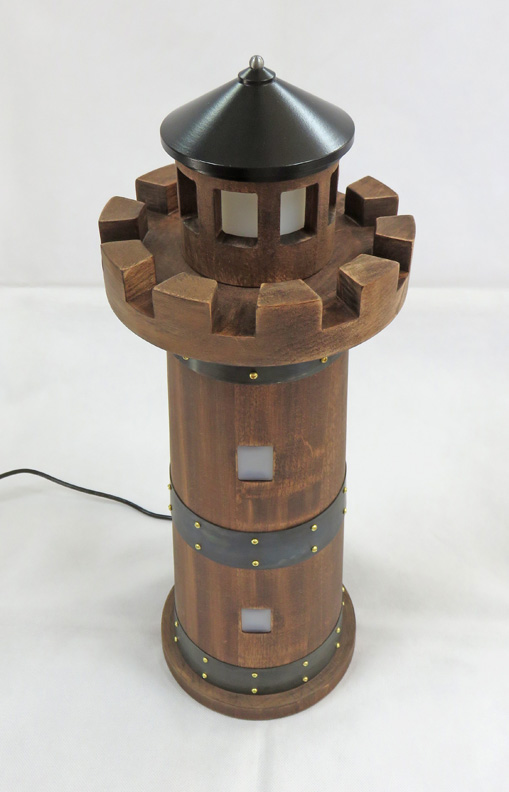
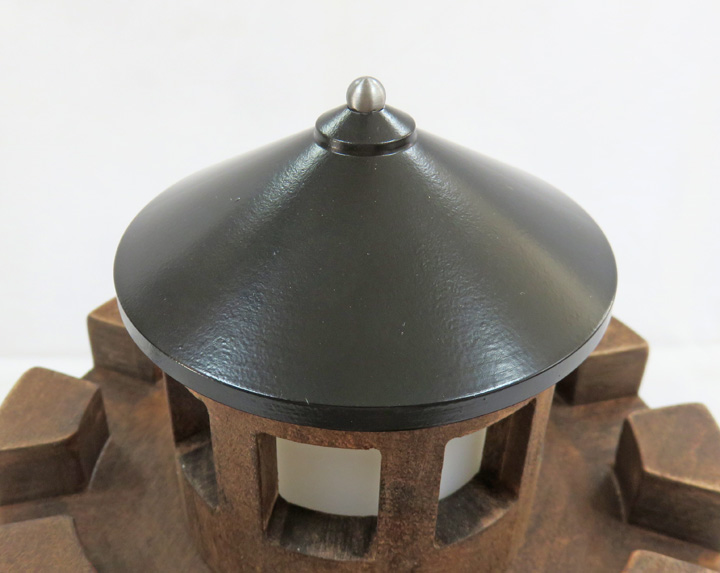
For some reason I didn't take a picture of the adapter plate or roof
when I wad done painting. So here it is.
|
|
 |
A close-up of the ball bearing. If you didn't know how this went
together you wouldn't know this is a fastener.
|
|
 |
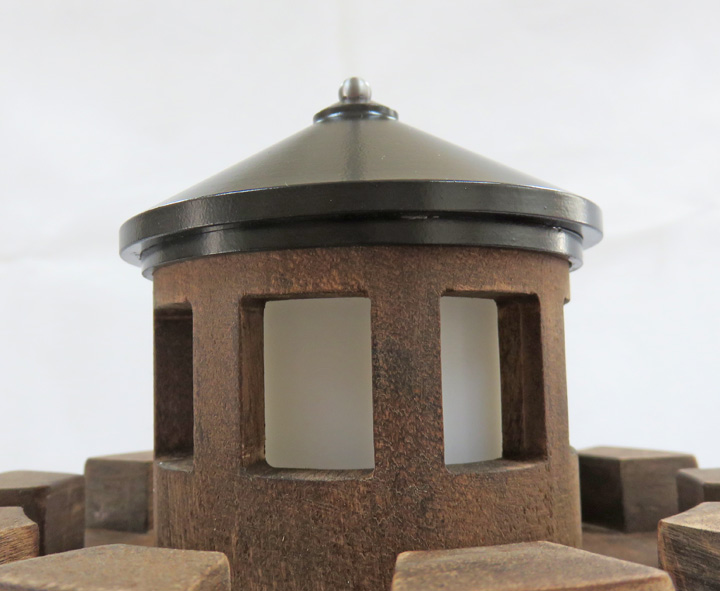
And here is the adapter plate. I thought this would be a nice look of
the two diameters next to each other.
|
|
 |
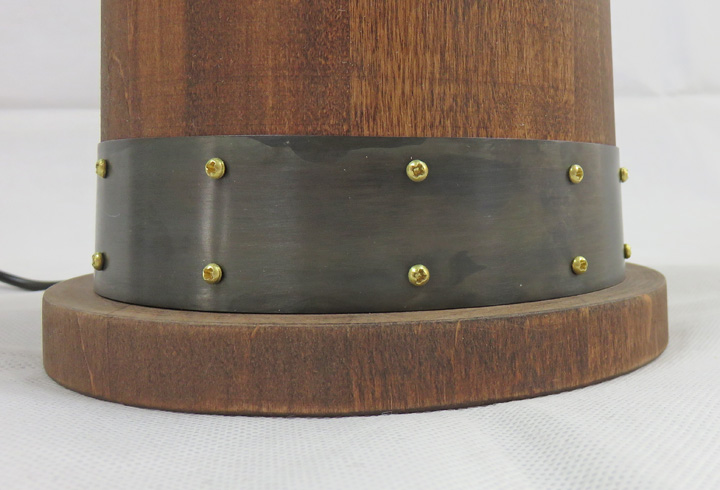
Lots of brass screws to give the black bands some contrast.
|
|
 |
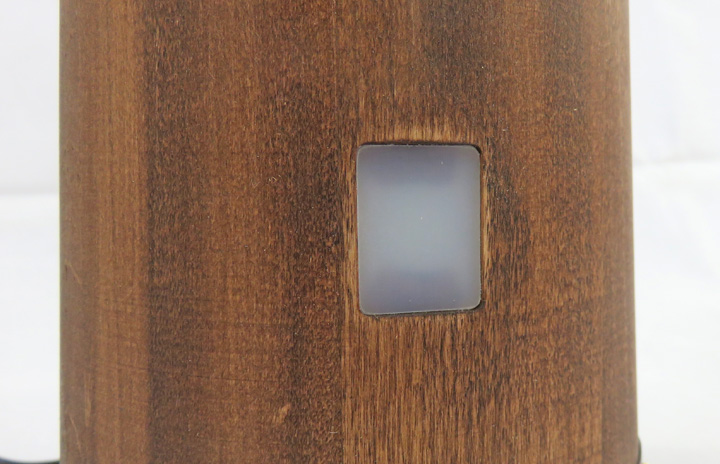
These windows break up the area between the bands.
|
 |
|
1
2
3
4
5
6
7
8
9
10
11
12
13
14
15
16 |

